Checklist: Leaving Boat at Marina
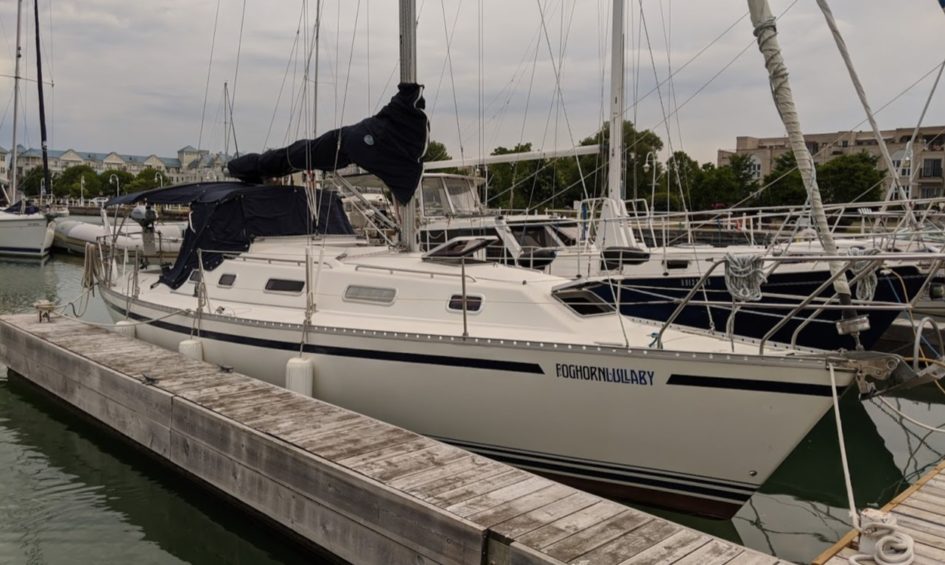
Go through this checklist before leaving the boat for any period of time at the marina. Note hatches still need to be closed in photo above.
Power
These are older instructions, before we had solar. After solar we never connect to shore power and we no longer have a 110v battery charger.
- 110 volt shore power connected
- 110v main breaker on
- Battery charger on
- Bilge pump switch on and separate switch set to auto
- Fridge on (switch is under cushions in aft cabin)
- Battery selector switch in aft cabin set to All ?
See A below for more info.
Thru Hulls
- Engine (double-check fridge switch at same time)
- Kitchen sink salt water intake
- Kitchen sink drain
- Bathroom sink drain
- Toilet salt water intake (in wet closet by shower)
- Toilet output (in west closet by shower, it is always closed)
Thru hull is closed when handle is not pointing up. Turn clockwise 1/4 turn so it is parallel with hull.
See B below for more info.
Pack up
- Clothes, personal gear, bathroom bags
- Towels, facecloths and dishcloths
- Bedding
- Garbage & recycling
Clean up
- Sinks, Stove, Counters
- Sweep Floor
Outside
- Double-check all rigging and halyards. Genoa sheets are coiled up and secured on pushpit. Genoa and Spin halyards secured to pushpit and main halyard attached to itself on deck to pull it away from mast to prevent clanging. No gear left on deck. Sail cover on and secure.
- All line clutches in cockpit are closed and all lines coiled and organized. Lines lifted off of coachroof, rain water drains over this area, keeping them lifted keeps the lines dry. See C below for more info.
- Double-check dinghy. Drain cap on transom should be open and stern dropped slightly to allow rain water to drain. See D below for more info.
- Double-check anchor is secured and chain locker is organized. And no water has accumulated (drains plugged).
- Double-check all dock lines. Secure but not overly tight. No rope chaffing. Lines tidied and not in way or hanging in water. See E below for more info.
- Double-check fenders are at correct height for dock and are tied on securely. Three on dock side, one on opposite side at stern.
- Double-check shore power cable not being stretched or in the way.
- Bimini and Dodger secure and window panels attached.
- Covers for wheel, binnacle, outboard and BBQ (if not removed) secured.
- Lock all cockpit lockers. Remove companionway door from starboard locker before locking. Padlocks in Nav table.
- All port lights (windows) and hatches are closed and secure. I count and touch each one as I do this. Forgetting one could make a huge mess.
See G Cleaning Up lines for my method of wrapping and storing all the extra lines.
Last steps
- Lock companionway door, make sure you have your keys!
- Triple-check dock lines.
Extra Photos / Info
Just some extra info for those that are interested in learning more. Also, feel free to comment with your suggestions/advice. This is what I do. I’m not saying this is the best way to do this. I’m always learning!
A. Electrical Panel

Everything turned off, except highlighted switches.
Bilge to Auto, you can quickly push left to Manual to see if it’s working. Ensure separate switch below, Bilge Pump is also on.
The Push to Test button will illuminate the Reversed Polarity Light. This will confirm Shore Power is connected correctly.
B. Thruhulls
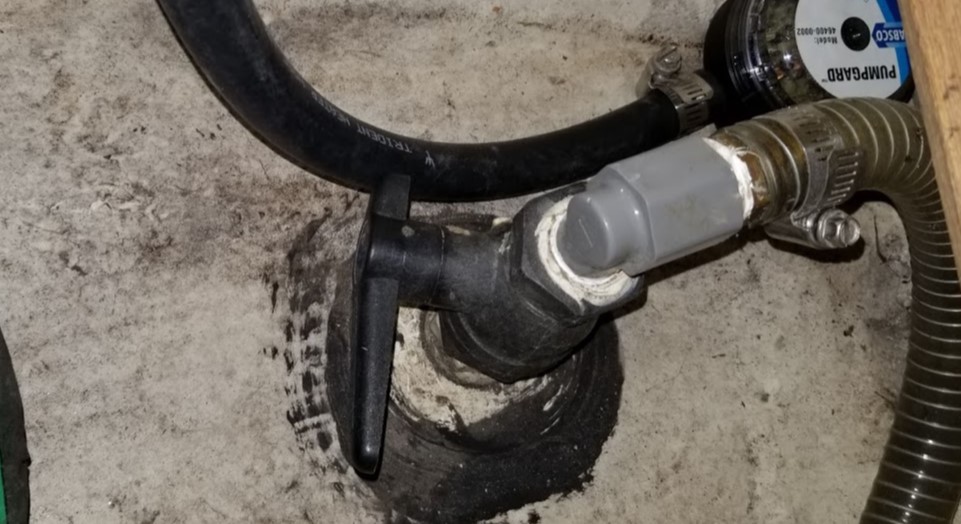
This is the thru hull under the bathroom sink. This is what it looks like when it’s closed. This ensures the boat says dry even if that hose fails while we are away.
C. Cockpit Lines
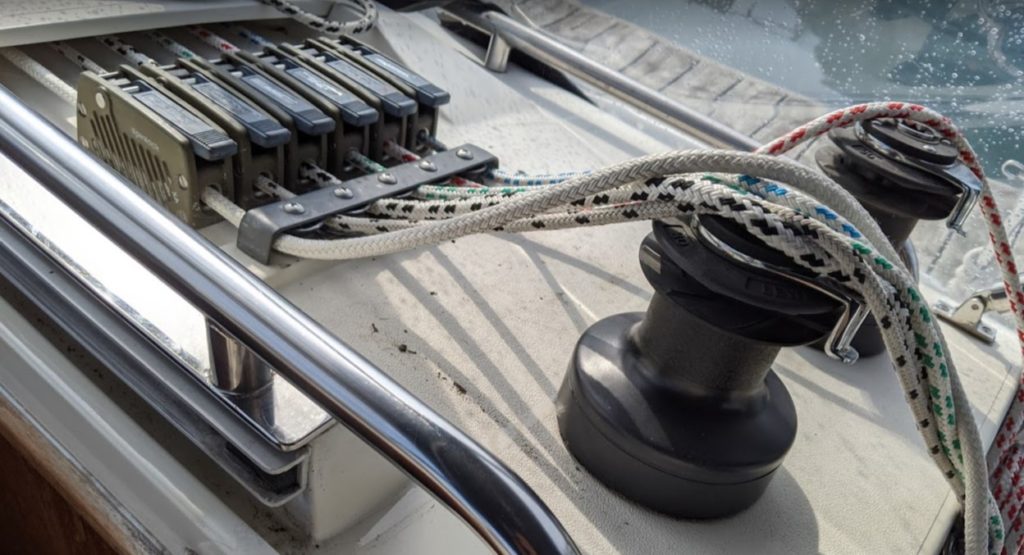
Water drains through this area, we’ve found it stays a lot cleaner and keeps the lines in better shape if you lift them off the coachroof. Dirt in photo above is from when we didn’t do this.
D. Dinghy / Tender / Inflatable
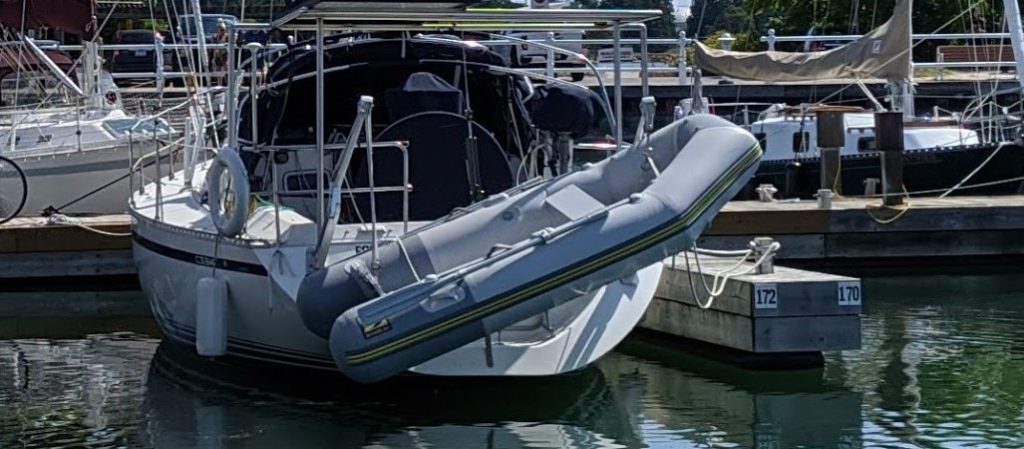
It doesn’t look pretty but this prevents rain water from accumulating in the dinghy. I found it needs a steep angle with stern of dinghy almost touching the water. Maybe a cover would be a more attractive approach.
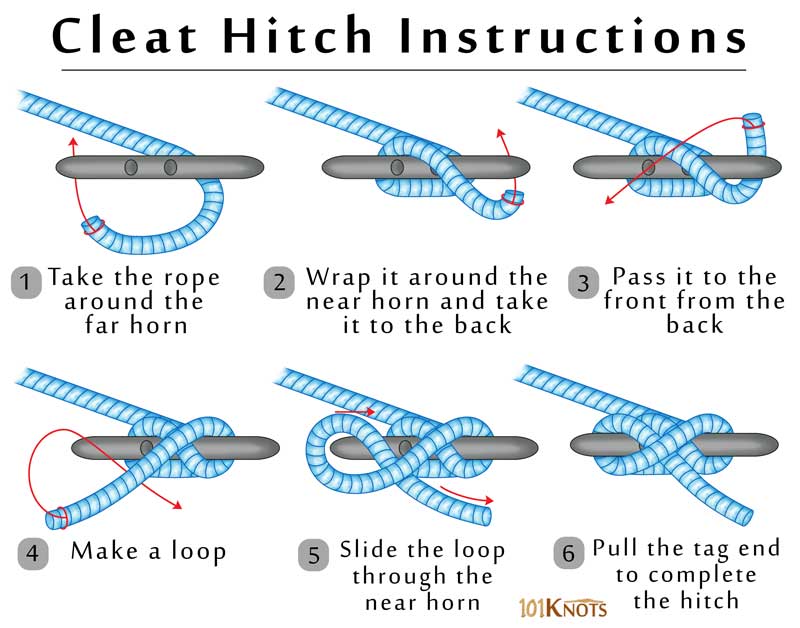
E. Dock Lines
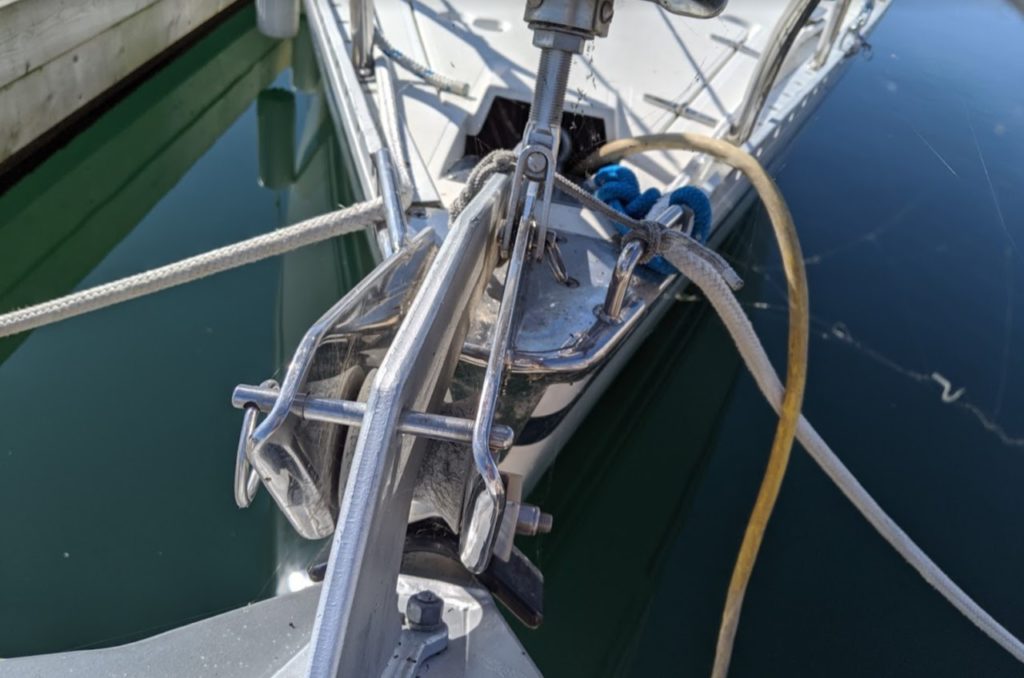
Bow dock lines attached to the cleat on deck and fed through the stainless loop on bow. Power cable going into anchor locker and not pinched. Anchor properly secured.
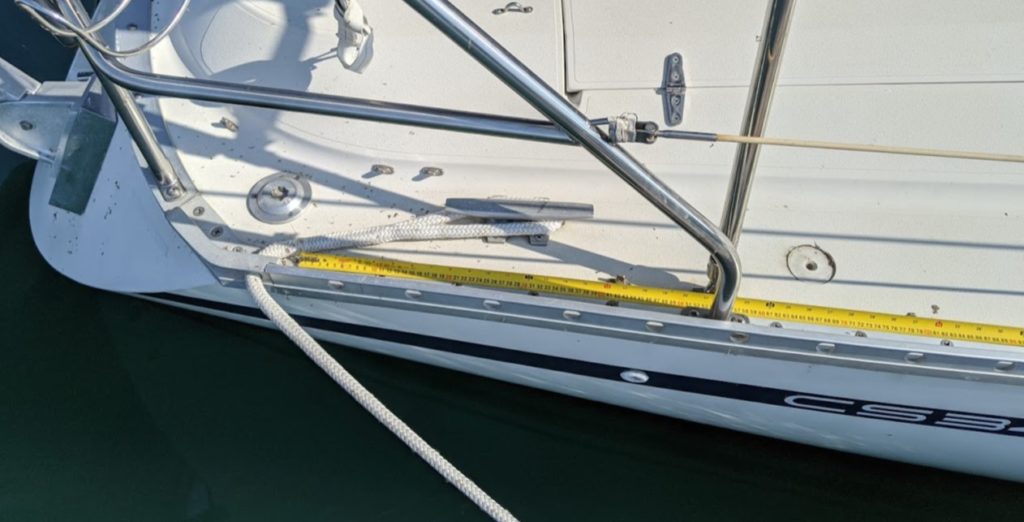
Ensure line is going through loop at back and properly attached to cleat.
Alternative option that I’ve been using more lately. The loop goes around the cleat or bollard on the dock. I then cleat off the long side of the line to the boat and hang the excess line on the rail. This keeps all the excess line off the dock and I can now adjust tension on the boat.
F. Fenders
This is where I think I need to do a bit more research and playing around. I’ve always thought a Clove Hitch was the preferred way of attaching fenders.
But others have thought about this a lot more than I have. Just found this page from Captnmike:
https://captnmike.com/2011/03/29/spar-hitch/
He starts with a spar hitch, then shows an improved method suggested by a viewer, Lee. And then goes on to show how removing the core from the fender line makes it easier to handle and tie securely. Also has one knot that looks like some sort of quick release.
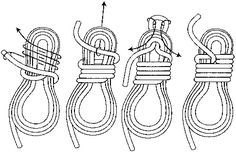
G. Cleaning up Lines
Keeping all of the lines on the boat organized is a constant battle. And any sailor will have their own method for doing this. It’s going to seem picky but having a consistent method for organizing the lines will make things easier for everyone, especially in an emergency. This is how the lines are coiled up on Foggy.
Lines stored in lockers are all in gasket coils.
When coiling the line, I prefer what we did with climbing ropes to ensure the lines don’t twist. Introducing twist into a line causes binds later on when you try to feed it though a block (pulley).
Unfortunately, I don’t have a good diagram on how I do it. So here’s a crude description.
- End of line in right hand. I start with the shackle, or loop.
- Right hand goes out to side to shoulder height, left hand slides along rope and extends out to shoulder height. Pinch the line and bring hands together grab the all line with your right hand.
- You will keep repeating this for the entire length of rope, it’s a great workout.
- Now here’s the trick, and important part. When you bring hands together, alternate the position of your left hand. One loop, palm. One loop, rotate hand 180 degrees to back of hand, palm, back of hand, palm, … If you do it right, you will see two separate coils of rope forming in your right hand.
If you don’t use this method of rotating 180 degrees you will see a figure 8 start to form in the coiled rope. This is OK as well. Others will try to introduce a slight twist to the rope to create a nice looking single loop. This is introducing twist, and bad, in my opinion.
If you want to attach your coiled rope to a something then you will modify the gasket coil. Instead of pulling a loop through and over the coil you will just feed one end of the line through the loop.
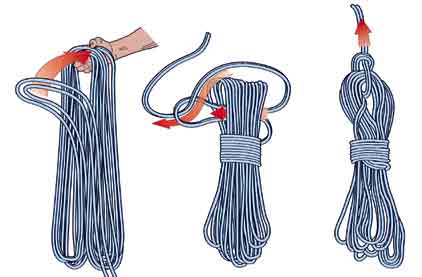
Lines in cockpit don’t need this extra loop or tie off at the top. They are just coiled and then held into place with the line organizer strap.
Leave a Reply