Our first season with the boat consisted of:
- mostly amazing times with the family, rest and relaxation bobbing around on the water with just the sound of nature surrounding us.
- some stress navigating the boat into and away from the dock or moving it on or off the trailer. We’ve made a lot of mistakes and are continuing to learn a lot. The boat has served us well and we took good care of her, there’s two minor nicks. One on the rudder and one on the bow. From discussions with other boaters, we did pretty good for our first season!
And we felt we could have/should have spent more time on the boat.
Now with the leaves turning colour and winter coming, it’s time to pull her out of the water for a winter hibernation.
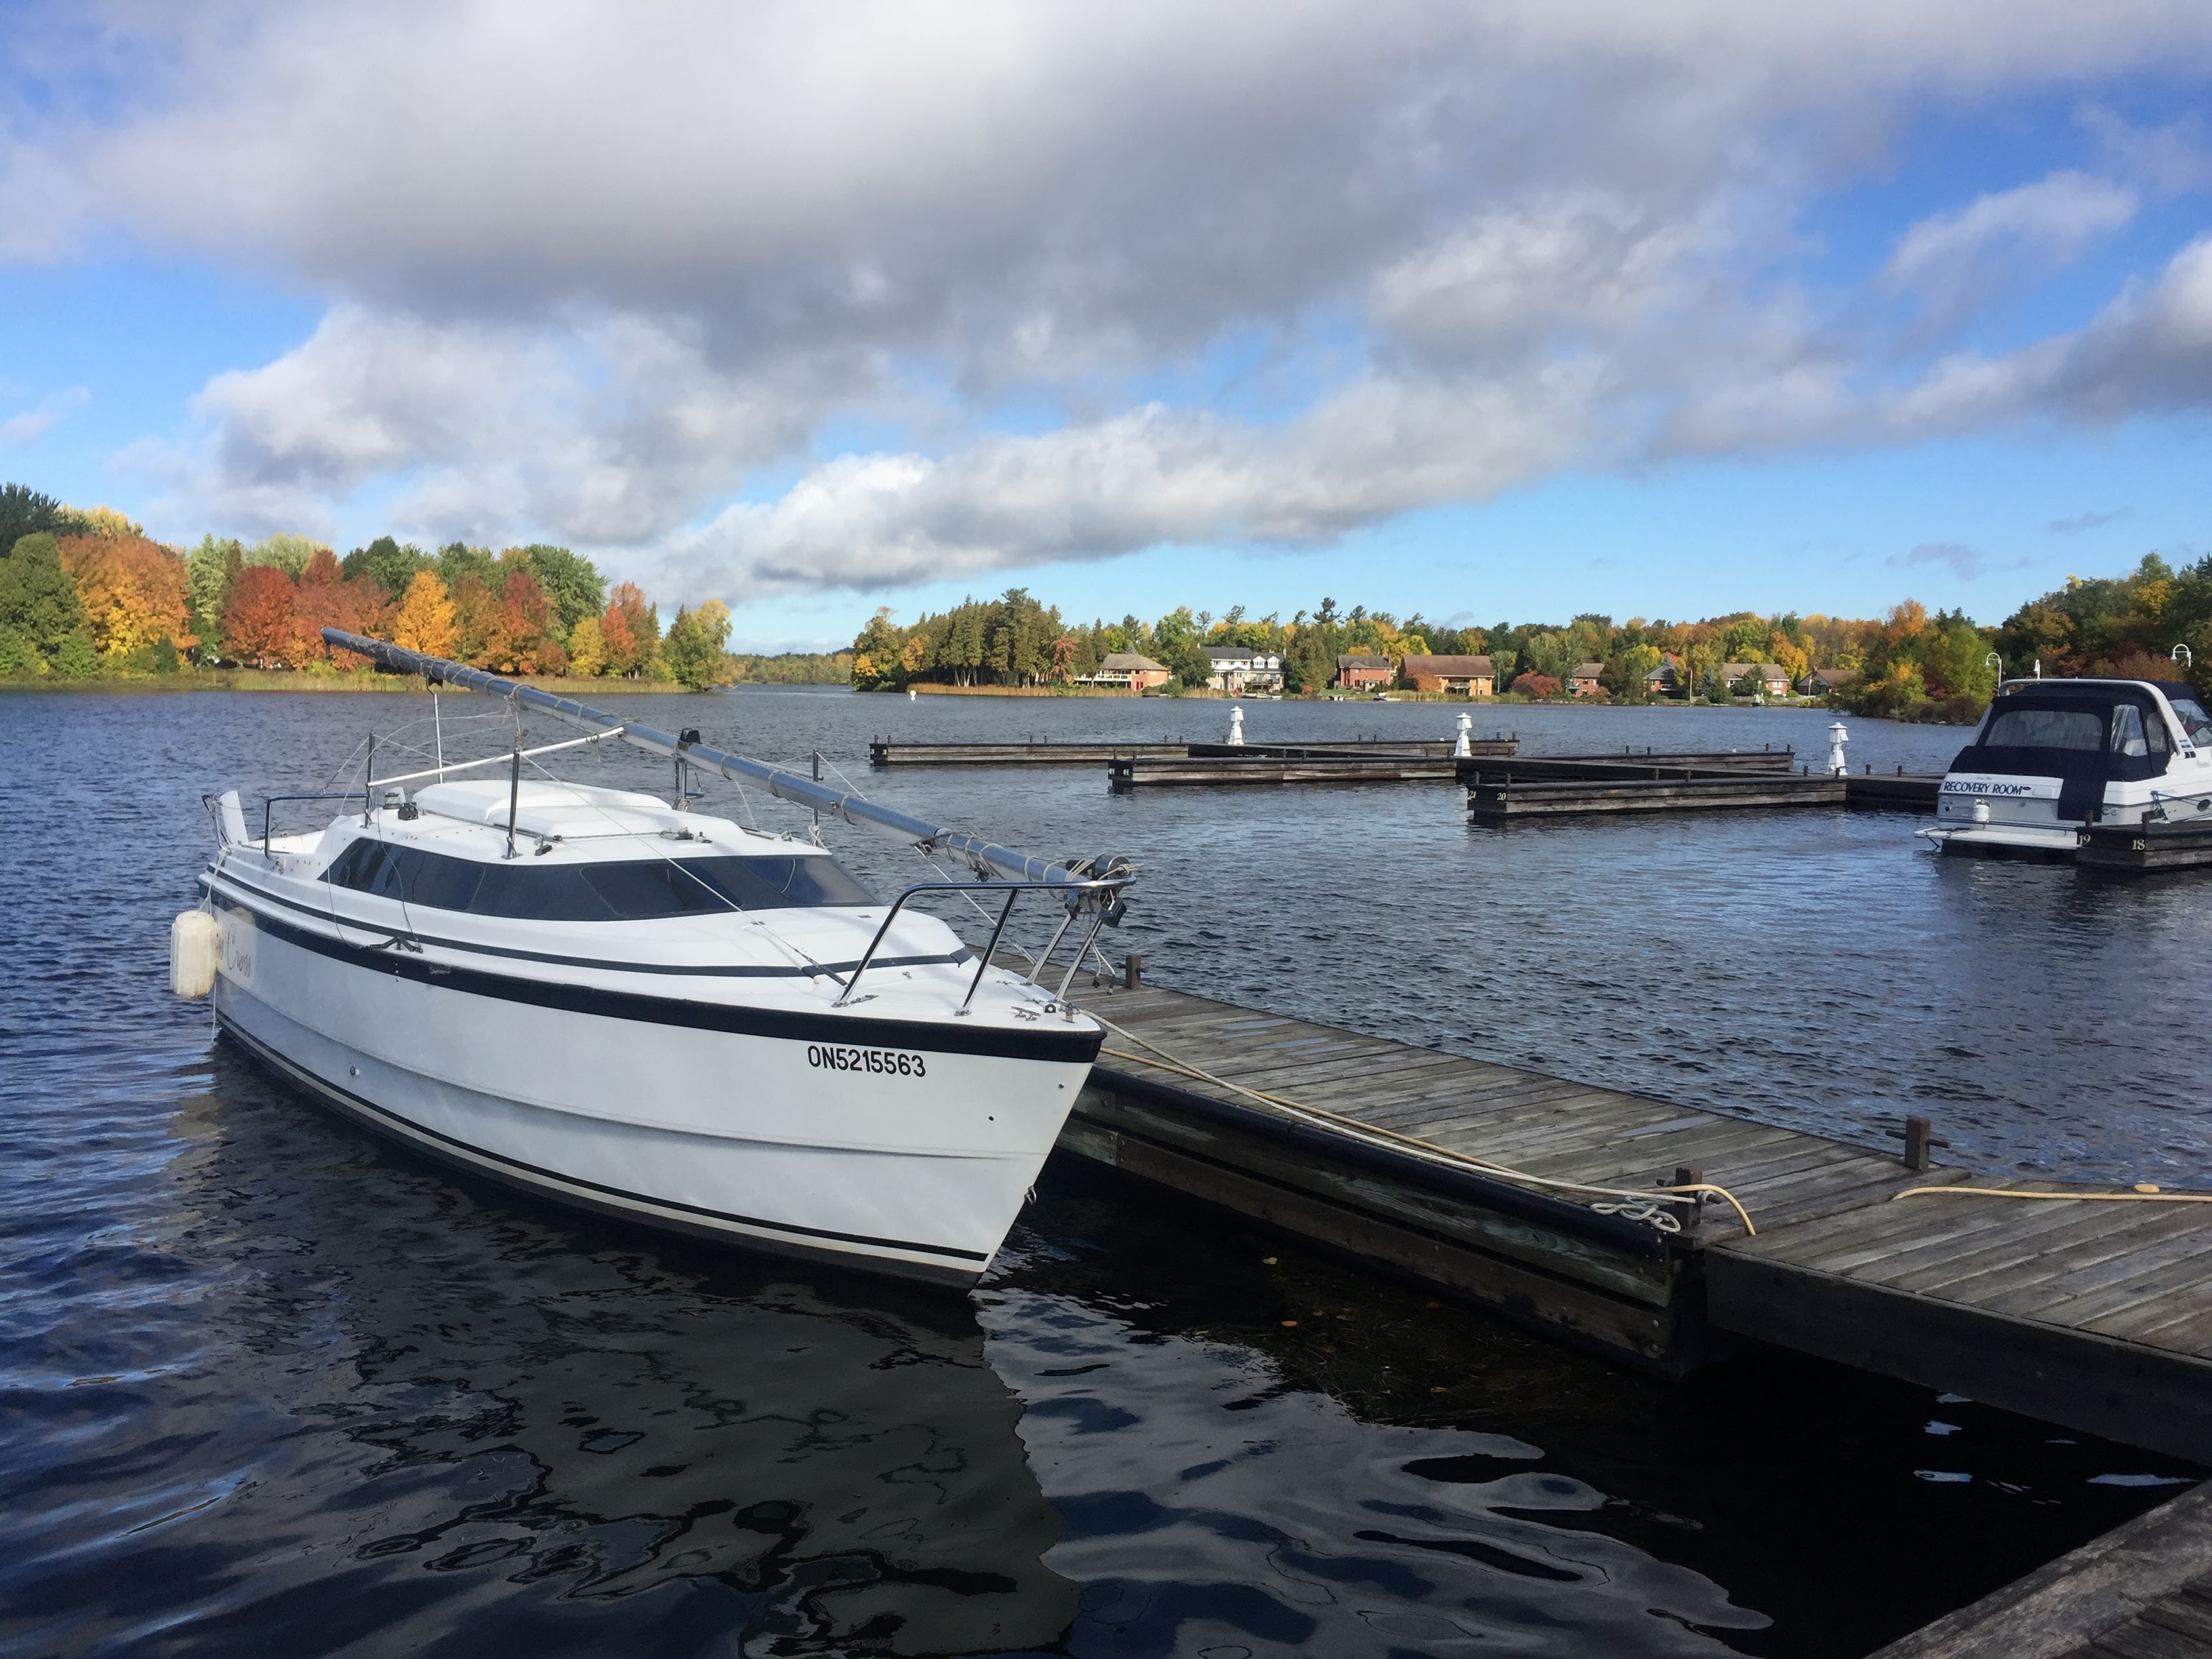
Step 1 – Enjoy part of the day on the boat

If you can, and you should make time to do this. Spend the night before or part of the day just relaxing on the boat and take advantage of your last day on the water for the season! Also, if you are pumping out, don’t forget to do this before the next steps. It’s a bit easier while the boat is still setup.
Step 2 – Take down the mast
 We are getting much better at this now. Some of the tricks we’ve learned include:
- Two people is the perfect number. It can be done with one, but it’s slower and frustrating running back and forth. Three people is one person too many.
- Removing the jib requires tying a temporary line onto the halyard (note this is a separate line up the furler, this is not the jib halyard). I need to take pics of this process, it was confusing the first time.
- Hooking up the mast raising system is a breeze now. Two wrenches and a bolt at the base of the mast.
- Remove the tension from the backstay first!
- Ok, there’s one time three people may be handy, after you have lowered the mast and detached it from the deckyou need to move the base of the mast to the bow of the boat. As you are doing this, the side stays are flopping around everywhere and catching the life line stanchions. If it doesn’t slide smoothly, it’s caught. Get the others to find what’s snagged before pulling it forward.
Step 3 – Empty the boat
OK, you can probably do a bit of this before taking down the mast. But we like to take everything out of the boat. All containers, water bladders, cooler, cushions, paper, food, lines, life jackets, lines, everything.


And here’s what the back of our Xterra looks like with everything out of the boat.


Get rid of all the water. As you pull the boat out of the water, make sure you get all of the water out of the ballast. Also check the bilge. I’m paranoid of ice over winter cracking something. So I leave the bilge open for the drive and make sure I do pause for a moment on a slight hill to make sure it’s drained. Also look at space under sink and under cooler for water. There’s usually a little bit there from the season. I use a sponge to soak it up and put it into a bucket. Don’t forget draining water from toilet as well.
Step 4 – Prepare the engine
This part is all new for me, we were given some basic instructions from the past owner. Empty and fog the engine, remove batteries and charge over winter. There’s more work to be done in the spring, replacing the fluids.
Now the boat is out of the water, you need to make sure water is running through the intakes at the bottom of the shaft before starting. Use the water ear muffs connected to a hose. We used a large horse trough to submerge the motor in water (we filled with clean water). Reconnect the battery and the gas line.
- Warm up the engine for about 5-10 mins then stop engine. Make sure water is flowing properly and spraying out back.
- Pull the engine cover off
- Remove the air filter cover
- Start up engine
- Spray fogger into the intake, start slow, should see some smoke, then increase spray until the engine dies. This takes about 10 seconds from start to finish.
- Disconnect gas lines, remove tank and battery.
At first the wires and setup for the batteries seems like a snarled mess. But it does make sense after a bit of time studying the flow of power through the switch and charger. Here’s some pics, just to make sure I put it back together the right way in the spring!


There’s still a bit of fuel in the system, I wasn’t sure of how to get rid of this completely. Maybe you could pull the fuel filter, and check it at same time, to try to get some of that gas out.
Some people say to give the engine one more turn to distribute the fogging wax. I didn’t because I was concerned it would also put some unburned gas into the cylinders. Another option is to pull the spark plugs and spray directly into the cylinders.
Some people say to put extra fuel stabilizer into the tank before doing this, but again, I didn’t because I think it’s better to try and get rid of the fuel. I also drain my tanks (empty into my truck) so I can re-fill with fresh fuel in the spring.
Some people also replace the oil and gear case lubricant at this point. My opinion is check to make sure there’s no water in system, make sure it’s not milky. And put in fresh stuff in the spring. Same with the spark plugs and fuel filter.
Also could consider putting a coat of wax on the surface of the motor.
Step 5 – Seal it up
One last pressure wash and scrub of the exterior and the hull. There wasn’t much growing on the bottom, but wanted to get as much of it off before it all dried up and hardened. Waited until after I winterized the motor so I could also clean up any messes and get into the two spots where the gas tanks normally sit.
My mother in law suggested this tip. Put about 10 Bounce dryer sheets throughout the boat. Not 100% sure, if it’s to keep away musty smell or keep the rodents out. But we did it. I also purchased a tub of dehumidifying pellets and left it under the table. Closed and locked down all the hatches and also ensured the ballast was closed, front and back.
The mast makes a perfect A frame for the boat so we decided to purchase a new tarp to cover it all up. We quickly debated no cover. The boat is water tight and should be able to survive a winter without a cover. But didn’t want to take a chance of water accumulating and then freezing. Tarps are expensive but broken fiberglass is more expensive! Decided to get a cheaper one with the expectation that we would replace it each season. This was a very poor decision.
When putting a tarp on, bring a few extra things:
- Thick plastic wrap (I used vapour barrier), foam, bubble wrap, … Something that can be used to wrap around all the sharp metal bits around the boat.
- Duct tape and/or zip ties to secure the wrap
- Lots of rope
After the first good wind, the tarp turned into tissue paper and was wearing away in spots. We pulled it into the barn until we could figure out a better solution.


Found a much thicker tarp to use and added an additional layer. Secured it down with more rope and then moved the boat back outside.

Lessons learned
Keep a close eye on all the stays when sliding the mast toward the bow. They are sneaky and easily get caught up.
Cheap tarps are… cheap… don’t even bother with one. Spend the $300+ for a decent tarp and protect it with proper padding and make sure it is secured properly. You will get a lot more sleep over the winter. I was up every time there was a good wind coming through, worried about the boat. I think next year I will shrink wrap.


1 Pingback