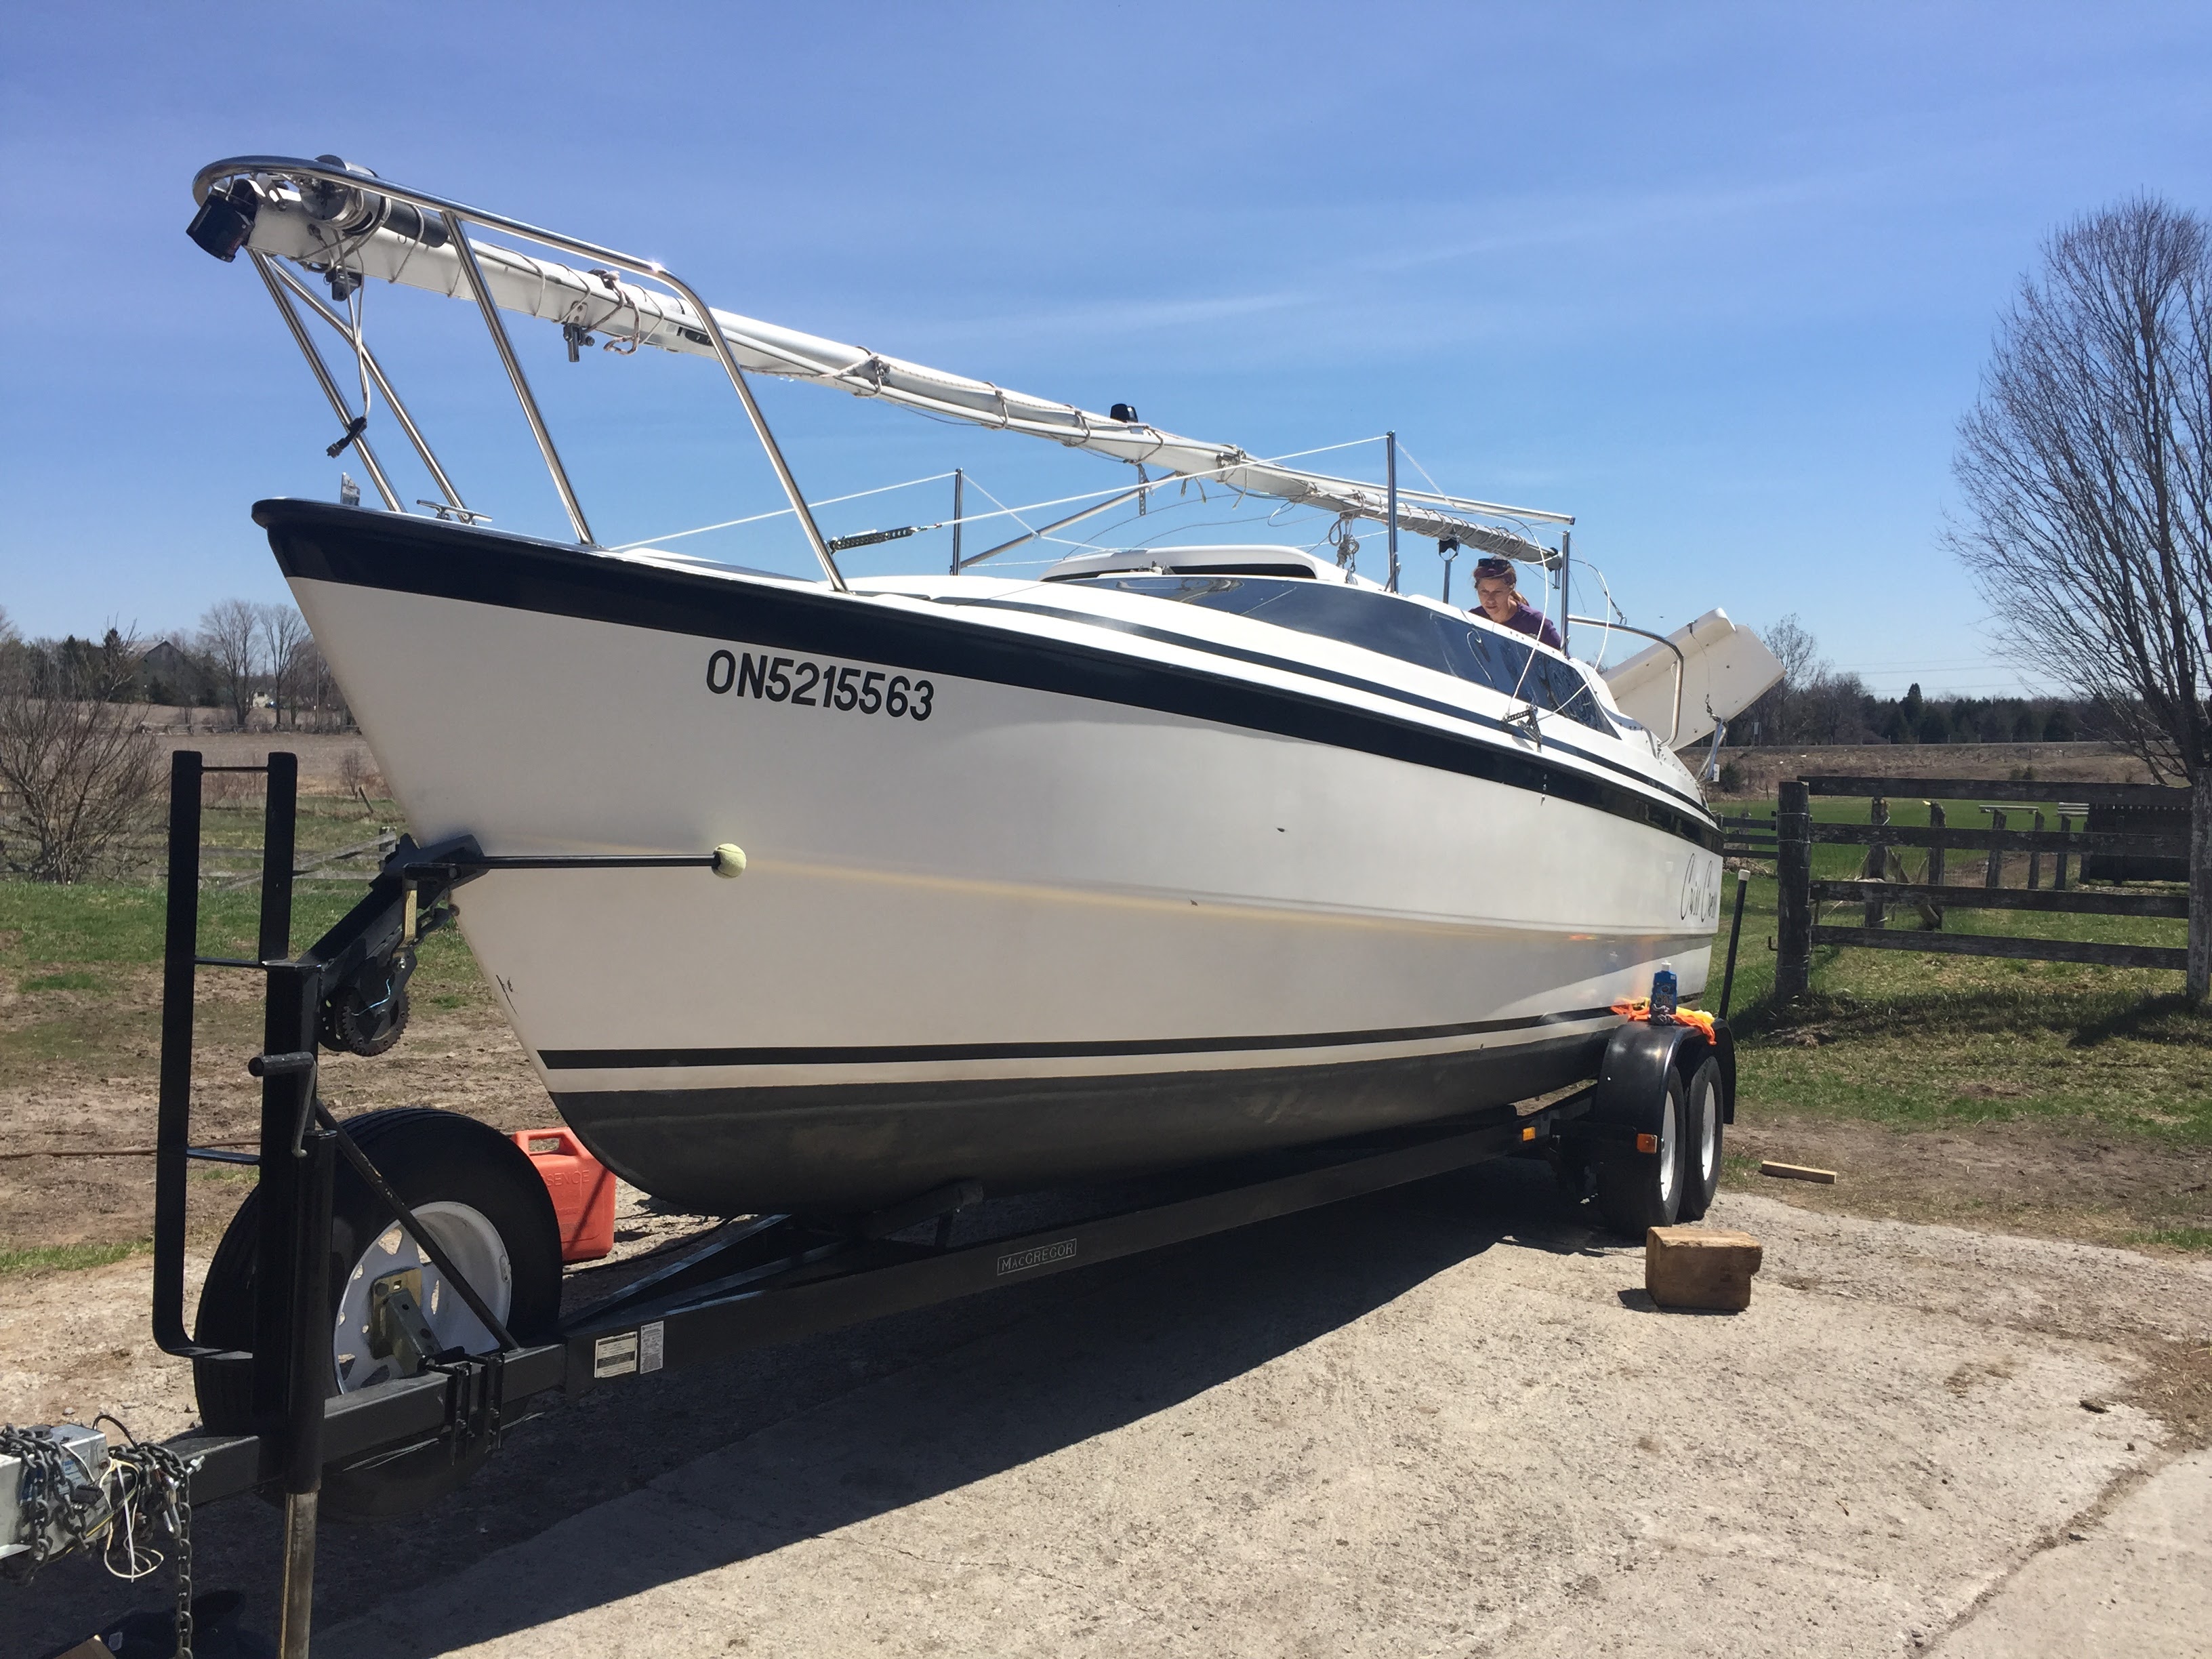
It’s almost boating season again! The boat had no issues surviving winter, despite having to reinforce the tarp. After clearing off the tarp and other wrappings, it had some dust to be cleaned up but no issues with any rodents or anything else nesting in it.
We spent the day scrubbing, polishing, cleaning and prepping the motor for the new season. We also put on a fresh coat of anti-fouling paint. Existing paint was black.
Prepping the outboard motor
This was a bit of a learning experience for us, took a bit to figure it all out. But we did the following.
Changed the transmission fluid. This was easier than I thought. You pull the drain plug at the bottom and the bolt at the top to allow air in. This allows the fluid to easily drain. Filling it back up is backwards, you use a pump to force the fluid through the bottom hole until it fills up and starts oozing out of the upper hole.


Engine oil works exactly as you would expect, you drain, and refill from the top. Then use the dipstick to double-check you have the right amount.
Pulled the spark plugs, made sure they were clean and checked the gaps. The sticker on the side of the motor says NGK DPR6EA-9 spark plugs, gapped to 0.9mm (0.036in).
Checked the fuel filter, it was still very clean, so I didn’t bother changing it.
Pulled the prop off, cleaned it up and then put some new marine grease before re-attaching. Also used the same grease for all of the visible pivot points in the engine, i.e. throttle.
After connecting the water earmuffs over the intakes at the bottom of the motor (I also put a bit of duct tape on them, just because I was worried about them shifting off), we connected the batteries and the gas lines and then cranked up the water through the hose. After a few tries, the engine started up with a little bit of white smoke at first and then cleared up quickly.
Fresh antifouliing paint for the bottom
The boat probably didn’t really need a fresh coat, the existing coat was still in pretty good shape but there were a few spots where we could see the white hull paint showing through. We took the advice of the marine store and purchased two quarts of Interlux VC 17m Antifouling paint. After scrubbing and prepping the hull, we taped off the waterline and planned out how we were going to get to the parts of the boat touching the carpeted bunks on the trailer. Our solution involved a bottle jack and some carpeted 2x4s in similar shape as the trailer bunks. This allowed us to lift the front up, paint, wait until dry, and drop onto trailer (with saran wrap covering carpet). Then did the same with the back.
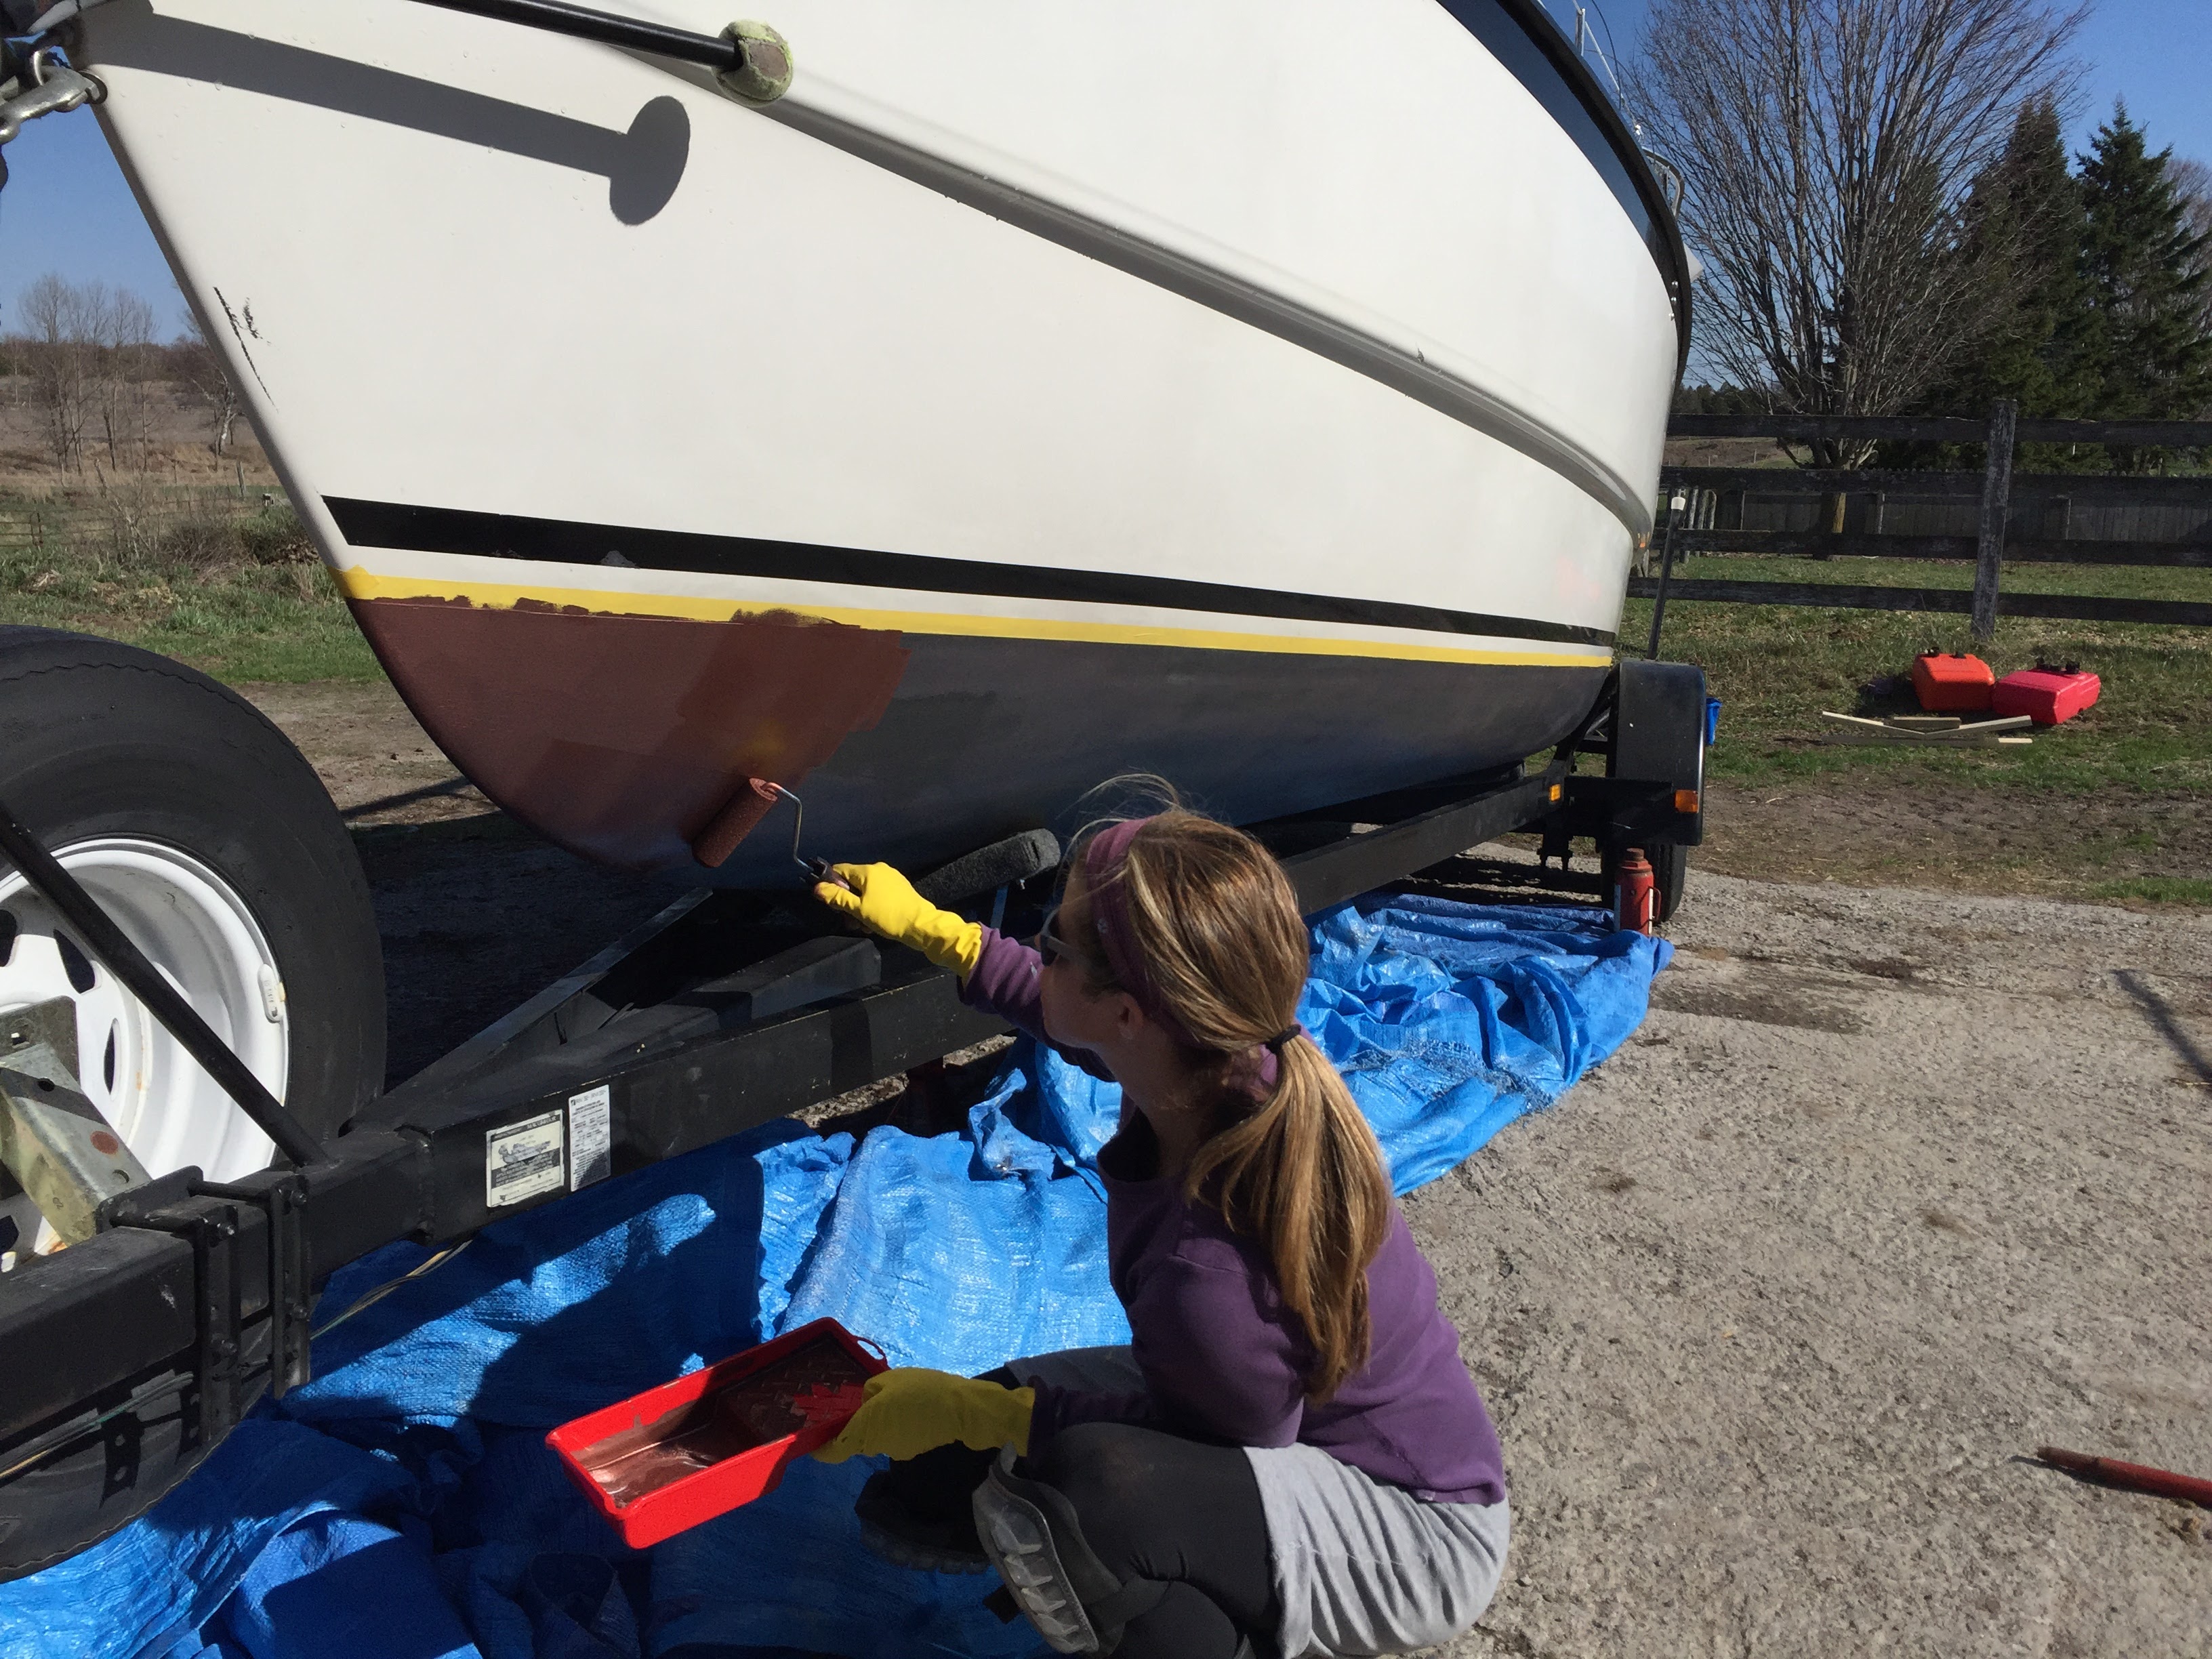
This paint dries fast, so plan ahead so you are ready to paint it on as quickly as possible. The bottom now has a nice looking copper finish. Later on, we found out that the colour changes after time and becomes black, like the previous layer we painted over.
Clean and wax the hull
After washing scrubbing the decks, we used a marine fiberglass cleaner. We met a couple in a Hunter 26 that suggested Marine Spray Nine and Aurora Boat Scrub. We knew they were on to something since their boat was sparkling clean! I was amazed how easily it removed the little black scuff marks from the white and cleared the black fogging from the black stripes, the boat looked like new again! We then put a protectant wax overtop to try to retain this fresh look as long as possible.

Setup the interior
We still had to get all gear for inside the boat back in. Since this was all stored in our basement over the winter, brought the boat back home to fill it back up and restock it. This part is always great, what other kind of sailboat can you bring to your front door!? And we usually get some curious neighbours coming over to visit after we park it in our driveway.


We don’t have a lot of room, but I was able to squeak it under part of our carport. We used this time at home to clean up the interior and re-setup all the gear inside.
New marina, Cobourg
We have been on the waiting list for a while, but we were offered a spot for our boat that we took. They mentioned it was a bit small for our boat, but we wanted to get onto Lake Ontario with our friends.
First thing we noticed, the water levels at Cobourg were really high! You normally walk down the ramps to the docks, but with the high water levels the ramps were flat. We found out later this caused a separate issue, the marina’s power lines were under water. This meant no shore power.
Launching the boat went smoothly, feeling much more confident getting the boat on and off the trailer. Getting the boat to the dock was also uneventful, except we now see what they meant by a “small dock”. Our boat was about 6′ longer than the dock. Making jumping on and off the boat a bit tricky.
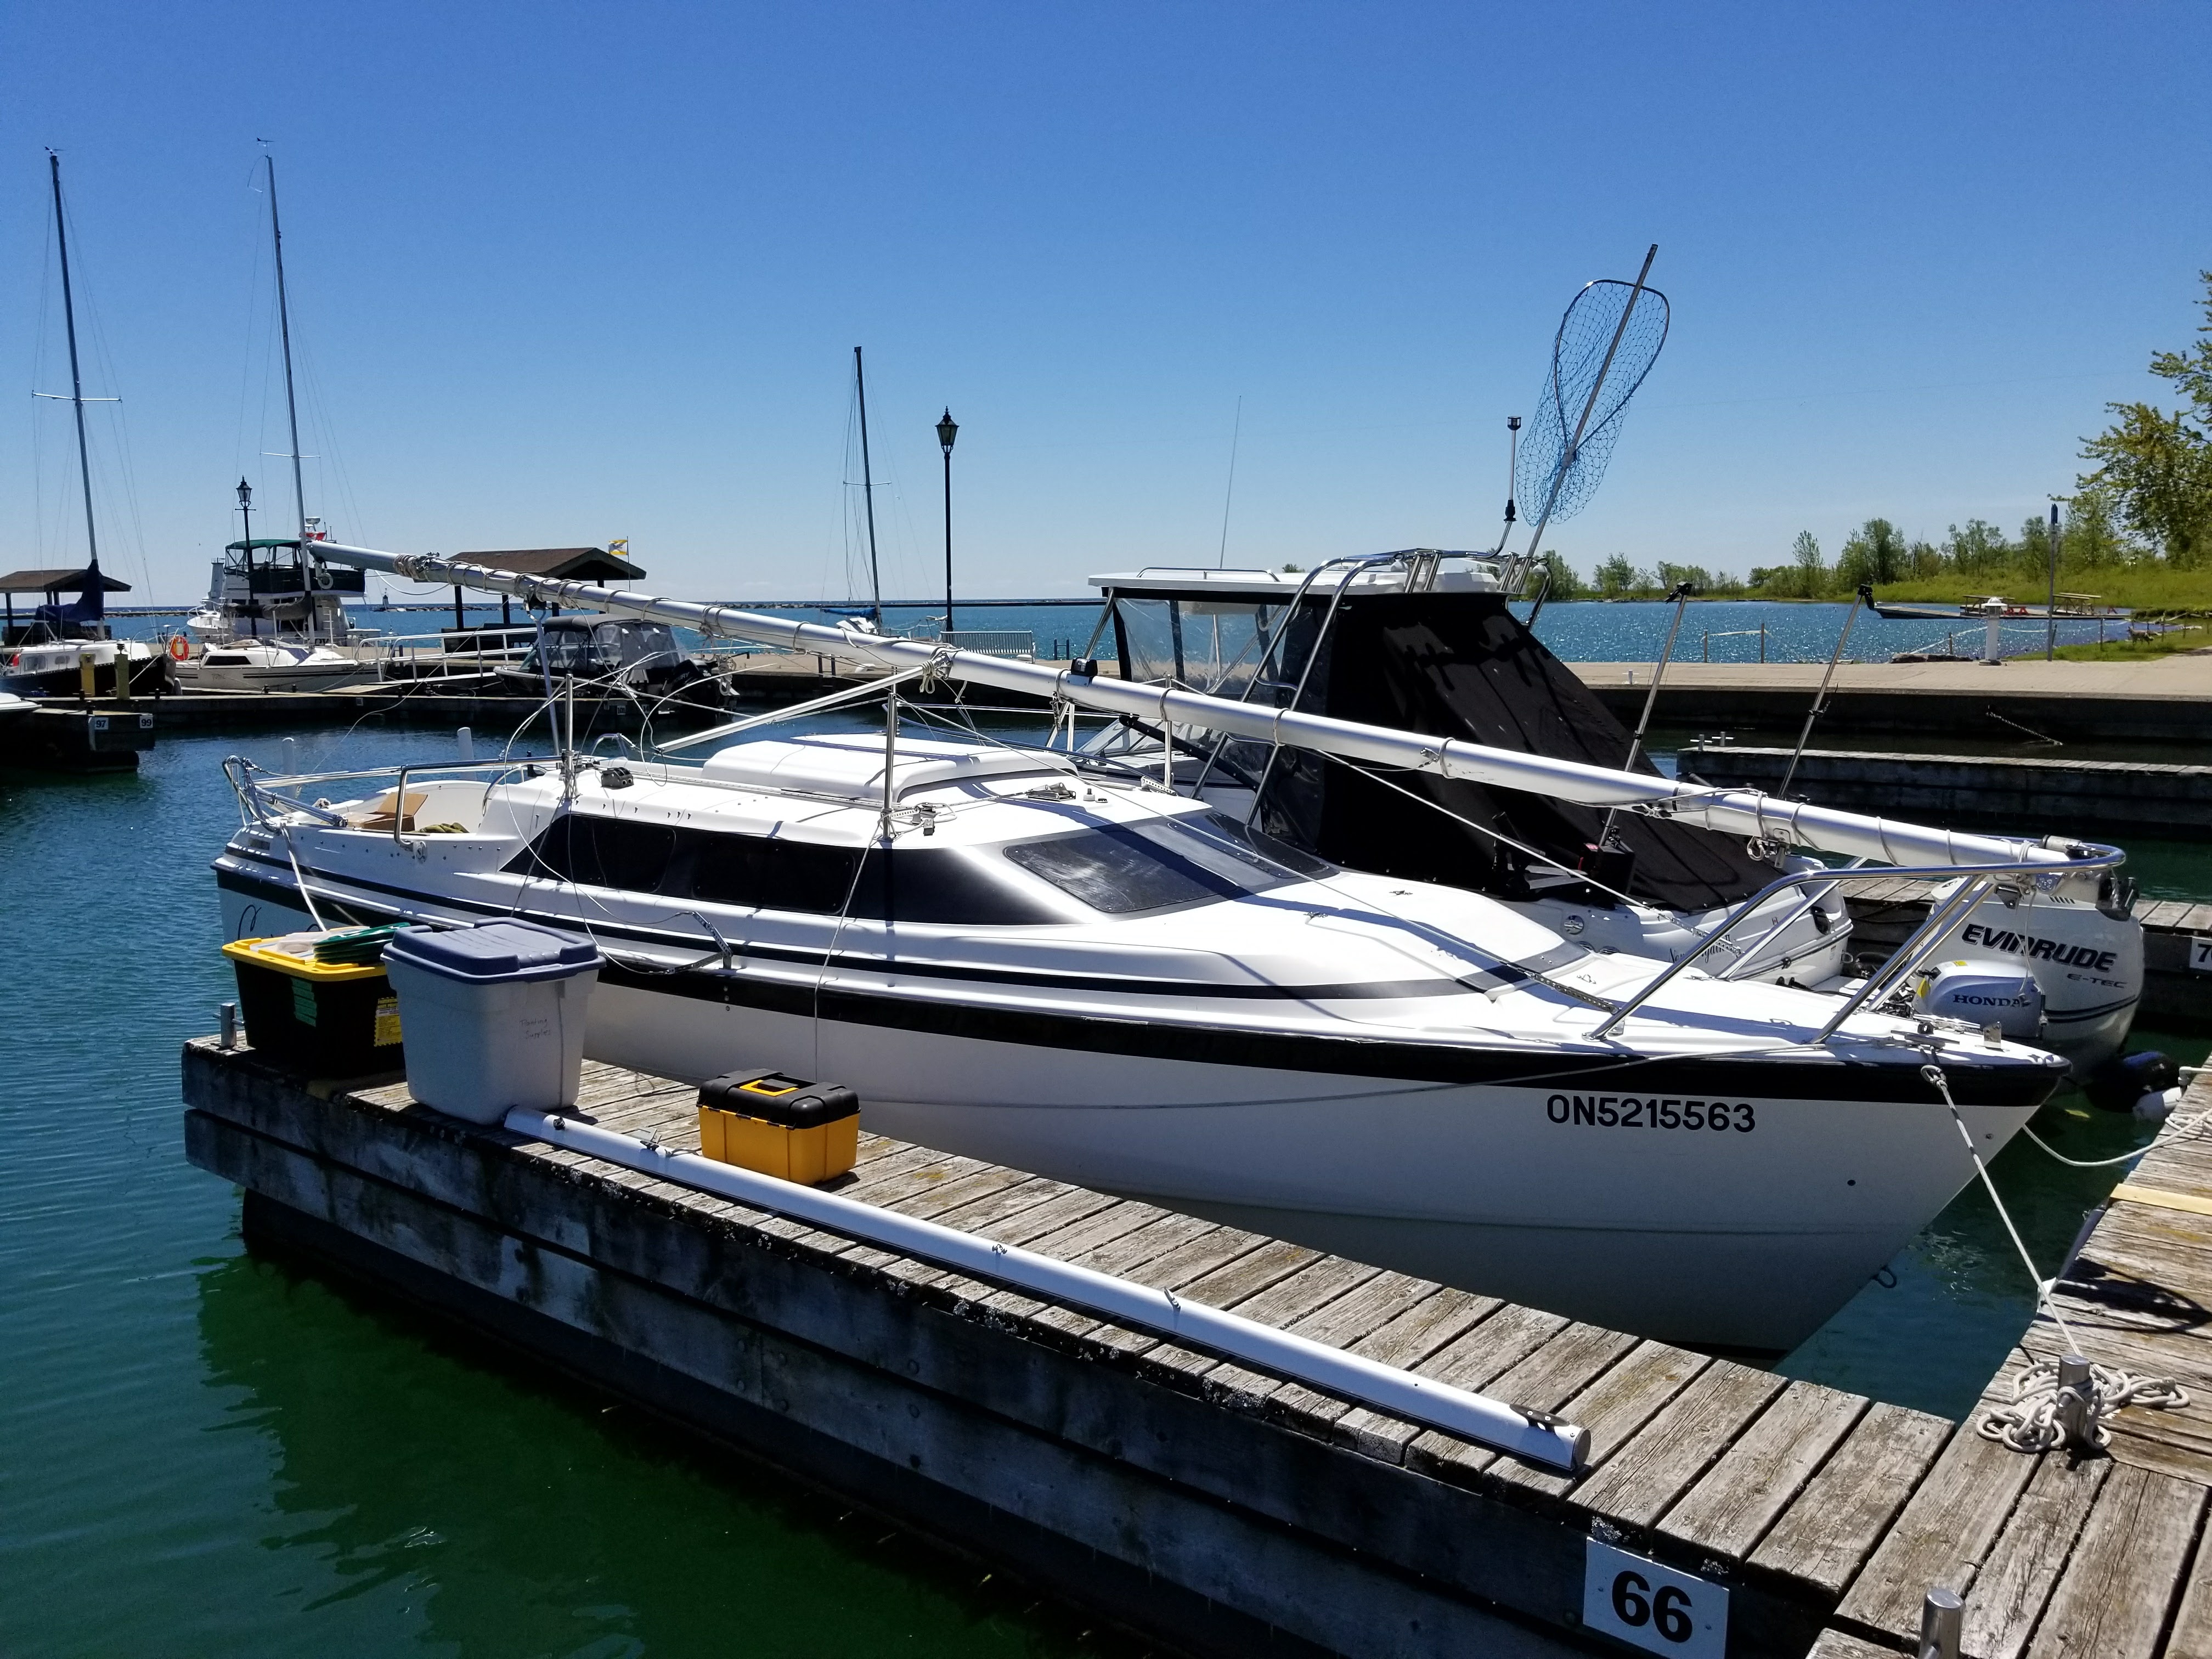
But we didn’t care, we were just happy to be in Cobourg with other sailboats!
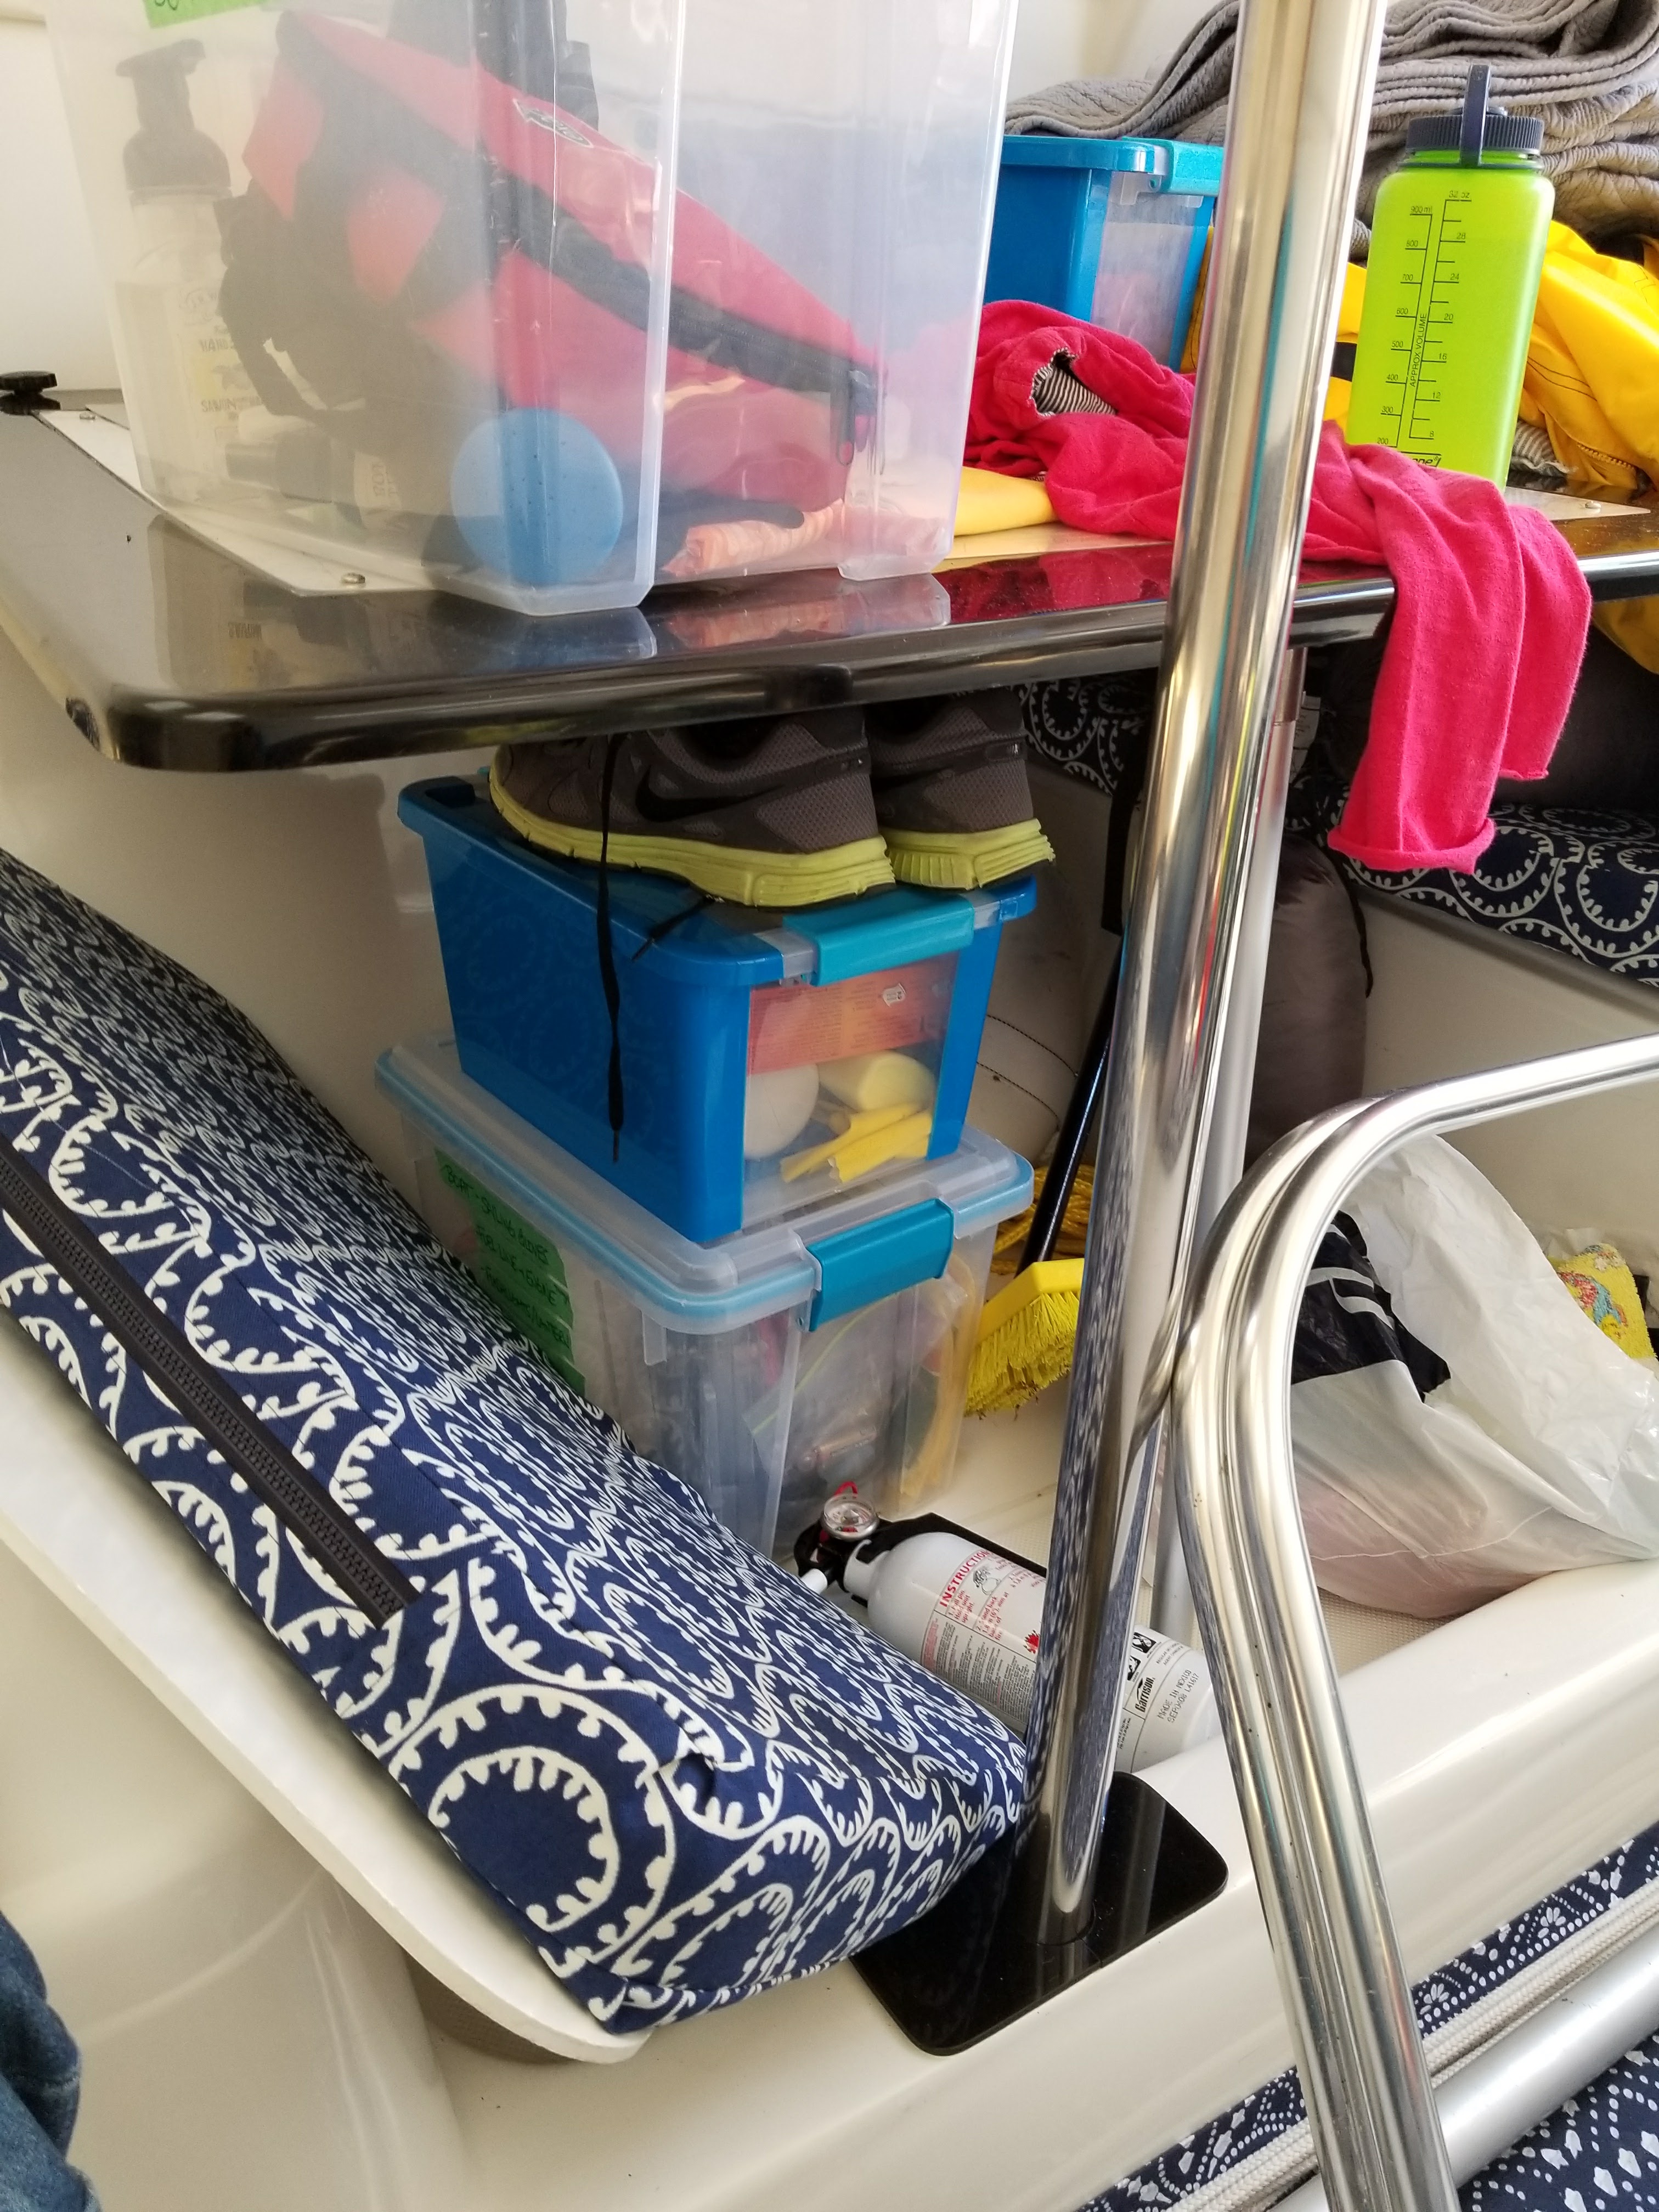
Cleaning up the interior
After loading everything on the boat, it took a bit to change things from looking like this:
To this:


Everything now has it’s spot and Lori has it all figured out how everything packs away so nicely. Also note the new cushion covers and the new stove!


1 Pingback