The original bunks on the trailer were in pretty bad shape. A few Youtube videos later I was a bunk replacement expert. Gavin and I spent about two hours putting on new boards and carpet. The hardest part was removing the old bolts.


Went out and bought some new stainless steel nuts and bolts along with carpet, glue and new 2x4s to spruce it up and protect our boat while one the trailer. It took a bit to pull the existing boards off but good news was the trailer frame was in good shape underneath.

Replacement was pretty easy. Here’s the shortened version:
- Used the boards we pulled off as templates for cutting the new boards.
- Installed boards without carpet to ensure they all fit properly and left room in between for carpet. Made sure all bolt heads were countersunk into the board to avoid them popping through and scratching boat hull.
- Pulled the boards off, and put them on top of new carpet to cut it down to size.
- Applied glue to the boards and carpet and stuck them together, using a few staples to hold the carpet in place. Wrapped it almost like a Christmas present making sure all the seams are on the bottom, not next to the boat.
- Attached the new bunks to the frame.
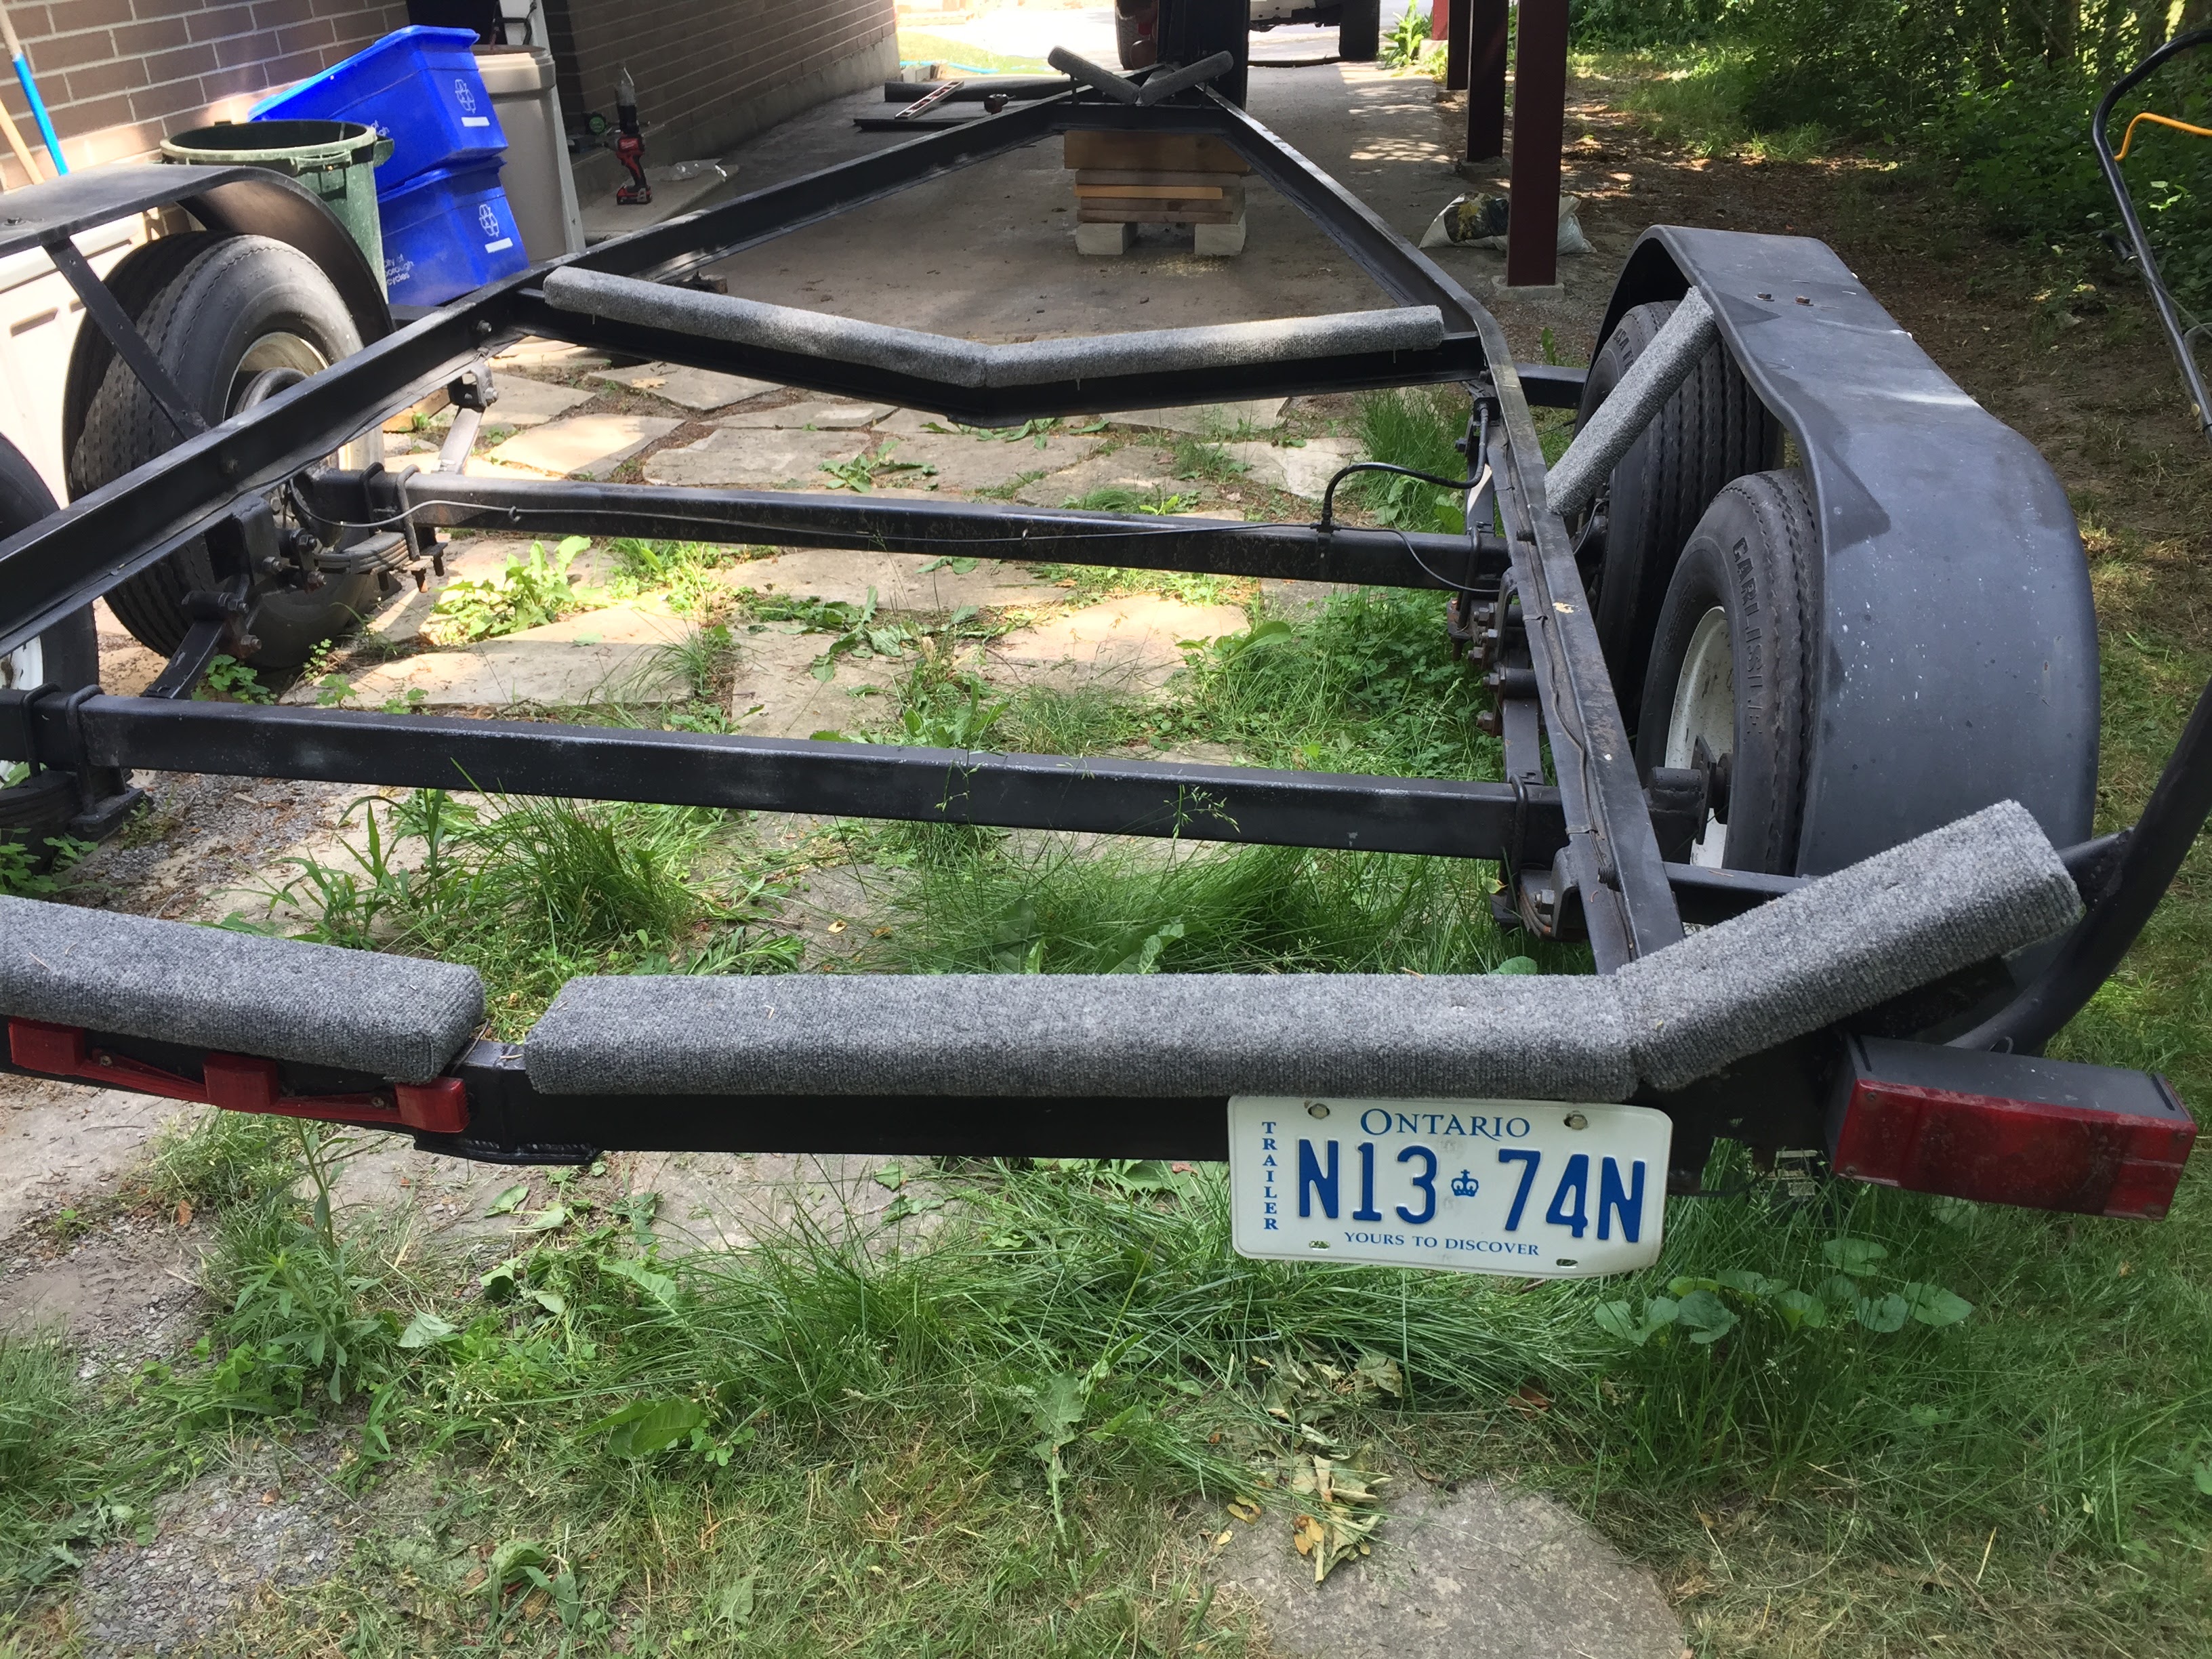
The final result looks much better!
Lessons Learned:
- When working with glue, always wear disposable gloves.
- Leave space for the carpet between spots where boards touch. Had to go back and cut a few boards slightly shorter.
- Put the bolts through the board BEFORE you glue the carpet on top. Fortunately I figured this out after I did just one bunk.


1 Pingback