We still don’t know if Lori can get vacation but we’ve decided to start prepping the boat anyways. It was a beautiful weekend and we both find it easy to spend full days working on the boat. It’s refreshing and that first beer after finishing a project always tastes the best on the boat!
The plan
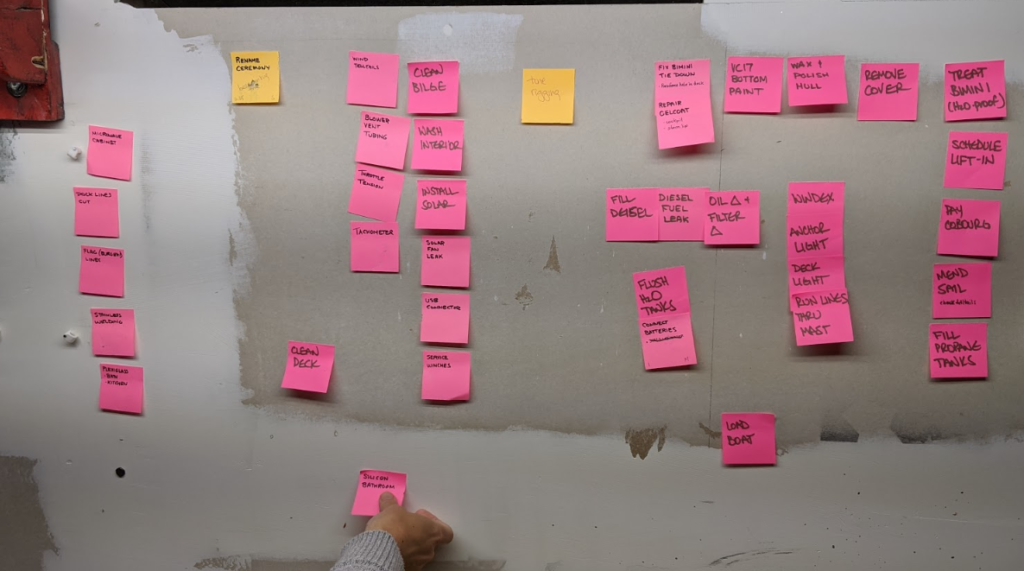
We started by organizing all of our tasks on sticky notes to get the boat ready. See my previous post on how we organize and keep track of all the work that needs to get done.
The car
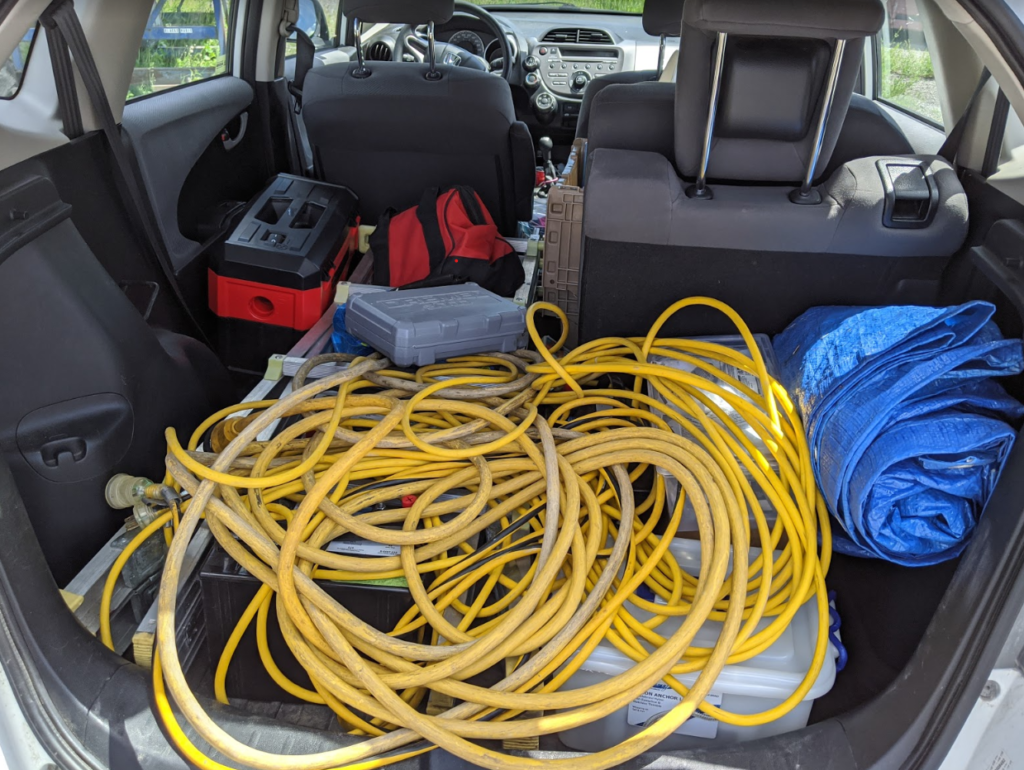
OK, not boat related, but I need to take moment to say how much we can pack into this little car.
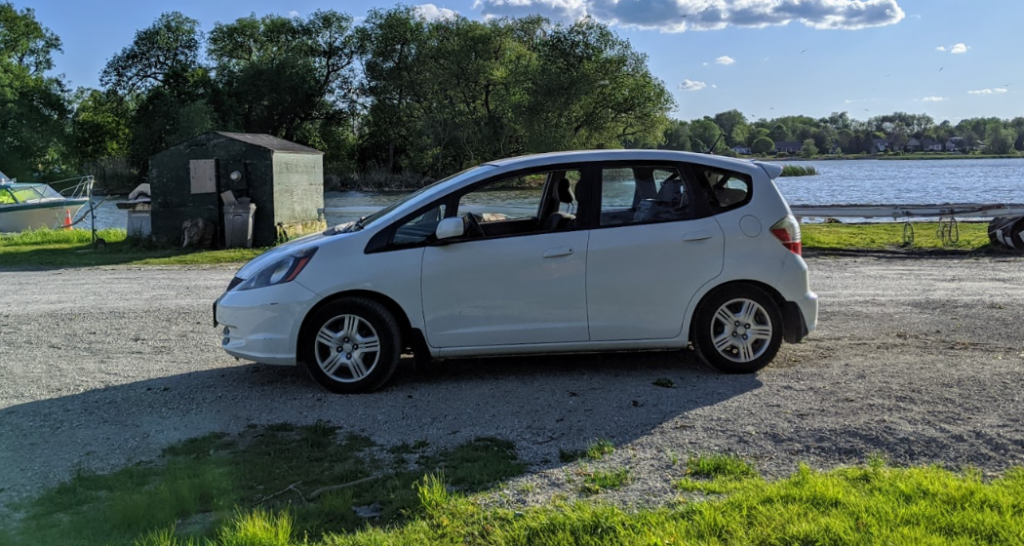
It’s a 2013 Honda Fit and we like to call it our clown car since it is cute and funny looking. But more importantly, just like a clown car it can pack an insane amount of gear inside of it. We have a ladder, three batteries, painting gear and pretty much all of my tools stuffed in there. And there’s plenty of room for more gear.
The boat
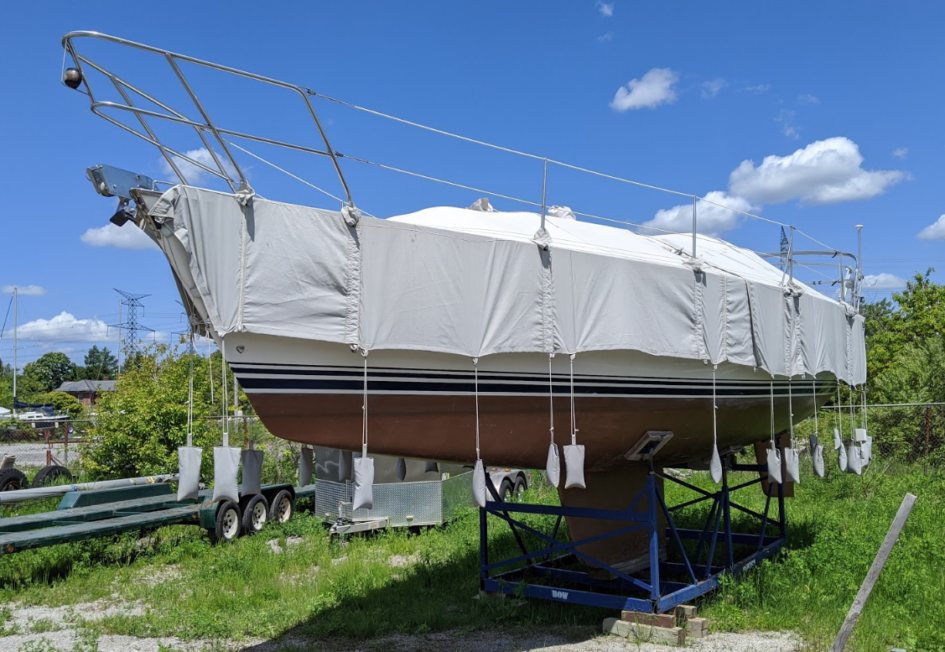
Foggy did well over winter at Wiggers. The patches and fixes Lori made to winter cover held up and kept the boat safe.
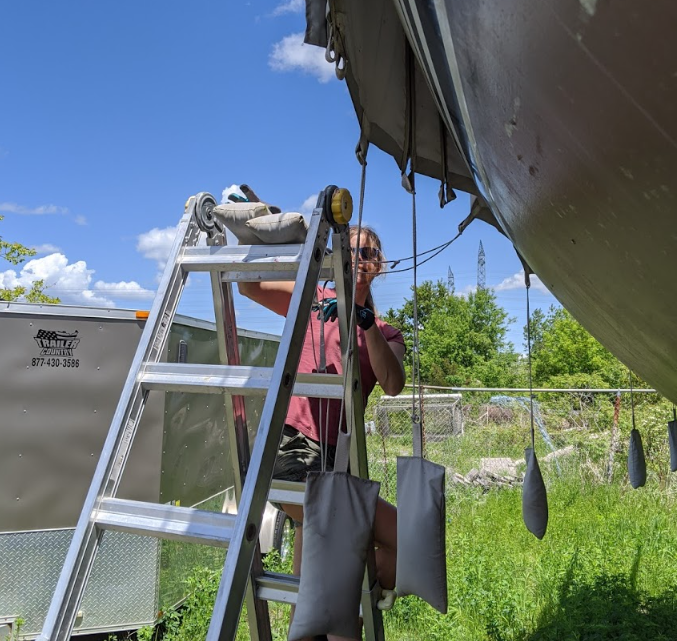
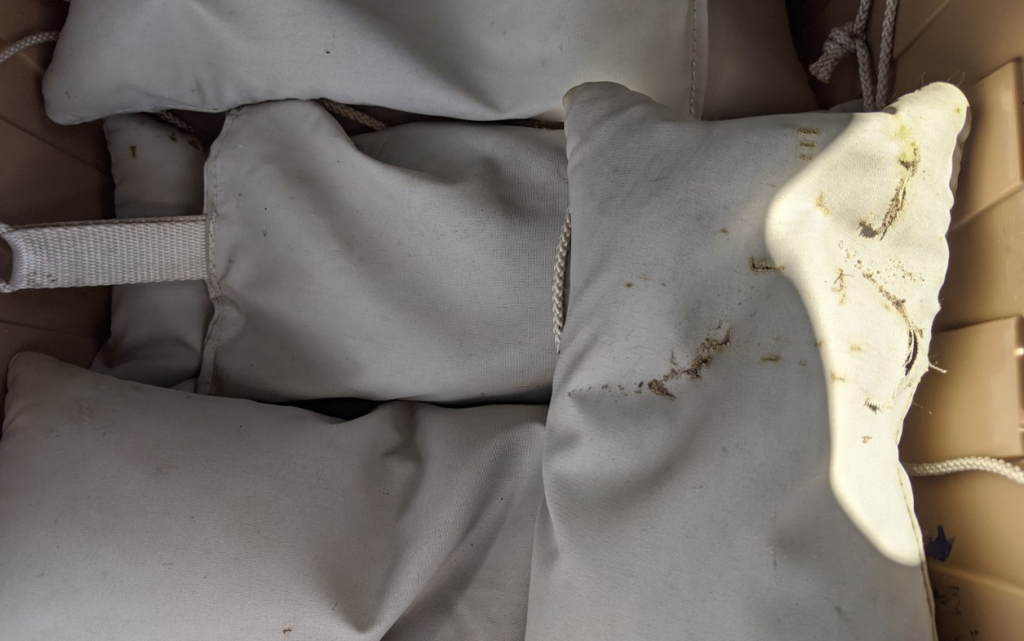
We really like the sand bags to hold down the cover since there’s fewer lines wrapping around the boat becoming lose or rubbing. Unfortunately, a couple of the bags are showing their age and leaking sand.
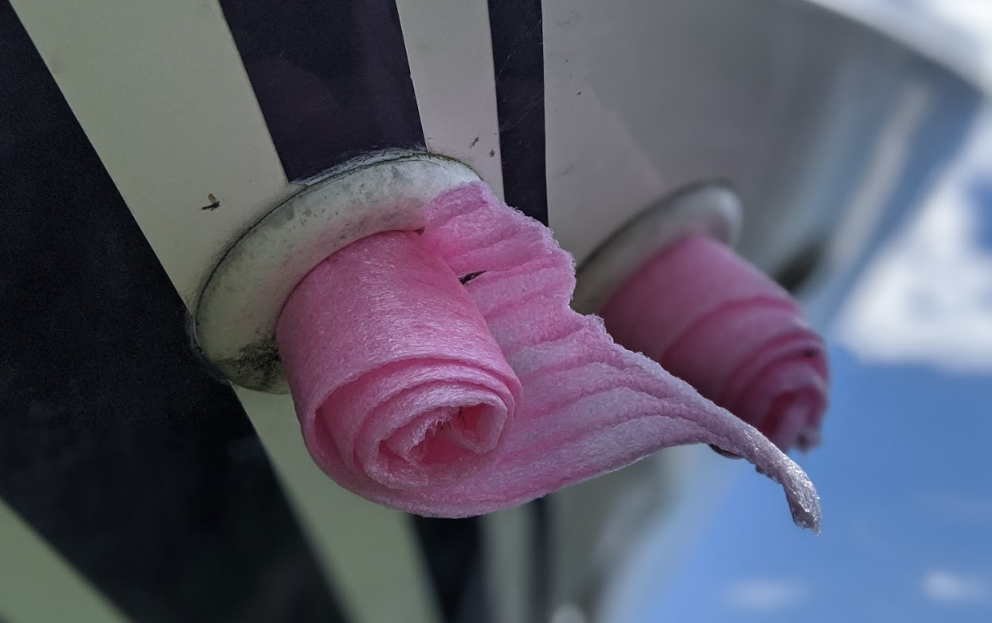
She looked a little bit dirty, the bottom was power washed at the end of the season but there were still a few things left behind.
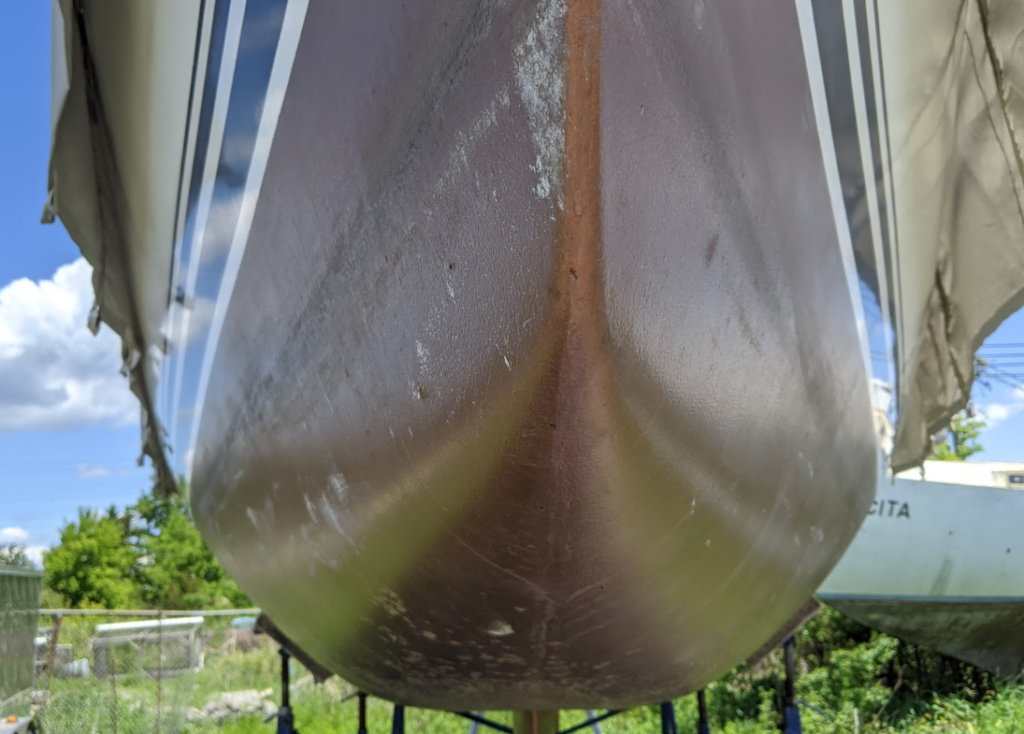
Up close you can see some of the remaining muscles. They dried out over winter and wiped off easily.
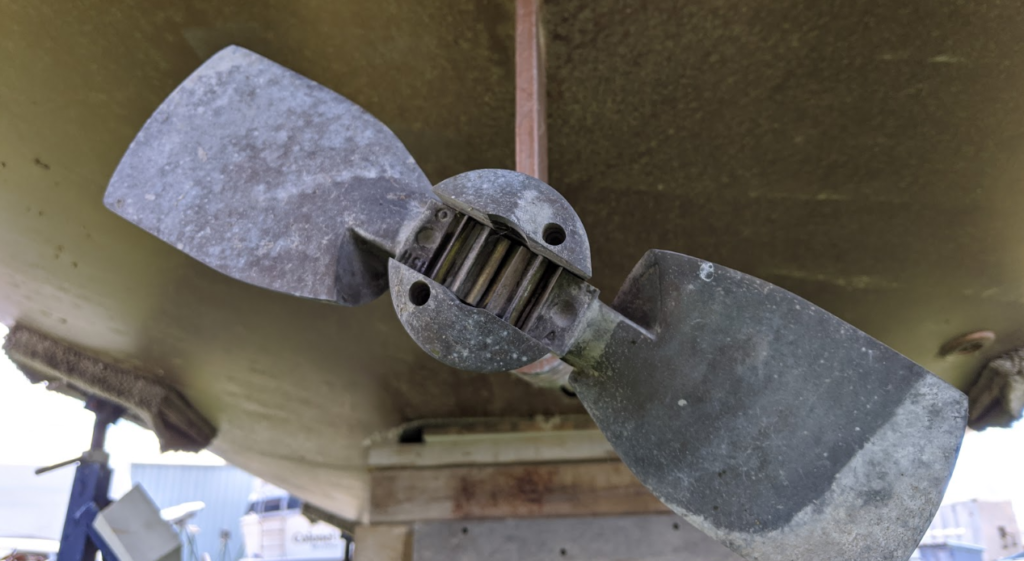
Prop still looks good and still opens and closes smoothly. The shaft doesn’t have any play and spins easily with transmission in neutral. Previous owner told me to use a light acid to clean the shaft and prop, may try that this year.
What we found under the cover
After removing the cover, We found evidence of water pooling on the outside edges of the deck. A little green moss was starting to grow and and then we saw this.
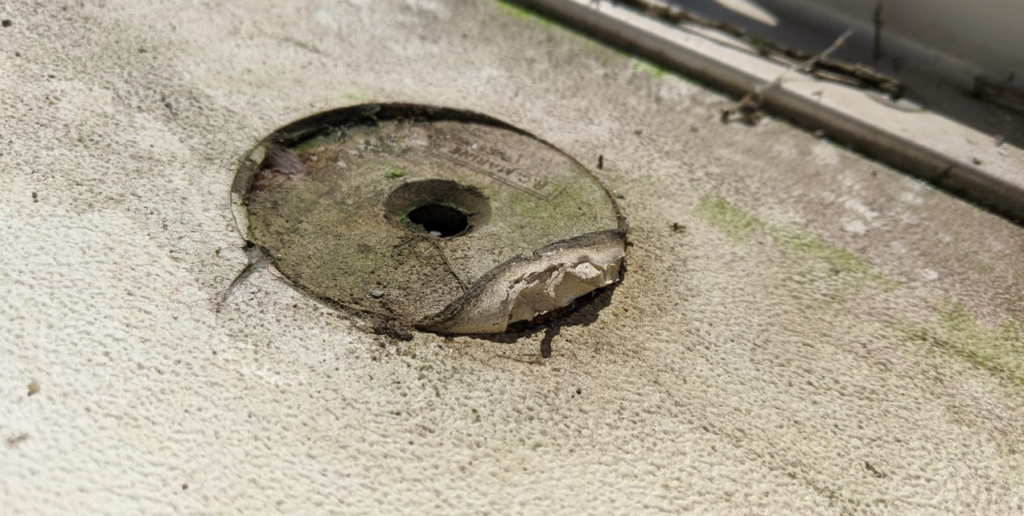
The rubber gasket, or rubber sealant, around one of the deck scuppers was pushed out. I’m guessing water got stuck in there and froze pushing it out. Fortunately there’s no damage to the fiberglass and the underside was dry and untouched. We are thinking of replacing both of these with stainless steel scuppers that should hold up better.
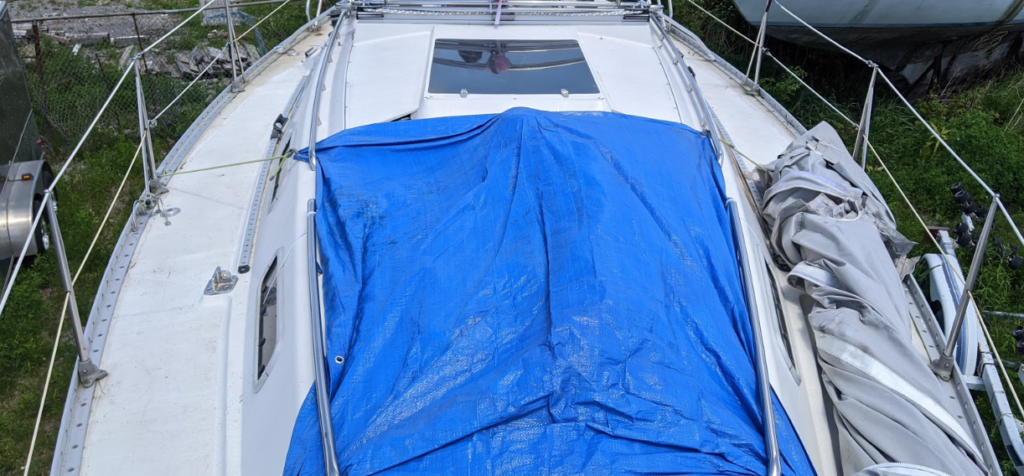
The rest of the boat was good. The second layer of tarp held up well over top of the mast plate and our leaky solar vent.
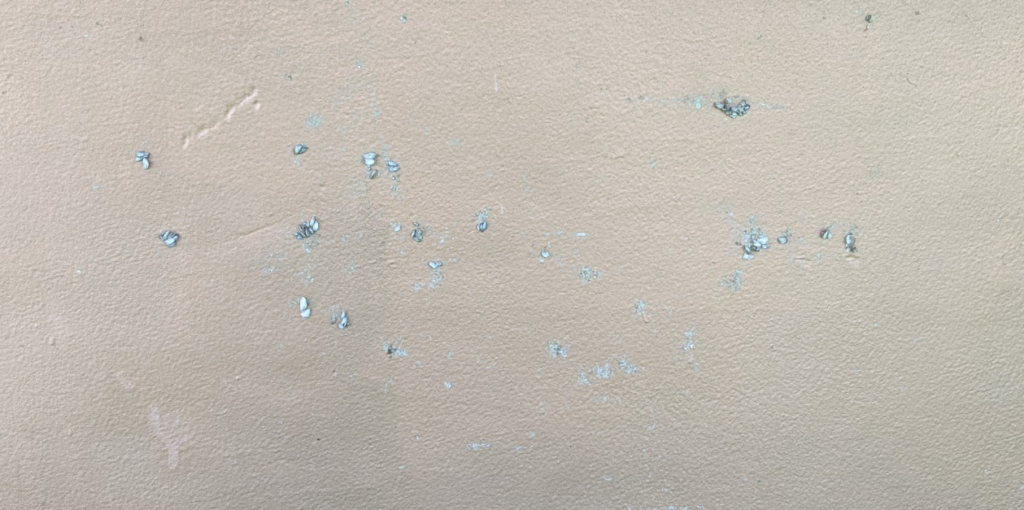
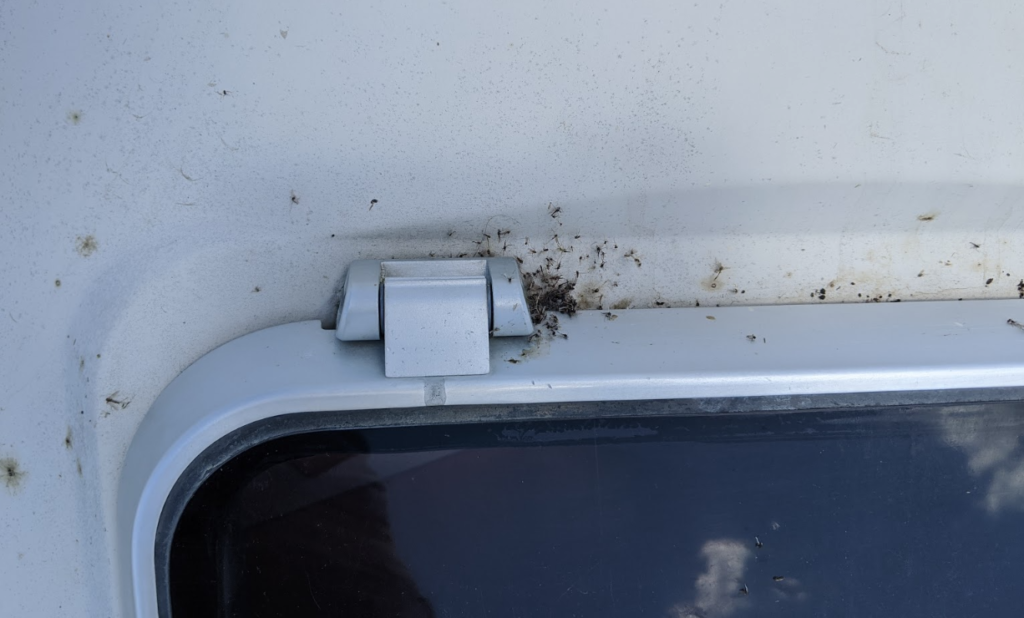
Just dirty with a nice collection of spider food.
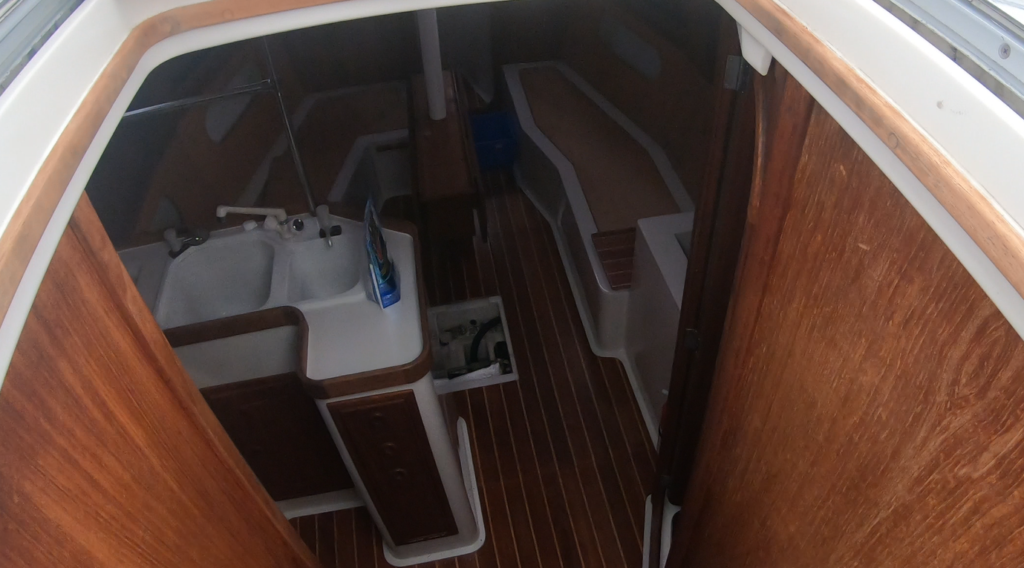
Inside the boat was perfect, we used dehumidifier pellets in two separate containers and bounce fabric sheets spread around in each of the cupboard.
I noticed that some wasps were also checking out the boat. We quickly filled all of the holes to prevent any unexpected nests.
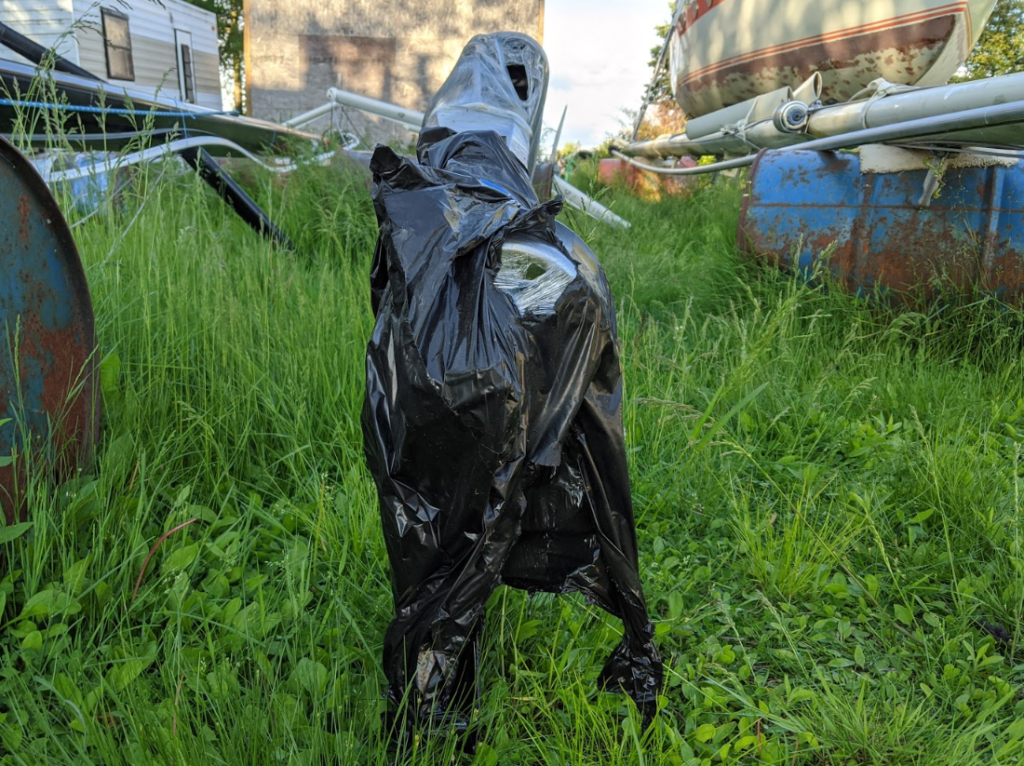
The mast
The mast held up well. But we noticed a mistake. Here’s how I wrapped the base of the mast in the fall.
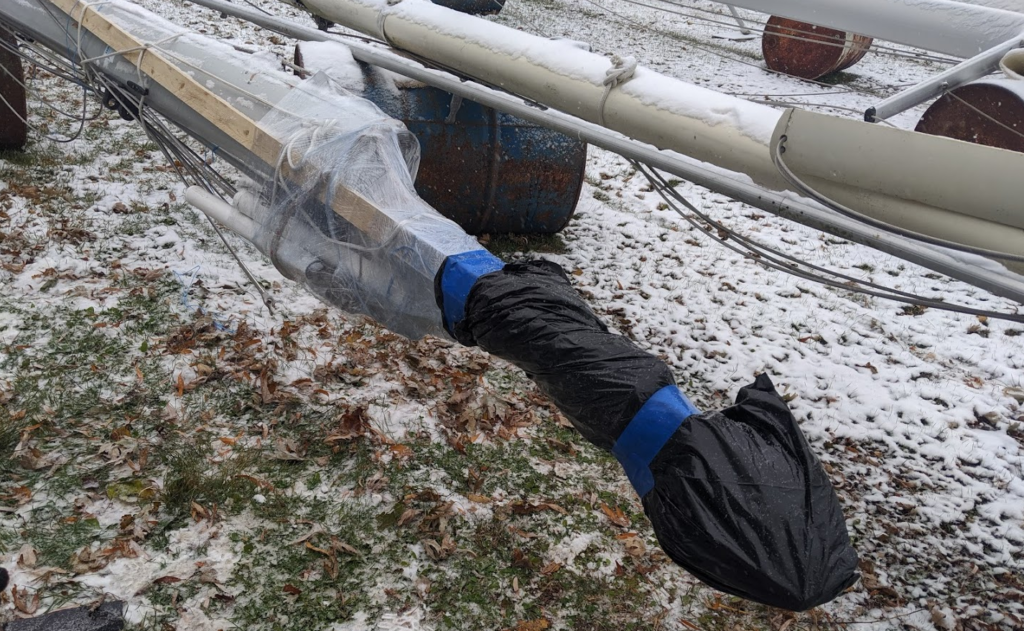
This side of the mast is lower and even though it was water tight, I guess water can still get inside the mast and run down. The black garbage bag had about two litres of water and it was sagging down from the weight. I ripped open the bag and fortunately the furler was not resting in the water and looked undamaged.
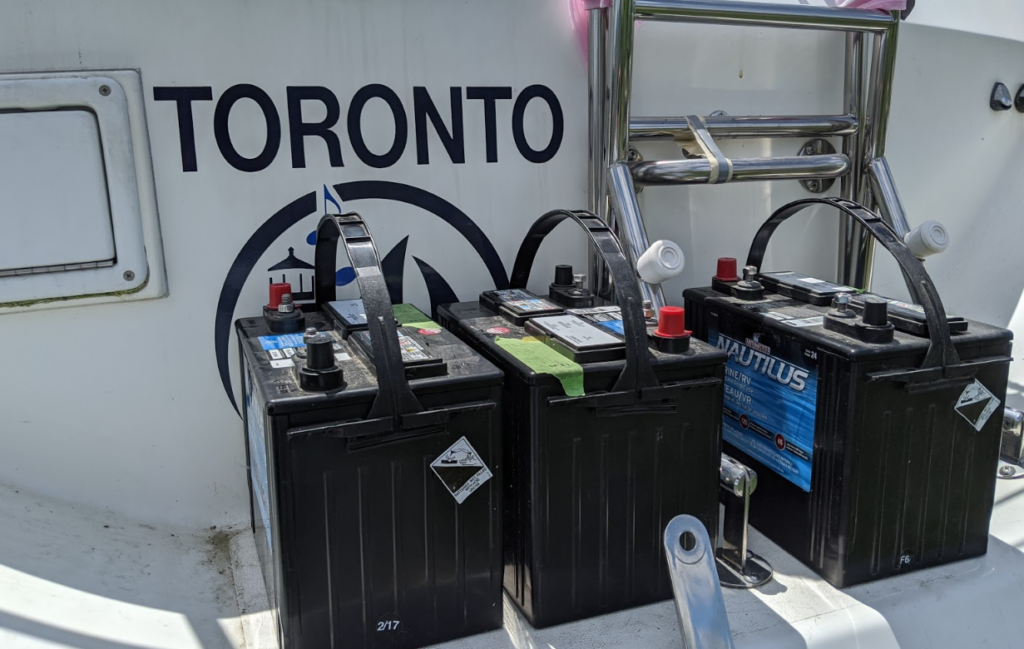
Reinstalling the batteries
This is always a fun exercise of lifting the batteries back onto the boat, they are heavy! I can’t wait to replace these with lighter modern batteries! Step 1, up the ladder and onto the sugar scoop.
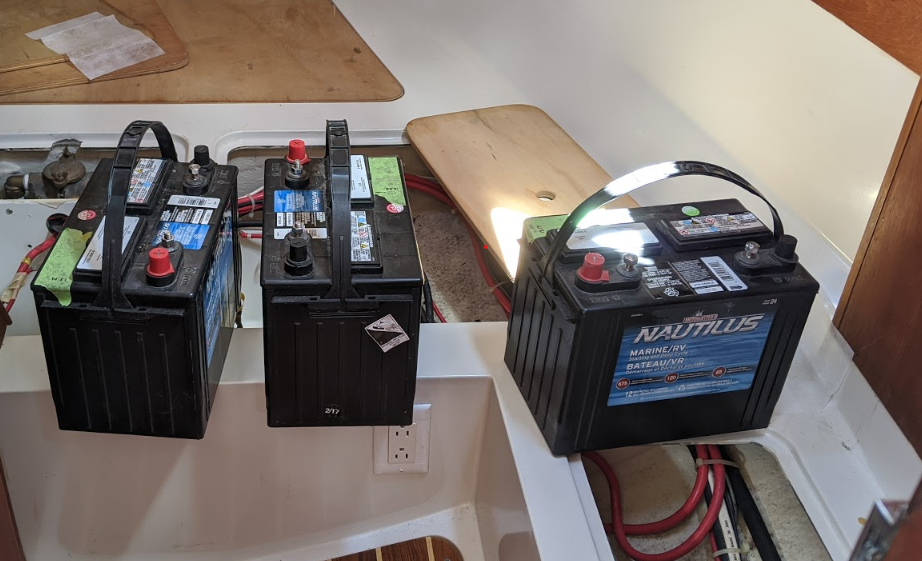
Step 2, lift them into the aft berth.
Step 3, reinstall and make sure the wiring is correct. Ensure your metal wrench isn’t long enough to touch both terminals at the same time. Yes, I’ve done this before and it’s shocking.
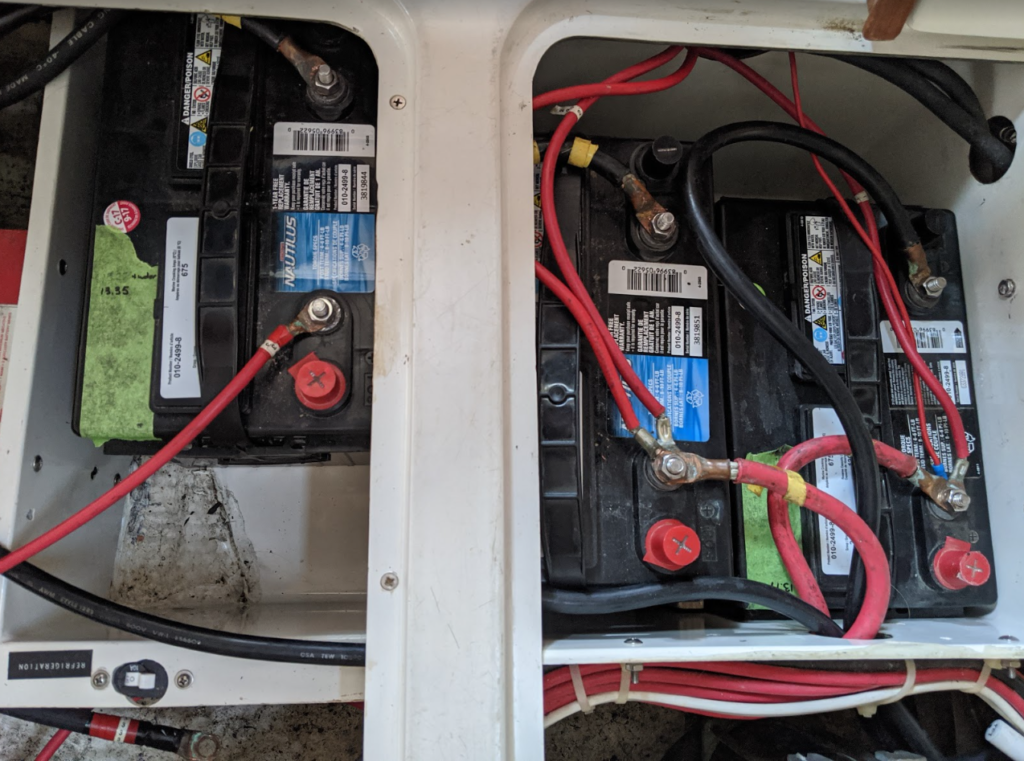
This wiring may change up a bit when we install our solar. I thought everything was good, until I got back home and looked at the pictures again. Can you see my mistake? I’ll have to fix this on my next trip to the boat.
Prepping the bottom for paint
We didn’t have time to paint the bottom last year so we knew it would be more effort this year. The previous owner gave us very simple but specific instructions on what he did. We’ve received positive comments from Wiggers about our bottom paint so he must have been doing it right.
Lightly sand the bottom with 220 grit sandpaper. Re-paint with the same paint, thinned down. It dries really fast.
previous owner
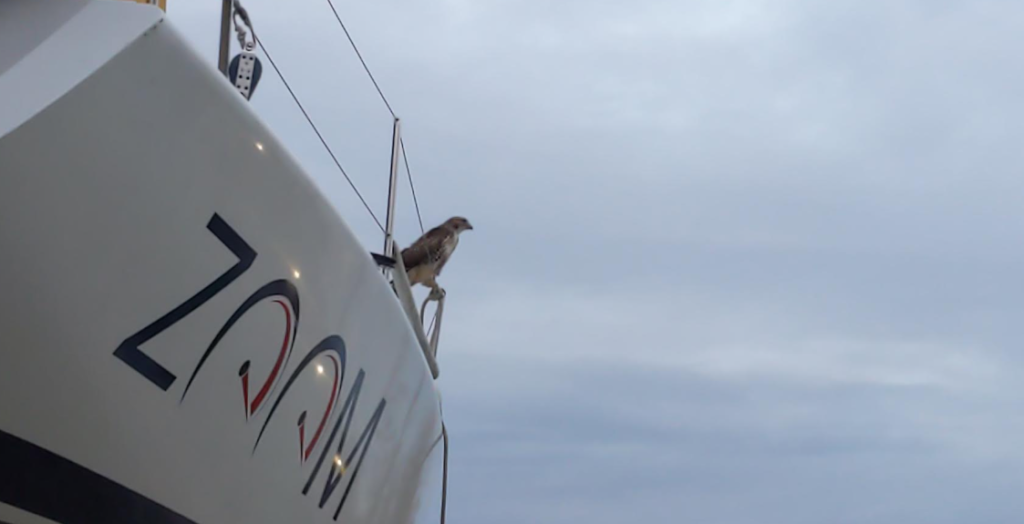
We have some experience with VC-17, this is what we used on our previous boat and felt somewhat comfortable with this process. I assumed we were using the same stuff, but later found out I was wrong. The paint can looks similar. I spoke with two other sailors in the yard about bottom paint and then quickly became confused by their advice about VC-17. Keith, who was working on a really nice 40 foot racing boat, Zoom, told me how he removes the previous coat with a scotch pad and water.
Keith really seemed to know his stuff, but I left totally confused. I couldn’t figure out why his paint was so easy to remove and his method for applying was totally different from what we were told. The next day when I opened up the can of paint given to us by the previous owner and couldn’t find the bag of copper dust that I realized I wasn’t applying VC-17. It was Interlux Fiberglass Bottomkote Racing Bronze with Interlux Solvent 216 Special Thinner, I’ll explain more in my next post.
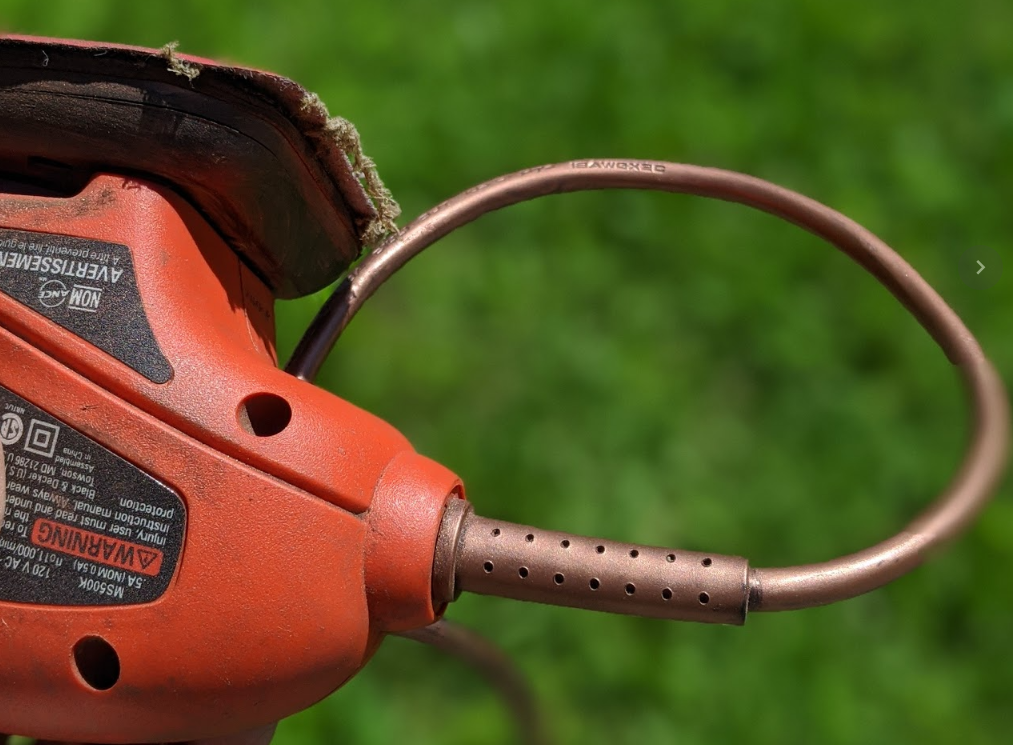
We spent the rest of the day prepping the hull. First brushing, then sanding with 220 grit sandpaper and then washing with buckets of water. We wore full protective gear with face masks and glad we did, the dust was weird. See how it somehow re-painted the cord of my sander.
We used the power sander since some of the growth was hard to remove. Next year I think it will be cleaner and safer to wet sand by hand.
What worked
- Additional tarp
- New 3M respirator masks
- Position of the boat was good for sun. In the morning the starboard side was cool and in the shade, in the afternoon the port side was in the shade.
- Magic cargo car
- Lot’s of extension cords, our boat was a long way from the electrical outlet.
- We didn’t forget anything at home!
What didn’t work
- Spiders everywhere! Should have put spider ban on the pads at the end of the year.
- Dry sanding was messy, saw others wet sanding
- Plastic bag on the mast ends. Should have put holes at the bottom to allow any water to escape.
- Wish we spent a little bit more for the respirator masks with face shield. Dust got past our goggles.
- Rewiring the batteries, double-check and then triple-check that they are done correctly.
- Considering covering all the exposed holes earlier, but maybe it’s better to keep them open over winter to prevent unexpected water build up like the mast.
New projects to add to the list
- Replace scuppers
- New blocks to prevent batteries from sliding.
- New labels for battery wires, existing ones starting to fall off
- Clean prop
- Remove dining table and design a new table that takes up less room and provides some storage.
- Patch sandbags
- Dream about lighter batteries
Our spring prep checklist
I’ve been slowly documenting things that need to be done to the boat on my Spring sailboat recommission checklist page. Check it out and let me know if you have any more suggestions!


Leave a Reply