
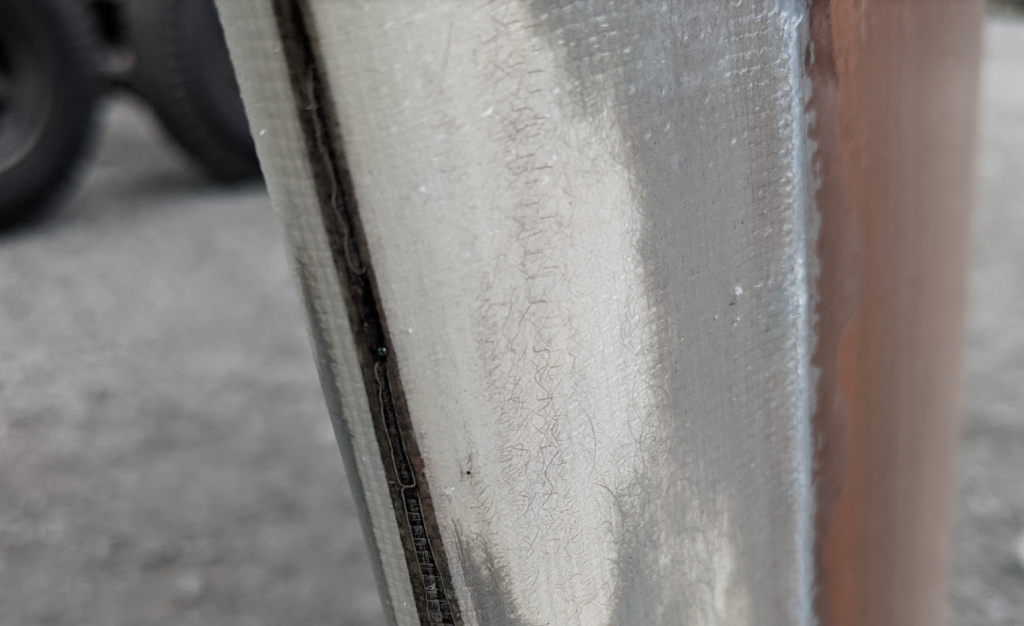
When we first checked on our boat after winter, I noticed two rust spots underneath our rudder. Looking closer at the leading edge of the rudder I could see there was some water damage.
I’ve recently heard from other sailboat owners that they drill small holes in their rudders to allow any accumulated water to escape. These are left open over winter and then filled in with silicone before going back into the water. I guess most rudders have a hollow or foam filled void that can absorb water. If it’s not drained during winter storage, it can expand and split open the rudder. Foggy’s rudder has never had any holes drilled into it. I always thought it was dry, but looks like I was wrong.
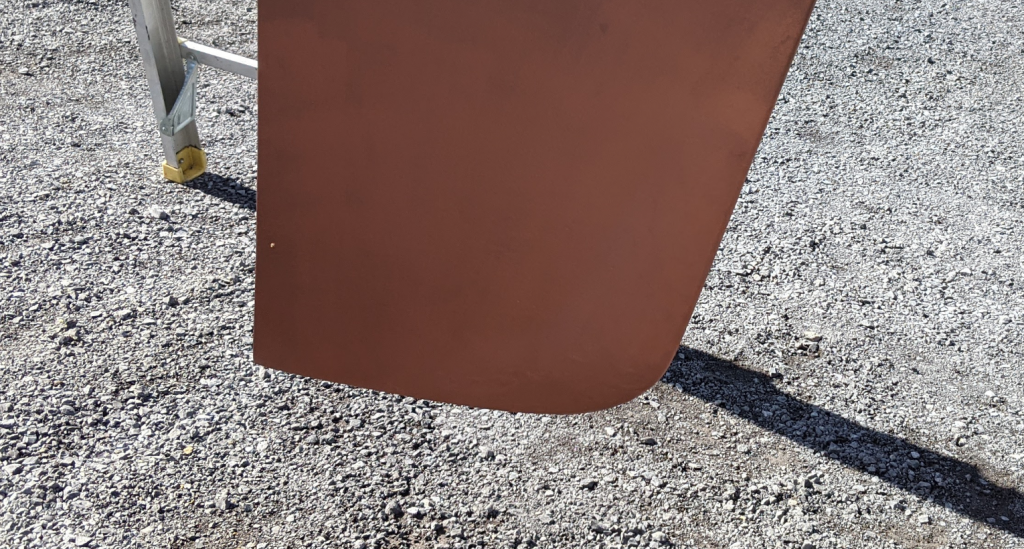
Here’s the water damage we found on the leading edge of the rudder.
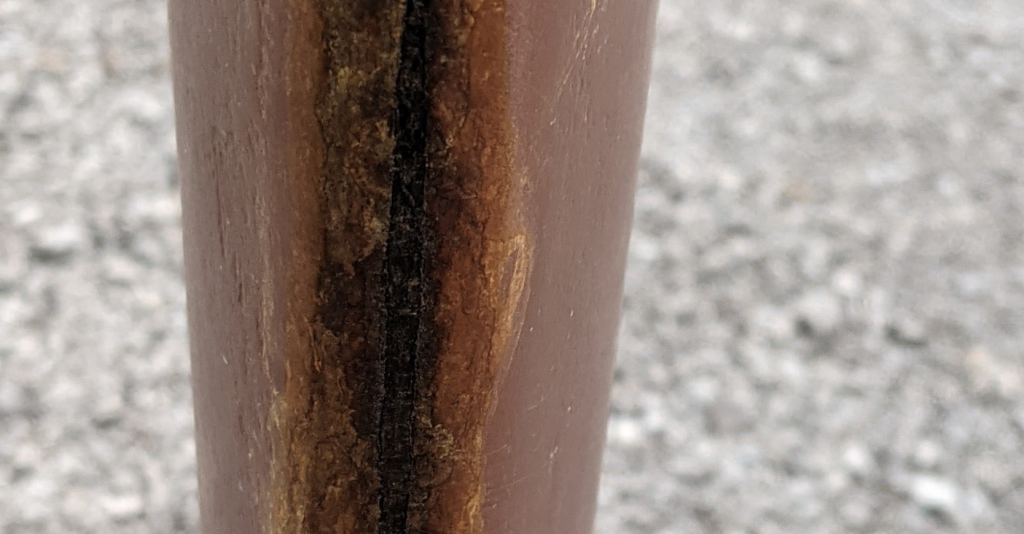
I washed down the edge to get a better look and can now see how the rudder appears to have wood sandwiched between the two fiberglass sides. The wood is a little soft and easy to pick out of the center.
I asked around for some advice and some suggested 5200, some suggested it’s fine to just paint over it, one person working in the yard on their hull suggested fiberglass. We were short on time to get the boat ready and doing the minimum right now to get the boat in the water. But this felt like one of those things that needed to be done properly.
A few discussions later and lots of online research I made the decision to try a fiberglass repair for the first time. I was really nervous, and have been putting off attempting fiberglass on the boat but this forced me into it.
Quick disclaimer, I have no idea what I’m doing here. I am not a fiberglass expert by any means. What I did seemed to work and I’m happy with the results. Let’s wait until Foggy is pulled out of the water at the end of the season to see how this rudder fix held up!
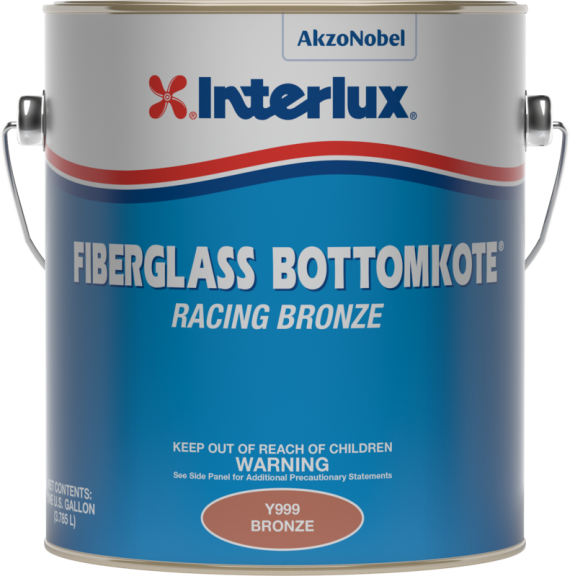
The first step was to completely clean up the area and remove the bottom coat paint. We use a non-ablative (doesn’t easily come off with water and wiping) bottom coat by Interlux that we really like. Interlux Fiberglass Bottomkote Racing Bronze.
It does a great job but it’s weird sticky stuff when it comes to sanding. The sanded material is sticks to everything. My sander power cord is now a nice copper colour from this stuff. I wear gloves and a respirator and they also have a nice copper colour. It seems to melt and then rehardens. This caused some issues later on.
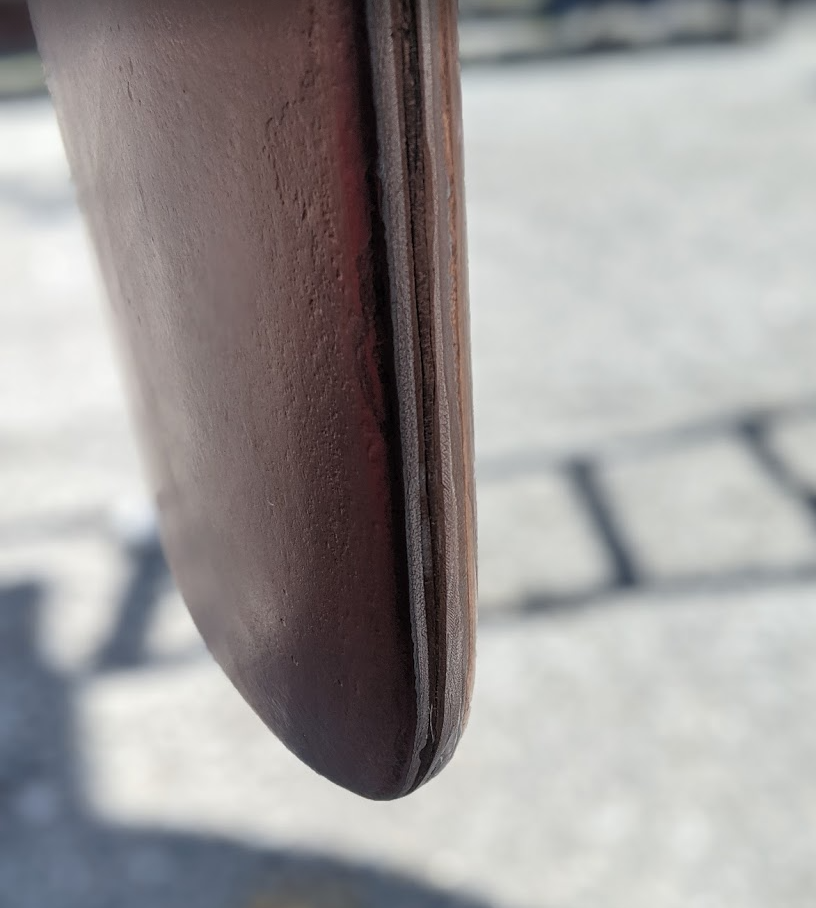
Since I’m using a 4″ wide strip of fiberglass tape I sanded back about 3-4″ on both sides of the leading edge of the rudder. Also note the small hole I drilled to remove any water. It was bone dry in there. I guess I was lucky the water found this crack to escape otherwise the ice damage to our rudder could have been much worse.
Trust me, it took a lot for me to take the 80 grit sandpaper to the boat. This was the point of no return and I was nervous how it would turn out. After sanding I used Acetone to clean, which I think was a mistake. It dissolved some of the bottom coat and made a mess. I went back over with just a water soaked rag.
I measured out a strip of 4″ wide fiberglass and made some triangle cut outs on either side where it was going to curve around the bottom of the rudder. If I didn’t do this there would have been some messy large folds of fiberglass to deal with.
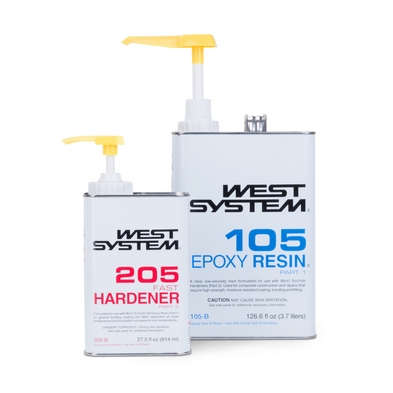
I finally mixed up epoxy for the first time. Last season we purchased some West Systems epoxy and hardener along with the measuring pumps.
This part was way more simple than I thought it was going to be. West Systems provides great instructions on their website:
I then used a plastic bin container wrapped in a clean garbage bag as my working surface under the boat. With a stubby brush I then coated the 4″ wide strip of fiberglass on the container lid. This was a bit surprising and obvious at the same time. The white thick strip of fiberglass became translucent and felt more like strong tissue paper. Starting at the top I placed the fiberglass over the leading edge of the rudder and worked down making sure no air bubbles were trapped. Then using the brush tapped out the edges all the way down. I was impressed with how easy this was and how smooth it turned out!
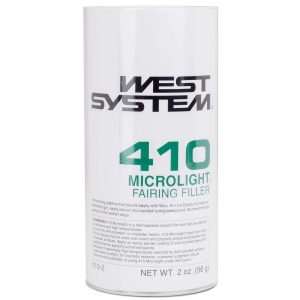
We let this sit for the day and then lightly sanded. I then mixed up some more epoxy and added some West System Fairing Filler.
I was worried about this part. I’m no longer allowed to mud drywall at home because of the mess I make. I’m just not patient enough to perfectly cover a seam. This stuff was much easier than drywall mud but it didn’t look all that great at this point. You can still see some of the creases at bottom edge of the rudder.
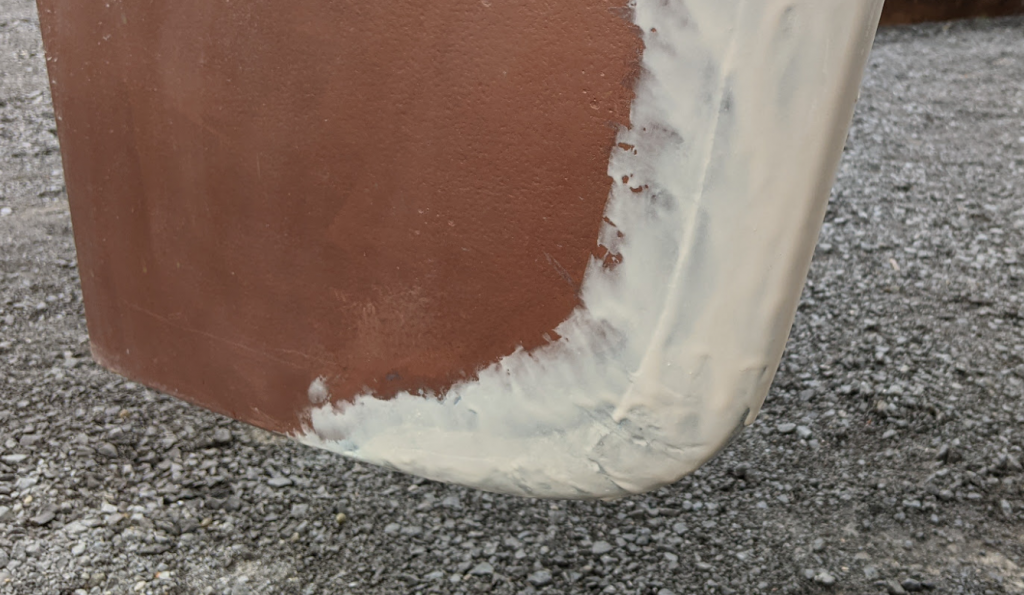
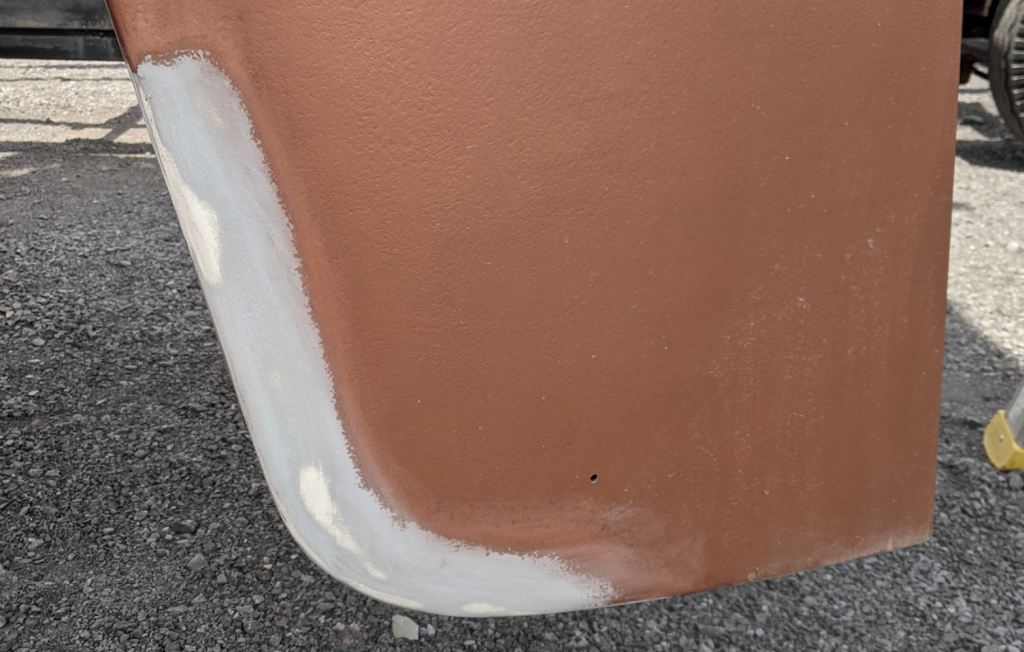
The next day it was rock hard and ready to sand. It was very easy to quickly sand down and did a great job of filling most of my mistakes. However as I was sanding I started picking up more of the bottom paint and it was gumming up my sander making more of a mess. The end result wasn’t perfect, but other than everyone here, nobody will ever see it.
The hole on the other side was filled with some 5200. Overall this project was easier than I ever expected it to be and a good first project for me. I still have some practice to do before I’m comfortable making a fix that is in a more visible area.
Tips and Lessons Learned
- Be organized – have everything lined up, fiberglass dry fitted, and ready to go before you mix the epoxy.
- Keep yourself safe – disposable gloves, respirator and protective eyewear are absolutely needed.
- Keep things clean and organized – I keep all my fiberglass supplies organized in a plastic bin, lots of disposable gloves and had a separate garbage bag ready to collect all the remaining sticky mess. I’ve had other projects get out of hand quickly with sticky goo everywhere. I’m sure epoxy would make a much harder mess to clean if not organized.
- Understand the different uses and types of fiberglass products – I was a bit rushed in picking out the fairing compound. The stronger 407 compound may have been a better choice. Let me know in comments what you would have used.
- Sand back more than you think – I didn’t like the idea of sanding down to the fiberglass. I probably should have been more aggressive in how far back and how deep I sanded. Later on when I was attempting to smooth out the fairing, the closeness to the sticky bottom paint made it difficult to make the feathered edge smooth.
- Don’t clean bottom paint with acetone – it just melts it off and spreads it around.
- Do all your fiberglass repairs at once – after I completed this, I remembered we have a small chip in our head that I could have repaired at the same time. That will now be another project for another time.
It really was not that difficult, no need to be scared trying it out for the first time! If you can, go find something that’s not always visible and practice. 🙂
More Information
Andy Miller from Boatworks Today was my inspiration for actually doing this on my own. You can find his YouTube channel here:
https://www.youtube.com/c/boatworkstoday


July 7, 2021 at 9:52 pm
Hi Shane.
Well done. I’m glad to hear you went the route you did, the best route IMO. It is likely to be stronger than ever.
We did a similar repair a couple years ago when we purchased our boat as the damage was similar but was more significant in that we also had a split longer split almost 50% of the rudder and an additional crack along the rudder post edge. Quite frankly it was in dangerous shape and a condition of our insurance to repair.
We dropped the rudder completely and sealed the whole thing, including sealing around the rudder post which was the suspected leaking point.
So far 2 winters, no drain necessary and no water intrusion.
All the best!
Nick
‘Bellos’ CS36T
July 8, 2021 at 9:42 am
Thanks Nick, it sounds like a common issue for many CS owners. Hopefully this will hold for many years! Otherwise we me have to do a more drastic, and expensive repair!
Also funny how comfort level changes. I was so scared of fiberglass before. Now I’m looking at various projects, even around the house. I could fiberglass that! And that… Oh and maybe that too! 😉
January 27, 2022 at 11:43 am
Hello Shane,
I have similar job to do this spring on our CS-30, what amount of epoxy did you buy ?
Thank you !
January 30, 2022 at 11:40 am
I have the exact same sized containers as shown in picture above. I only used about a cup of epoxy. I feel like I will most likely have other projects that will use the remaining epoxy in the future.
April 23, 2022 at 6:31 pm
Shane,
We had our 1991 CS34’s rudder pulled 2 or 3 winters ago to by Navy Point Marine here in Sackets and they cut rudder open and they said it was rough inside. So they cleaned it up, reconnected the sides and filled the void with close cell foam. I have not had any issues since.
Before we that we drilled and drained the void every winter, so the rudder never had a chance to split due the weather.
Kevin
April 24, 2022 at 8:06 pm
Hi Kevin, good to know about the rudder. I’m hoping the inside isn’t too bad as the boat has only seen fresh water. But maybe worth investigating to make sure. I wonder if one of those small pipe cameras could be fed in through the top to see what it looks like inside.