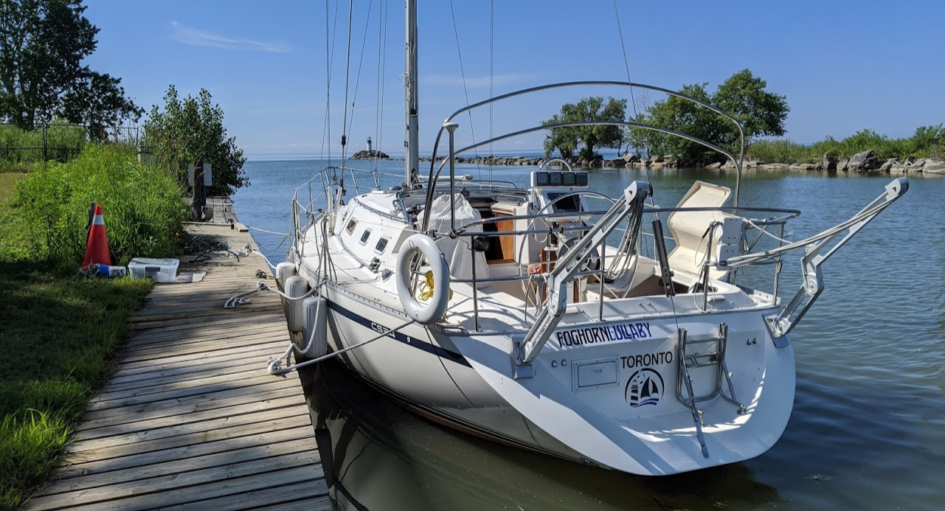
Foggy has been launched!
Probably the most prepared we’ve ever been but it involved a lot of trips back and forth and made a few mistakes along the way.
- Gelcoat requires a hardener, who knew?
- Colour matched gelcoat isn’t always colour matched. The gelcoat we received from Holland Marine didn’t match our hull colour.
- Re running lines through the mast wasn’t that hard. Having the sheeves drop out into the mast are hard to retrieve!
- Changing the anchor light was easy, but reattaching and trying to re-use the same screw holes was a challenge.
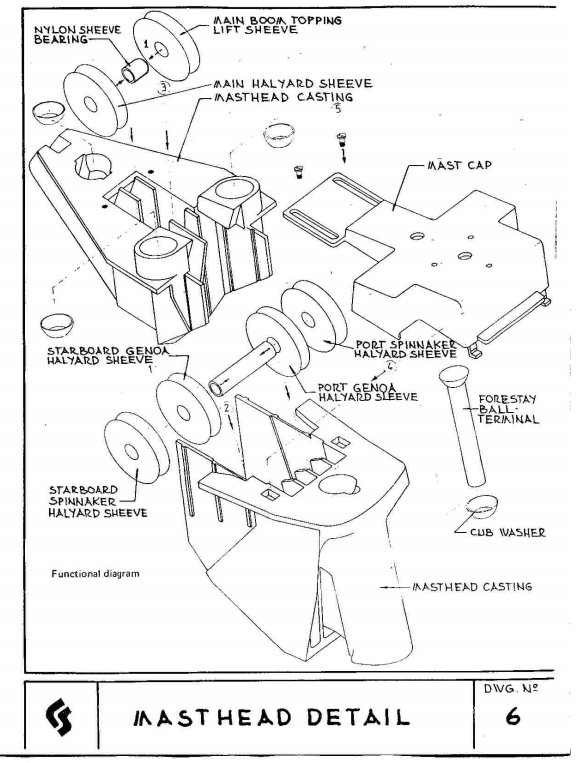
When re-running the lines, it’s useful to review the following post to know where to run the lines through the sheeves at the top of mast:
There were a few trips involved to get to this point. Didn’t bother creating daily posts since I was too busy trying to get the boat ready.
Day 6
Lori had to work today so I was out in the yard by myself. Unsupervised, I did a few things on my list that needed to be done and one project that wasn’t needed but I wanted to do.
- Spent another $300 at Port Whitby Marine Supplies. Good to see that they require masks in the store.
- Connected up the power
- Cleaned out starboard locker
- Changed the holding tank vent line
- Changed the joker valve
- Cleaned up the mess I made in the bathroom
- Installed a new charger outlet in the vbirth, will write this up separately.
- Pulled the top off our mast so I can install our new mast light
At home, the kids helped out. Gavin cleaned up the bimini. Owen took the foam off the freezer doors and replaced.
Stinking hot, but boat kept cool with the hatches open.
Day 7
Lori had to work so I spent Father’s day tinkering around the boat.
Didn’t have much time, but just good to be on the boat. Kids made me breakfast and didn’t get out until early afternoon. And had to be back in time for supper. But got a few things done.
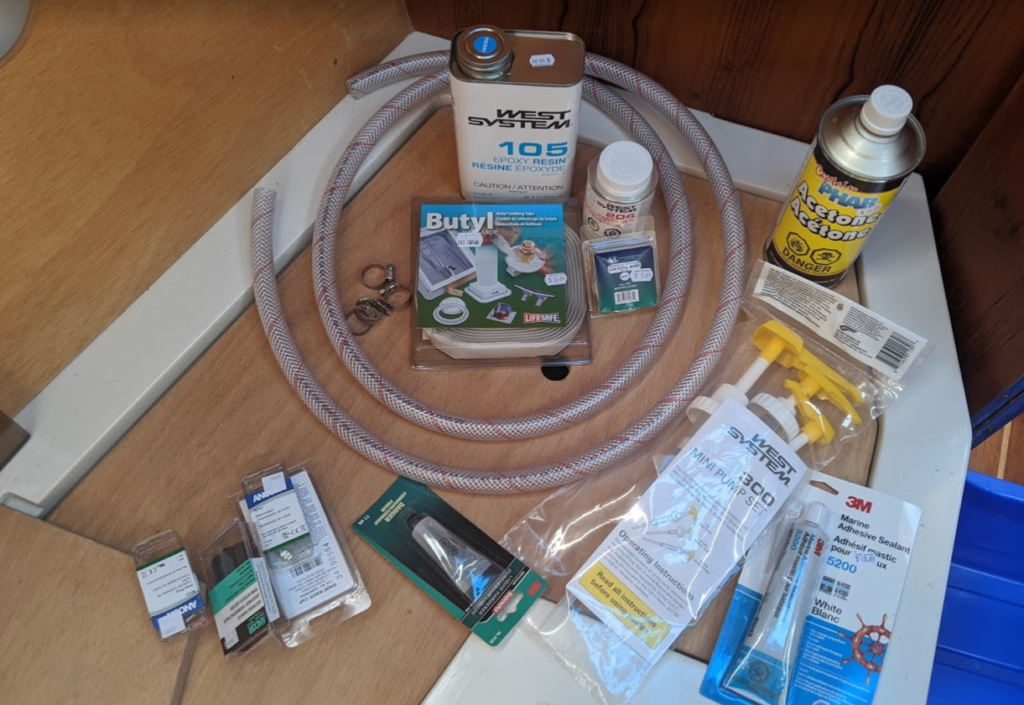
Patched hull with gelcoat
Lori used epoxy putty to fill a few nicks and scratches on the hull. I went back and sanded this down and covered with gelcoat.
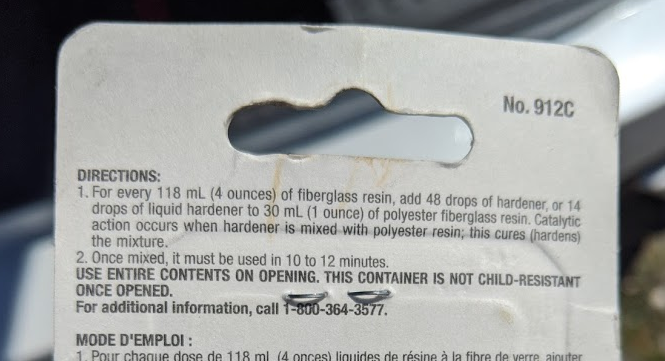
Now that we know that gelcoat is a polyester resin that requires a hardener we felt a little more prepared. The ratio of hardner to gelcoat was a bit of a mystery. The instructions on the hardener were clear but I wasn’t sure if it differed depending on the gelcoat so I took a chance and followed the instructions, using a 2 oz container I filled it halfway and added the 14 drops.
It seemed to work, it quickly became thicker and at about 10 mins it was clumpy and rubbery.
My brilliant idea of using these small plastic 2 oz containers wasn’t as brilliant as I thought.
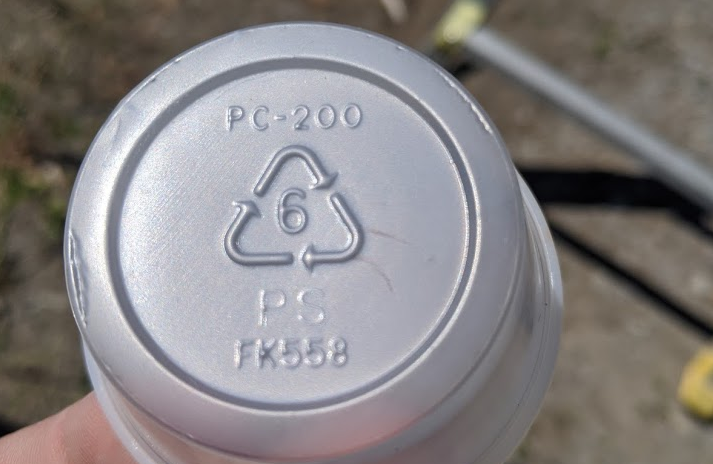
The gelcoat started eating through the plastic towards the end. The second container I used survived. First was like a translucent solo cup material. Second was a shiny plastic like that evil stuff they package everything in that’s close to impossible to open.
I spoke with Stu just prior, he was working on the hull on his boat, Olive Branch. I always enjoy our chats. He’s done a lot of great work on his boat and provided me with some good advice. And even offered some of his own supplies to help. I decided to go ahead with what I had, I felt like I needed to try this out on my own.
Using a small brush the gelcoat went on smoothly but quicky got sticky and gummy. Made a mess trying to get one last layer on.
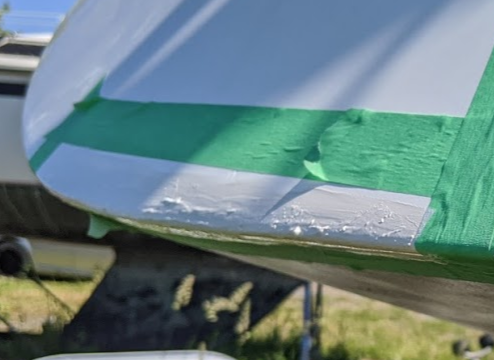
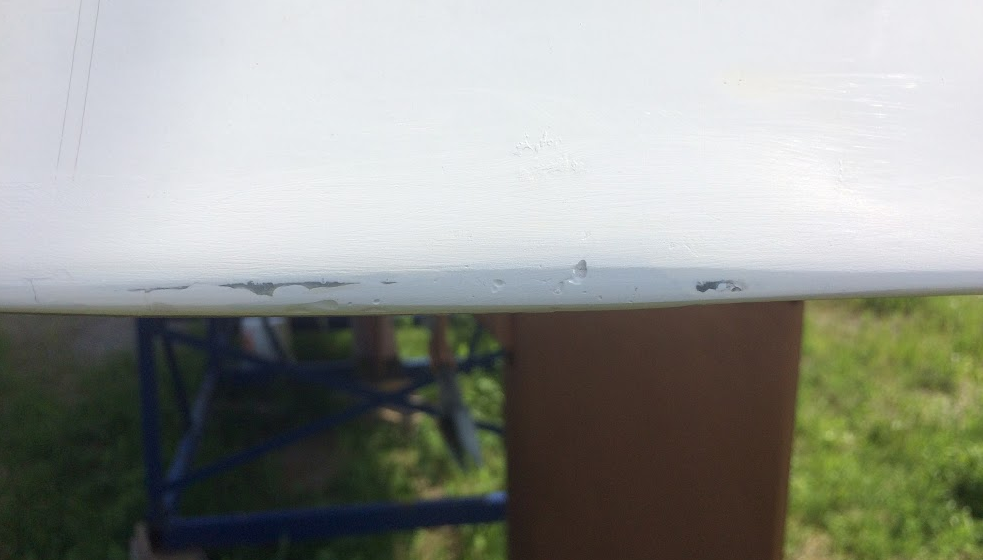
Next trip out I sanded it down with 600 then 1200 wet sandpaper. All the nasty bumps above smoothed out nicely, picture below looks bumpy because of the water. But now I see the colour didn’t match.
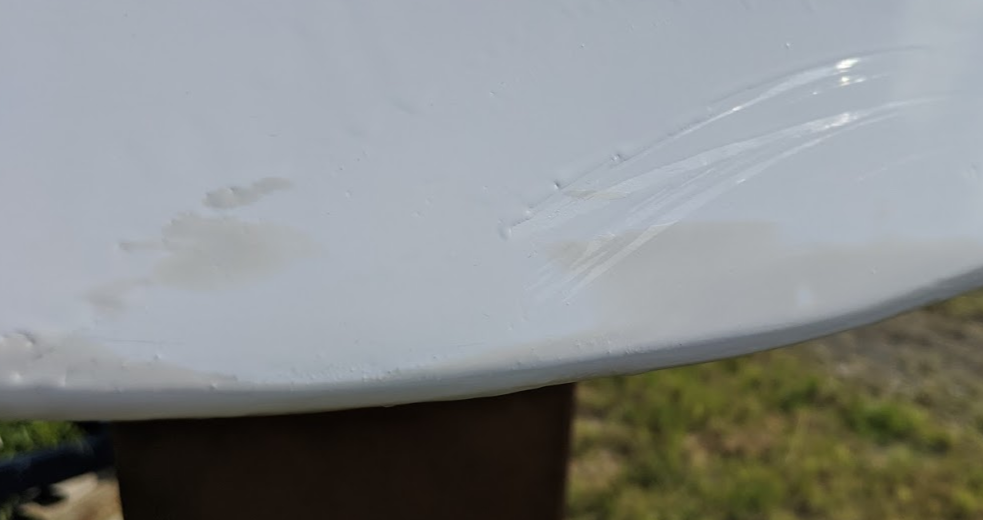
The stuff I received from Holland Marine was supposed to be colour matched, but maybe there’s a different colour for the hull vs cockpit? Feel like I really botched this repair job. It’s smooth and waterproof but the colour difference will drive me nuts. Planning to try one more time, with a new gelcoat colour. And if that fails, I’m just going to hire someone who knows what they are doing!
Replaced the fuel filters
I replaced the primary Racor fuel filter and the secondary fuel filter attached to the engine. This project went much more smoothly.
Shut off the fuel and placed a metal tin under the filter in the starboard locker. The tins from Costco butter chicken work perfectly for this. Disassembled the filter and cleaned the orange plastic bowl. It was a bit grimy with some built up tar that easily wiped off. Reassembled with the new filter and o-rings, dipped in diesel for lubrication.
For the secondary filter on the engine I used a trick I read online. Loosened slightly then wrapped it with a zip lock bag and removed into the bag. Let it sit there for 2-3 mins for the remaining diesel to drain. Then replace with new filter. Again, a little diesel on the rubber gasket for lubrication.
The diesel is still shut off, I’ve heard that you can turn on the fuel pump to prime the system and remove the air. There is also a pump on top of the Raycor primary fuel filter. Need to do a bit more research before opening up the fuel line again.
Failed at changing the oil
Fully armed with a new oil pump with a plastic hose small enough to go through the dipstick hole or the hose attached to the oil pan I thought I was prepared. But I wasn’t.
The previous owner attached a rubber tube to the drain plug at the bottom of the oil pan. In theory it looks like a good idea but there was too much resistance when trying to suck oil through it. I think I’m going to remove the hose and just use the pump in the dipstick hole and then use a metal tray (Costco butter chicken) under the engine to catch the remaining oil after removing the oil pan bolt.
The replacement oil filter was something that was sold to me as a non OEM replacement. But it didn’t fit. I was running out of time so I put the old filter back on. Refilled with new oil, and closed it all back up. I was worried that it wouldn’t be good to leave the engine dry and maybe a flush with some fresh oil would be good for it. I will get an OEM filter and will go back and drain the oil again.
Ordering new filters
There’s a really good site that lists out the replacement parts for a Universal M4-30 diesel engine, Toad Marine Supply.
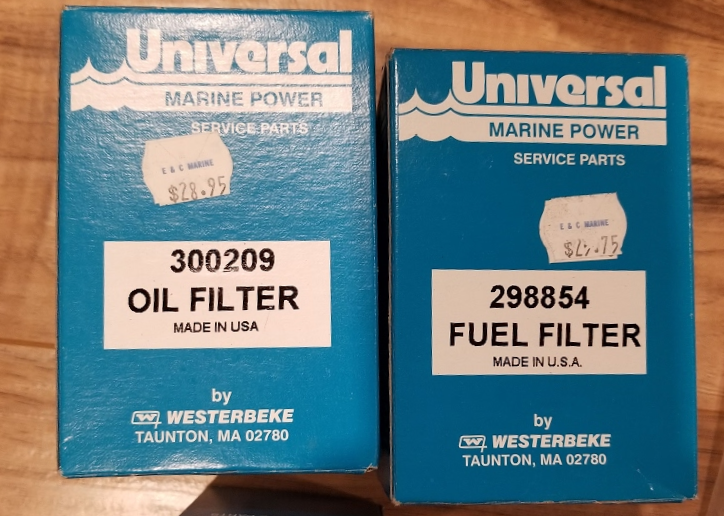
Prices for the filters were originally very tempting. They charge $16.80 USD for an oil filter! Sounds much cheaper than the $30+ CAD from a local shop. But once you add in $90 USD for shipping, duties and the exchange rate the price jumps up considerably. If I purchased 10 filters to reduce the effect of shipping it worked out to $31.58/ea.
Ended up buy three sets of replacement filters and dropped another $300 at Whitby Marina.
New projects to add to the list
The sound proofing is the original black foam and it’s disintegrating. I am going to use a shop vac to scrub it off and will look for new sound proofing.
Day 8
Bri and Riley came down from Ottawa so we put them to work. Bri and Lori went out and prepared for Gavin’s grad party while Riley, Owen and I went to the boat to finish up a few projects.
We were in a rush, I didn’t take many pictures, but we finished these tasks:
- Ran all lines through the mast using electricians fish tape, Riley was a pro and showed us some tricks in guiding the tape.
- Finished changing the oil
- Cleaned up the big mess I made, changing the oil
This is where I did my classic dad move. Telling my son, be very careful of the sheeves at top of the mast, they can easily pop out. Seconds later I bump one causing the stainless shaft to drop into the top of the mast. Twenty minutes later we finally fished it out!
Day 9
Finished attaching the anchor light to the top of the mast. Had a bit of help from Louis. He’s been working on his boat right by our mast and always comes down to chat whenever I’m working on the mast. Without his help, suggestions and a few tools, I don’t think I would have completed this task before launch!
Day 10
Rented a van from Uhaul ($120 with insurance and mileage) and loaded all of the rest of the gear from our basement into the boat.
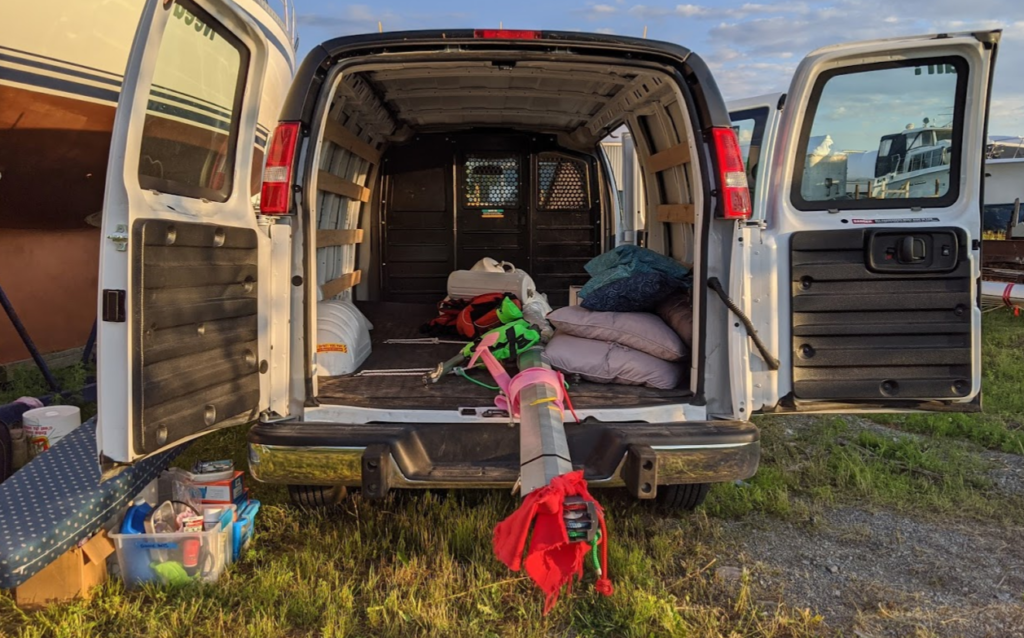
Hit a bit of a snag with the rental. It came with a protective wall that meant we couldn’t fit the boom inside. So we had to run the boom partially outside the van. Added a pad and strapped the door partially closed.
We didn’t have the time to rent the van after the boat was in the water so we had to do this on the hard. Which meant a lot of trips up and down the ladder!
Summary
Looking back, ten trips to prepare the boat was crazy. But I don’t think we could have done it any differently, with kids activities, family events and Lori’s crazy work schedule it was tough to find more than a few hours each trip to work on the boat. We did well for the most part in having the supplies needed for each trip. Much better than last year!
A few thoughts for next year:
- Get a portable workbench
- See if we can borrow scaffolding for the hull washing/waxing
- See if we can be positioned closer to water and electrical
- Don’t completely wrap the mast, allow water to drain
- Spider ban on the pads
I’ve updated the Spring Recommission Checklist as a reminder of all the things that need to be done.


Leave a Reply