
This is one of those projects that violates the rule, if it ain’t broke, don’t fix it. The propane switch worked perfectly, but I wanted to do this since the existing switch was drawing so much power. This was a super easy and quick project.
After installing our Victron BMV 712 battery monitor I discovered the factory switch draws 1 amp of power! In my quest to reduce power usage I decided this was unacceptable and replaced it with a new Blue Seas LED switch.
Propane Safety Systems on Boats
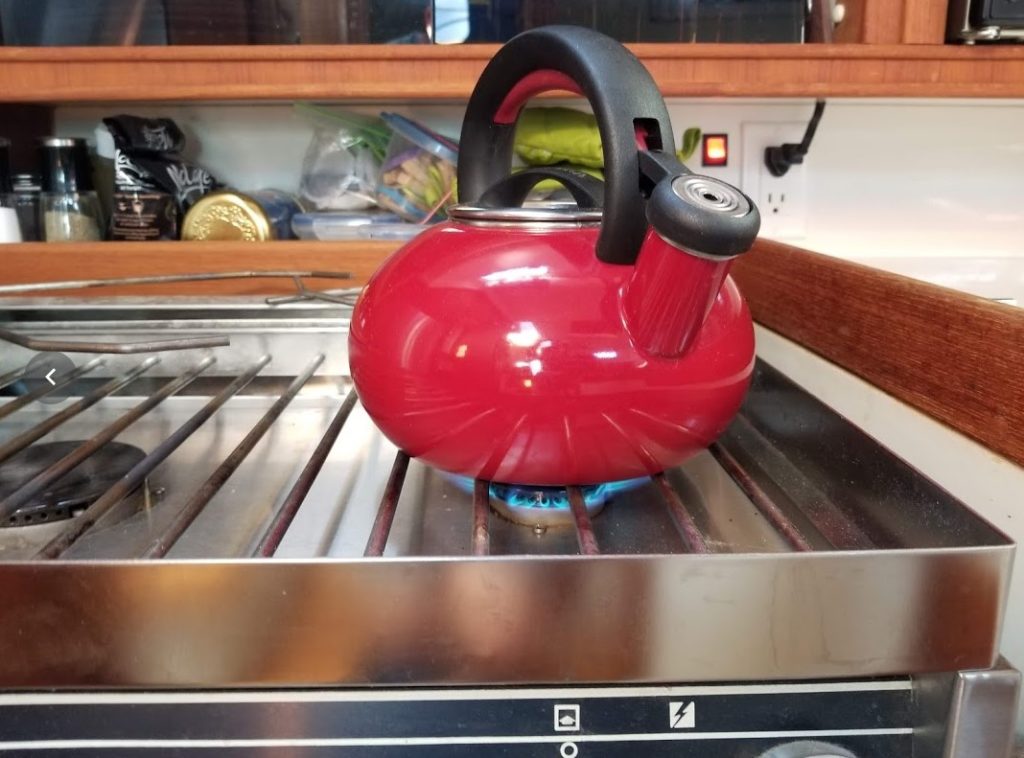
To use the stove there are three steps to activate the propane:
- Turn on the propane at the tank
- Turn on the propane switch at the circuit breaker panel
- Turn on the propane using a lighted switch behind the stove
A solenoid near the propane tank is opens up only if both of these switches are turned on. Then you need to light the stove, and when you do, you need to hold in the gas knob on the stove for five seconds after it’s lit otherwise it shuts off the propane. Then you have other systems on board: a propane gas sniffer, smoke and CO monitors. Plus several fire extinguishers. Why? Because propane is scary, that’s why.
Propane, or more accurately, Liquid Petroleum Gas, is heavier than air. So a small leak will flow down and accumulate low in your boat. Below the floor boards where you may not smell it. And as you know having an accumulation of explosive gas inside a closed area is not a good thing.
Alright, enough about the propane system on the boat. Back to the simple change I made.
Changing The Propane Switch
The new switch is a Blue Seas Contura (8230 off-on) lighted switch.


It was relatively cheap, $14 CAD and checks off all the safety requirements:
- Low power LED (18 mA)
- Vibration, shock, thermoshock, moisture and salt spray resistant
- Ignition Protected – Safe for installation aboard gasoline powered boats
- Meets UL1500 and ISO8846 ignition protection requirements
The existing switch was easy to pop out, just pry it from the bottom with a flat head screwdriver. The wires came out easily, there was plenty of slack to pull them out. Just make sure they don’t fall back into the wall! I used some duct tape to tape them to the wall. I then replaced the existing crimp on connectors with sealed heat shrink conectors.
The new switch was slightly bigger so I measured out the dimensions and taped it off. I prefer using tape over pencil or sharpie marks. For a few reasons:
- easier to see
- automatically gives me straight lines
- reduces chance of chipping the gel coat when cutting
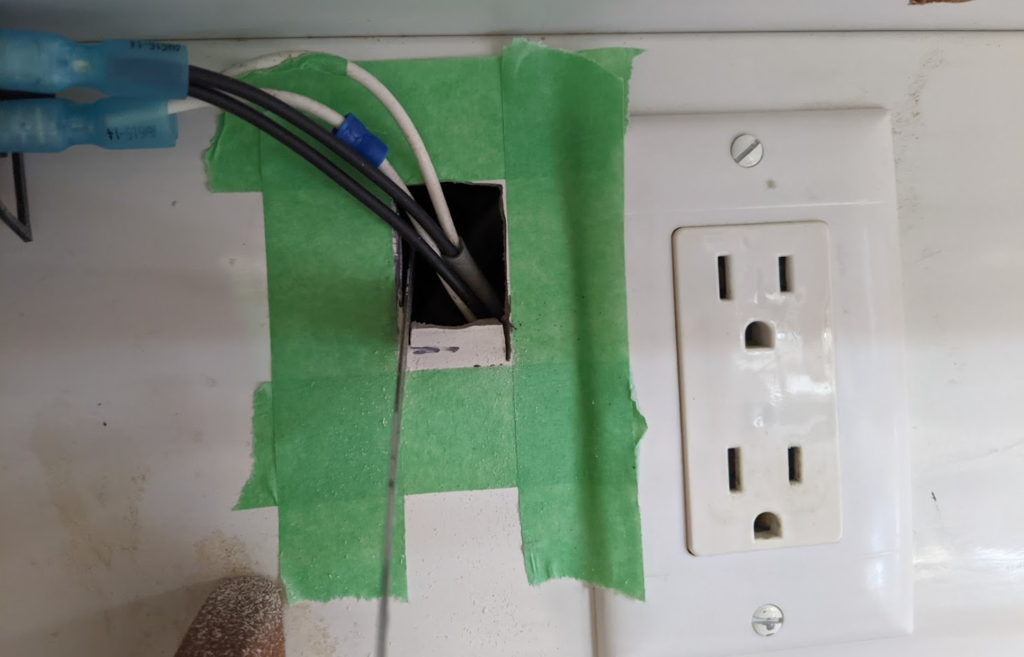
The new switch popped right in.
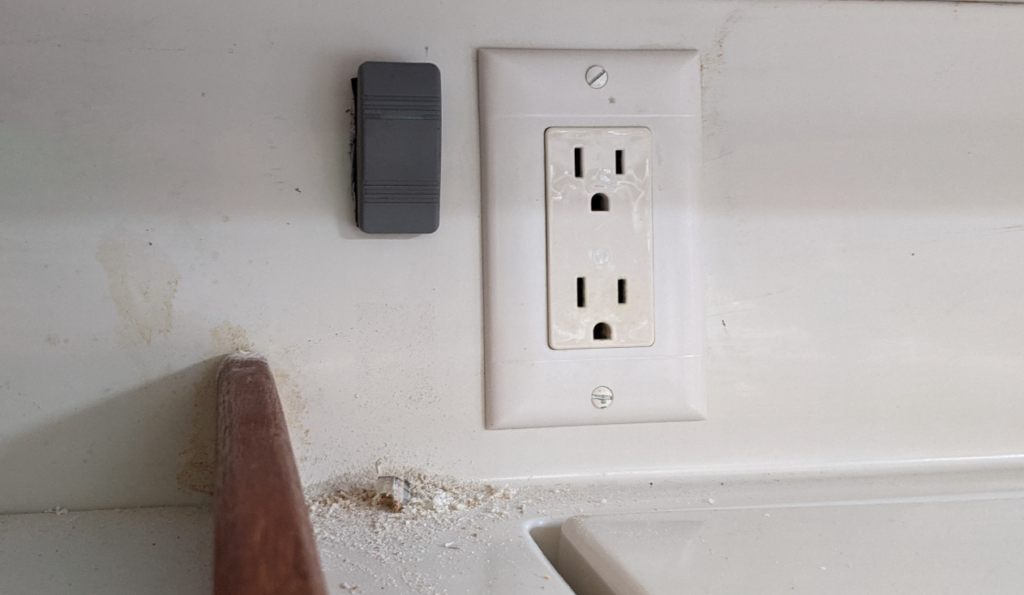
These switches are designed for a Blue Seas electrical panel that is grey and unlike the factory switch, it doesn’t have any gasket or surround to help cover the minor errors in the size of the opening. So I finished it up with a little bit of white silicone around switch to fully seal it to the wall. And double checked that the light was working properly.
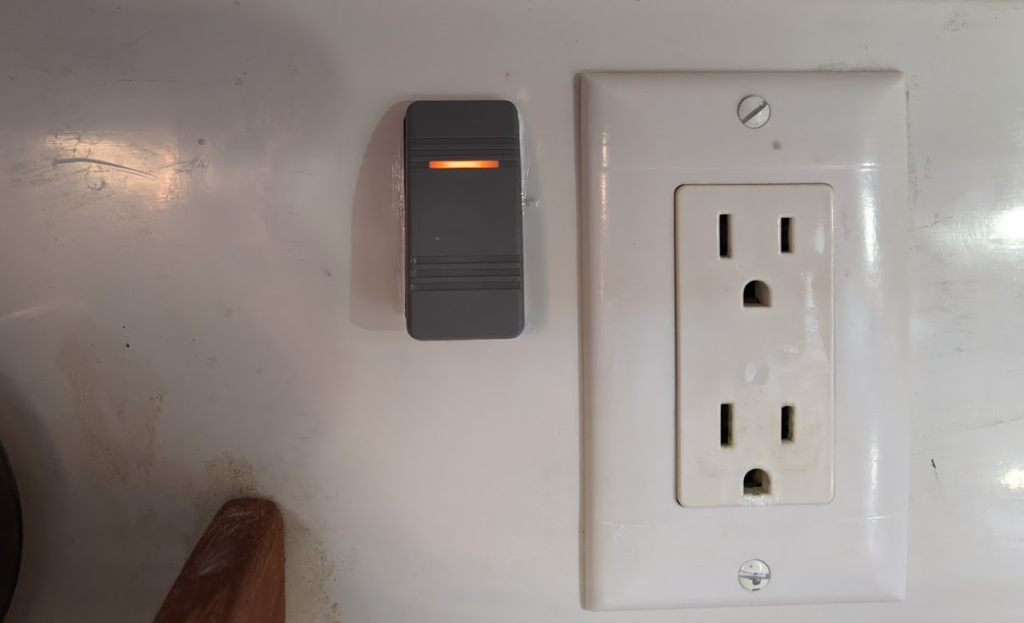
These pictures make the dirt look worse than it really was. I went back and cleaned this up afterwards. For this interior gel coat I find a cleaning wax works amazing to make dirt and scratches like this look brand new again. I forgot to go back and take a final picture. Point is… the switch works beautifully, and draws a lot less power than the factory propane switch!


January 11, 2022 at 4:30 pm
In the Spring of 2021 I purchased Rode Trip, a 1991 deep keel CS 34, on the Connecticut side of Long Island Sound. I got lots of information from the prior owner (Kevin Tisdall), but would like to have a current owner that could help answer questions as I continue to learn the boat.
Are you two available?
January 11, 2022 at 5:28 pm
Hi Douglas, welcome to the CS34 family! There are a few great resources for CS34 information. This site, of course, and the CSOA Owners forum (https://csoa.groups.io). I’ll also send you an e-mail with my contact info.
January 26, 2022 at 2:07 pm
Thanks. I used the information you sent to register with the CSOA. I found it a bit difficult to navigate the site, but was able to create a log-in. Looking forward to having you as a resource. Seems like you and your wife really know the boat.