
Our poor boat cradle was looking a little neglected. We found some time to give her a new coat of paint.
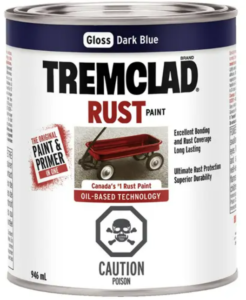
A little late in posting, this site has also been neglected since we’ve pulled Foggy out of the water for the winter. Back in October when we did this there appeared to be a shortage in metal paint for some reason. We went to three different stores and finally found some Tremclad Rust paint in a reasonable colour at Canadian Tire. I wasn’t willing to change the cradle colour to bright red or yellow!
The weather this weekend wasn’t looking great, cloudy with a chance of rain. We didn’t have many options left to go before the boat was to be pulled out of the water so we took a chance.
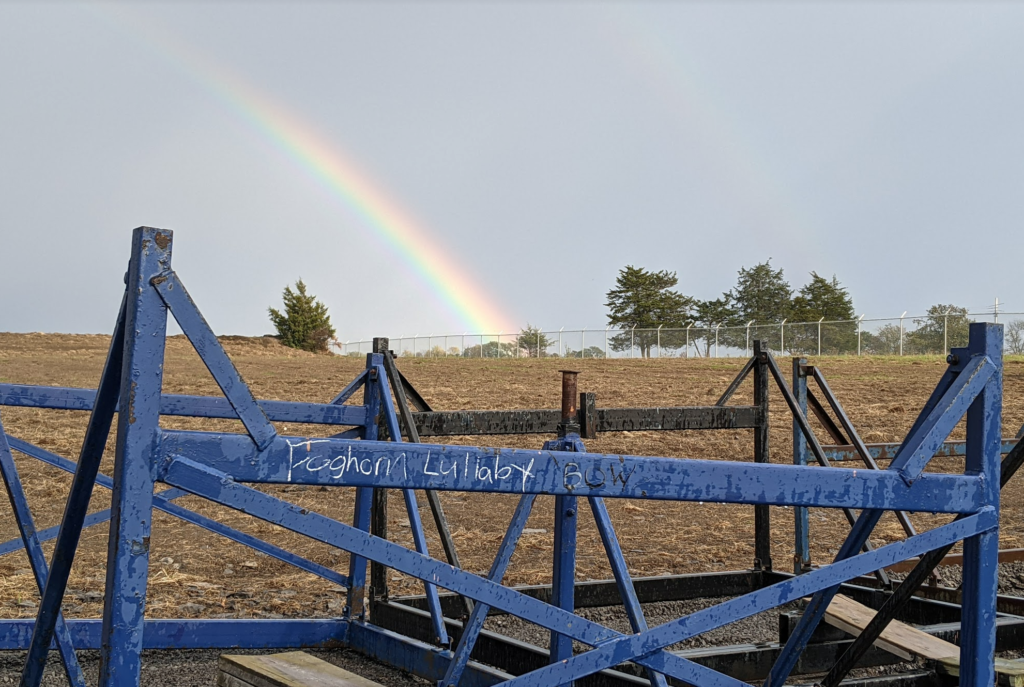
It was raining just as we arrived and here’s what our cradle looked like before we got started. The rainbow was a good sign! But the cradle was looking rough, even the labels were not completely cleared up from the previous owner and previous boat name. The sun came out and everything dried up quickly.
The 2×6 boards for the keel were slightly bowed. I had some replacements ready but after a quick inspection the existing boards were still solid with no sign of rot.
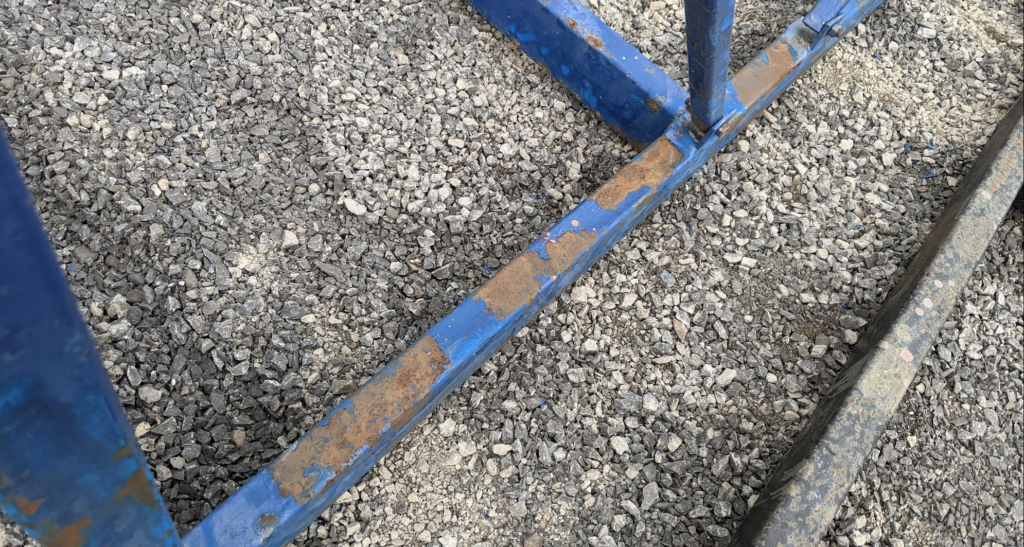
The steel beams on the boat cradle were looking a bit rusted. Paint was bubbling off exposing the steel. The metal was lightly pitted but couldn’t find any serious rust spots. We’re fortunate that the cradle doesn’t see any salt water, definitely makes a huge difference!
Prepping the Boat Cradle
This is always the hardest and the worst part. I brought a few tools to help make this a bit faster. First of all, my go to tool when things get tough is my angle grinder. It’s my hammer I use even when the situation probably doesn’t need it, i.e. Holding tank deck cap stuck. This time I brought these attachments.
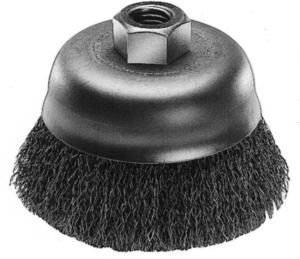
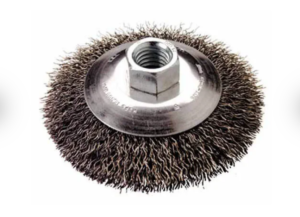
These were the ticket for making this project bearable. They quickly removed the loose paint and ground off the rust down to clean metal. It’s even easier when you get your son to do it for you.
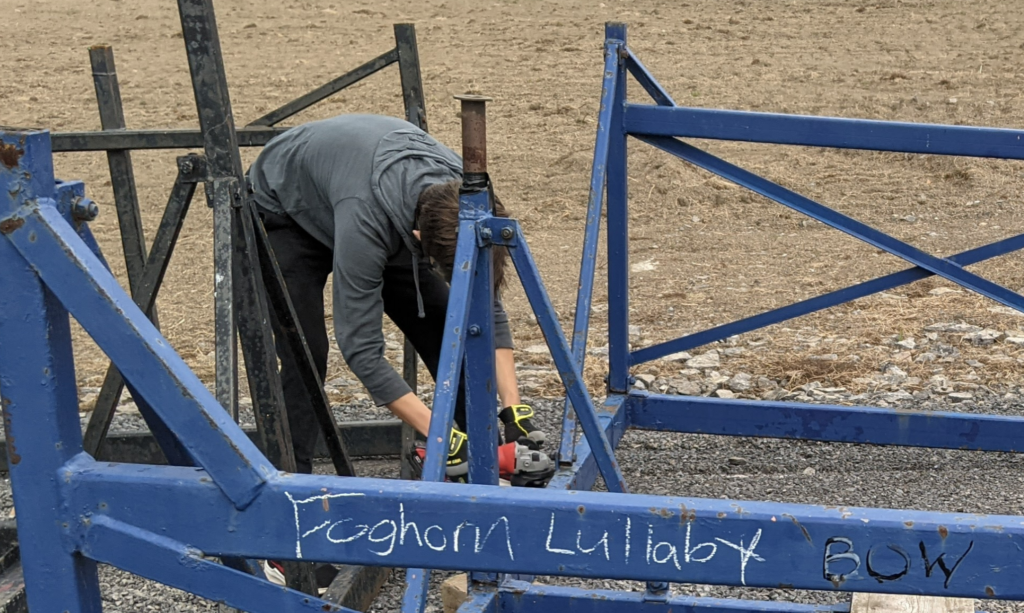
While he did that, I used a small wire toothbrush for the hard to reach places.
One issue we had was power. The project to bring in electrical outlets to the yard was delayed so we had to use battery power. We setup a charger back at the main garage at the yard and spent the afternoon running back and forth swapping out batteries. Had to pause a few times with the batteries overheating. 18v power tools are amazing but high power tools like a angle grinder running for long periods of time are not ideal. I had my 110v angle grinder (yes I have more than one angle grinder) but the extension cord wasn’t long enough to get back to the main garage.
After grinding went over the cradle with a wet cloth and then wiped with acetone (Lori’s favourite cleaner, btw).
Painting the Boat Cradle
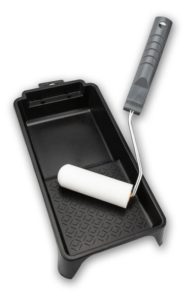
We decided to use a paint roller rather than spray cans. You get a lot more paint for your buck and the paint goes where you want it rather than sprayed all over the ground and on the boats around you. I believe you get a better and more consistent coat and if you use a small brush as well you can get paint into all those difficult spots.
My son used the roller while I went ahead and used the paint brush to get the hard to reach spots. We used a big block of wood to lift the cradle off the ground so we could also get the underside, one side at a time.
This was the fastest and easiest part. Strongly suggest rubber gloves to avoid having that noob painter look afterwards where everyone knows you painted something blue on the weekend. I still ended up with blue hands after taking my gloves off and then picking them out while they were inside out. Typical.
The Final Product
I think it looks great, and it’s comforting to know we’ve extended the life before needing a new cradle. We also added new labels so it’s clear that this cradle belongs to us and Foghorn Lullaby.
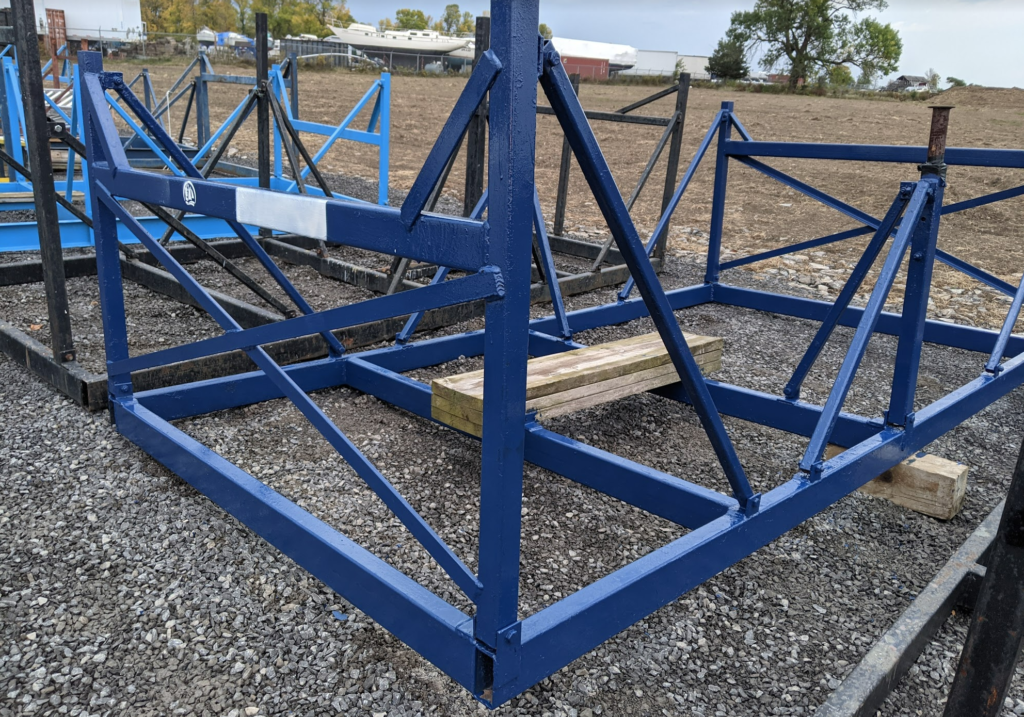
The logo was applied with white spray paint. I printed the logo out on cardboard and then used an x-acto knife to slowly cut it out, held it up to the boat cradle and sprayed. It worked pretty well. I also wanted to do the same for the lettering but I didn’t have the patience to cut that out. I Recently found out a family member has a Cricut maker so I may see if I can cut out some new stencils using that. For now I painted white strips on both sides to mark “Bow” and “Stern”, added “Foghorn Lullaby” and contact information.


September 12, 2022 at 7:44 pm
Hi Shane, thanks, this is so helpful. I’ve never painted my cradle before so pretty clueless – but no more. Plan to do it day after tomorrow.
Did you use a quart or a gallon of paint?
September 12, 2022 at 8:19 pm
Hi Stephen, thanks for the comment. Just used a quart.