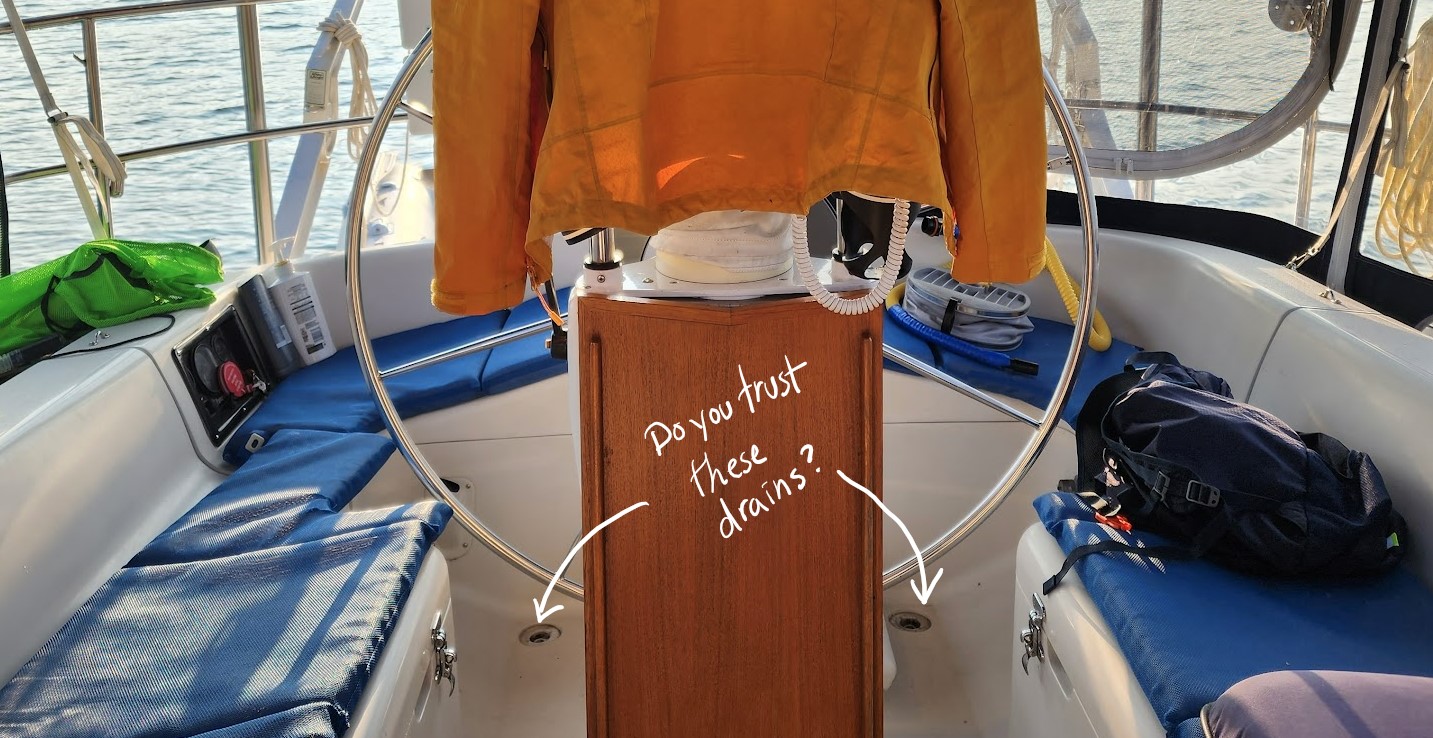
It sounds like these hoses have rotted out on all of the CS owners at about the same time. If you haven’t done this yet on your boat, now is the time to do it!
You can access all of the cockpit drain hoses through the starboard locker. After you’ve cleared out all of your gear from this locker it still takes a bit of work to wiggle yourself into that small bit of unused space behind the sugar scoop. However, here’s my advice. Hire a small child to do this.
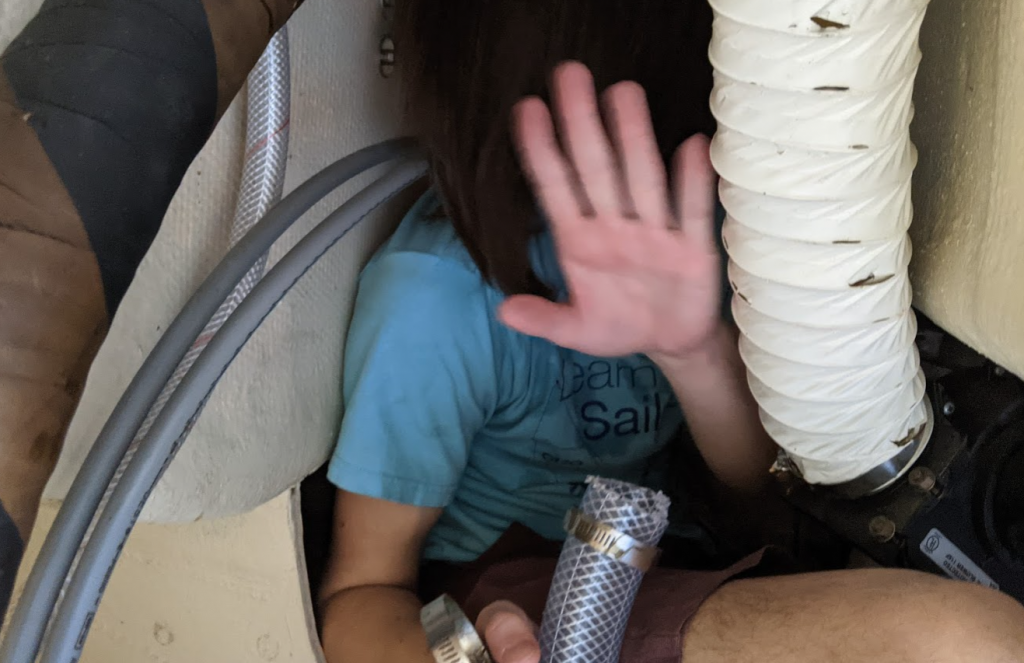
I’m somewhat joking. That is my 16 year old son in there, and he likes to constantly remind me that he is taller than me. Another CS34 owner, Bob, also did this job himself. He’s 6′ 1″ tall and 195 pounds. I’m impressed.
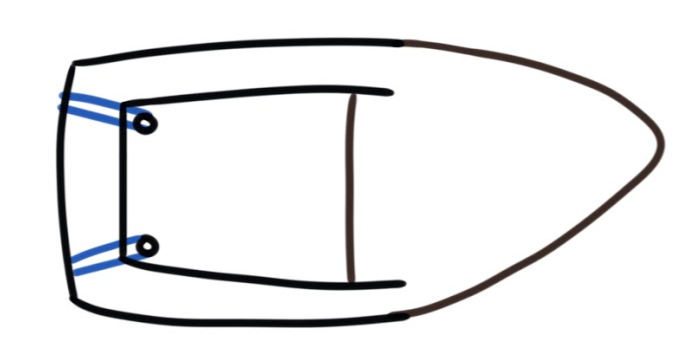
There are two sets of drain hoses coming out of the cockpit, removing the first (starboard) side hoses make accessing the other side much easier.
The drains are a bit more complicated than this. There are also propane lockers underneath the seat at the aft part of the cockpit. These also have drains (propane is heavier than air) to allow any spilled propane to be discharged out the back rather than accumulate in the locker.
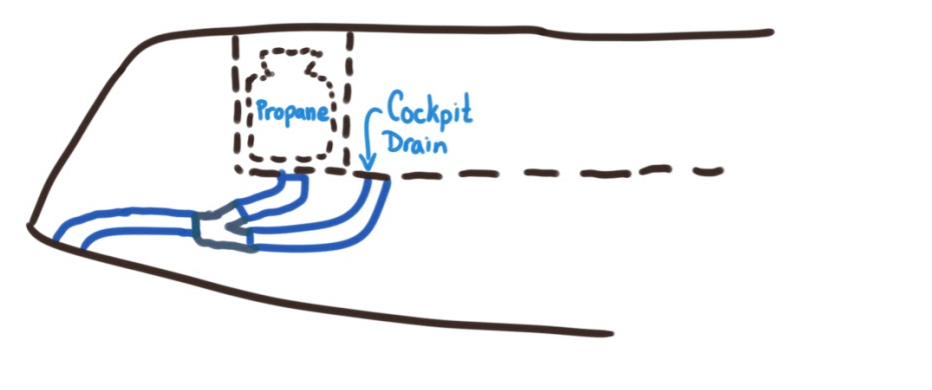
It’s extremely important that you arrange these pipes so they drain properly. If the pipe is too low water will remain in the pipe and may possibly block the proper flow of propane out of the boat.
I’ve heard one other boat owner cross these pipes over, starboard to port. The idea is that it will drain on each tack and no chance for water to flow back in while heeled right over. I kept it simple and went straight out like above.
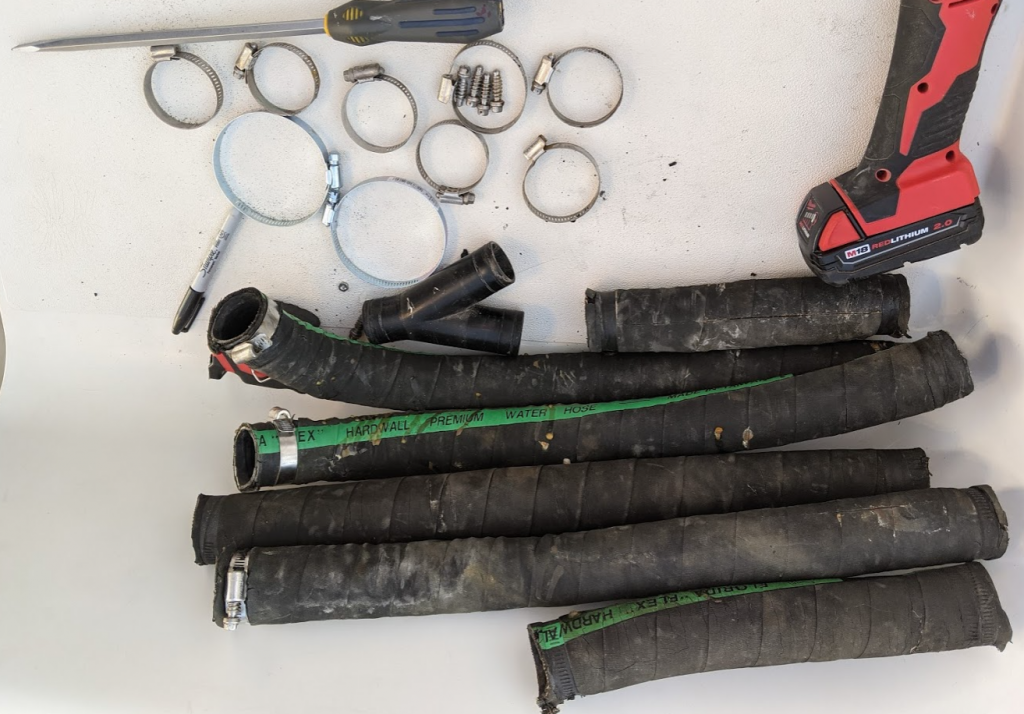
First step remove all existing pipes
We had to remove all of the old pipes first. Owen did most of the work here and spent hours twisting and cutting within that cramped space. Whoever installed the davits on the back of the boat reinforced the mounting location with extra layers of fiberglass, unfortunately some of the resin spilled onto these pipes making them more difficult to remove. Some of the pipe clamps were glued and had to cut. My Makita multi-tool really helped to quickly cut through these. We also used the battery powered fans we recently purchased to push fresh air down there to make it a little more bearable. I was impressed with Owen, he didn’t complain once.
Replacing the Pipes
There’s a few options of materials that can be used. These are important drains, a large wave filling the cockpit could easily push a lot of water through these pipes and you want to make sure it leaves the boat rather than fill up your bilge! We followed what others were doing and went with a reinforced / braided vinyl tubing. It’s thick enough to not be crimped shut, it’s transparent so you can see blockages and it was reasonably priced.
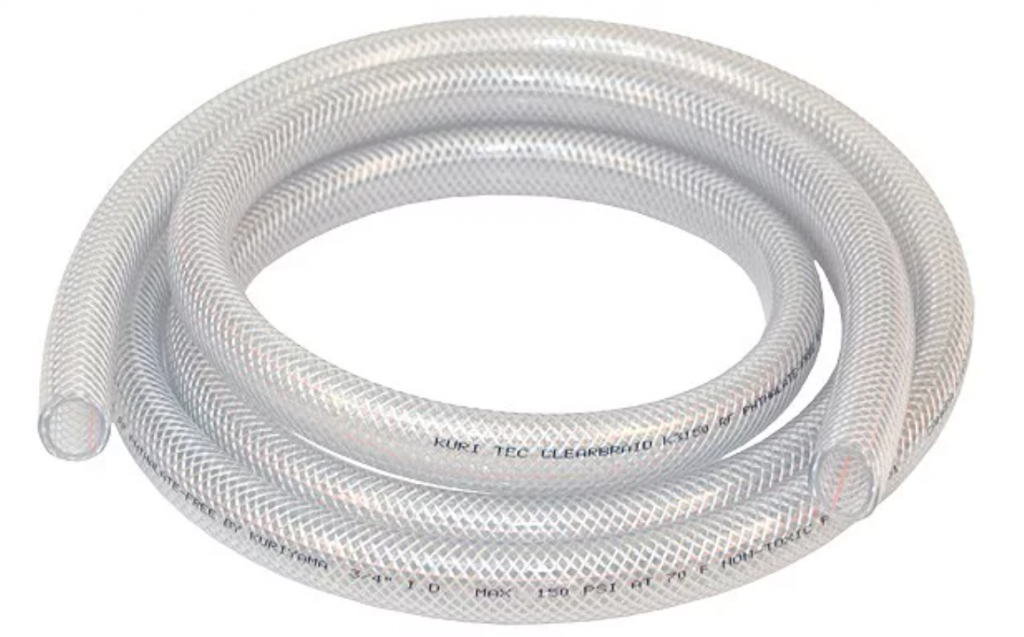
You want 1.5″ inner diameter tubing. I had some difficulty finding it in some of the local shops and made some mistakes. I’ll explain in lessons learned at the bottom.
Using the existing removed pipes as templates and replace the pipes starting on the far side (port) first. Ensure the pipe leaving the transom is double clamped. This part, once we had all the parts went reasonably fast. But does take a lot of wrist strength to twist the pipes into place.
Lessons Learned
Sometimes getting the right materials is difficult. This was the worst part for me. This is how it went down.
- Home Depot didn’t have enough tubing, I was about 1 foot short. But it was enough to get started.
- Tried calling other stores to find availability but nobody was answering their phones. It was quicker for me to just drive around and go in.
- One store didn’t have it on the shelves and said they would check. They were great, but we spent 10 minutes in the store looking through catalogs only to find out they don’t have it.
- Went to another large store, they had it in stock. I get handed over to the new person to cut a piece to length for me.
- Here’s the 1.5″ and walks away, leaving me with new person.
- Oh, I don’t have a knife, I’ll be right back.
- As they are away, I notice the 1.5″ pipe was listed with two different prices. When they get back I ask what’s the difference. They don’t know. So we go with the cheaper one.
- They go to measure out 2 feet of pipe and realize they don’t have a tape measure. Off they go to find one.
- A few minutes later they are back and we measure out and cut a piece of pipe. I ask how are they going to know what to charge me? They realize they need a tag. Off they go to find one.
- A few minutes later I now have a piece of tubing cut and tagged and now I go wait in line to pay for it.
- Thirty minute drive back to the boat. We measure it up to install and notice it’s hard to fit on the Y splitter. I now look at the writing on side of the pipe and see it’s 1.25″ pipe.
- We had wasted at least three hours of our day just trying to get the right materials. Out of frustration we decide it’s not going to happen this weekend and we seal up the one cockpit drain to prevent any rainwater getting in.
- I purchased the necessary pipe from a local store in my home town and triple checked the dimensions!
- Next time out at the boat, everything pieced together quickly and it was done!


July 31, 2023 at 1:16 pm
Where did you actually get the hose from?